Image Compression Before & After on Mac: Visualize and Tune
Preview before-and-after image compression on Mac, spot over-compression by eye, and tune Zipic's strength slider so quality and file size both land right.
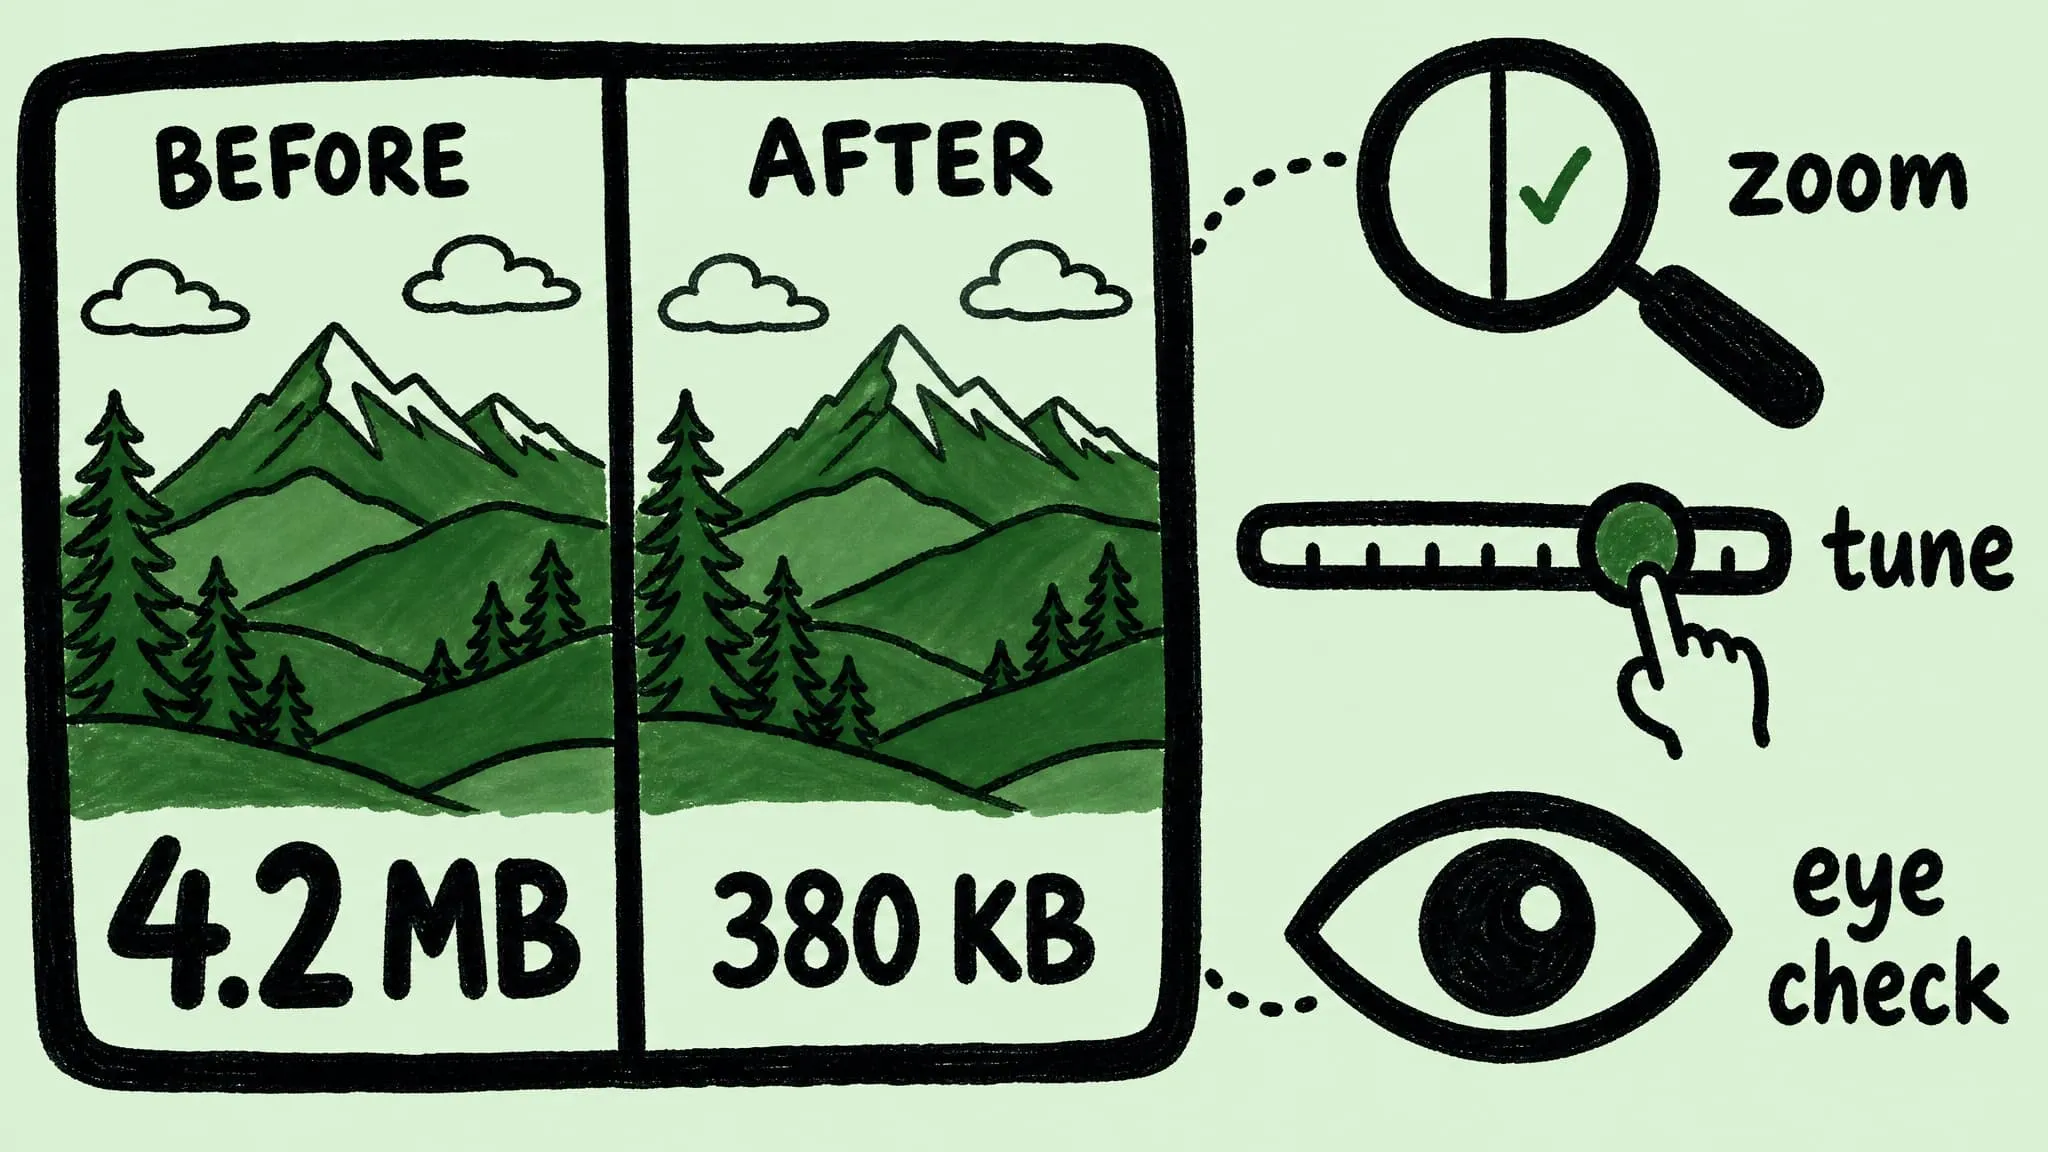
“4.2 MB → 380 KB, 91% saved” looks fine on paper. Open the file at full resolution and you may still find banding in the sky or softened text on a screenshot. File-size deltas describe the bytes, not the image.
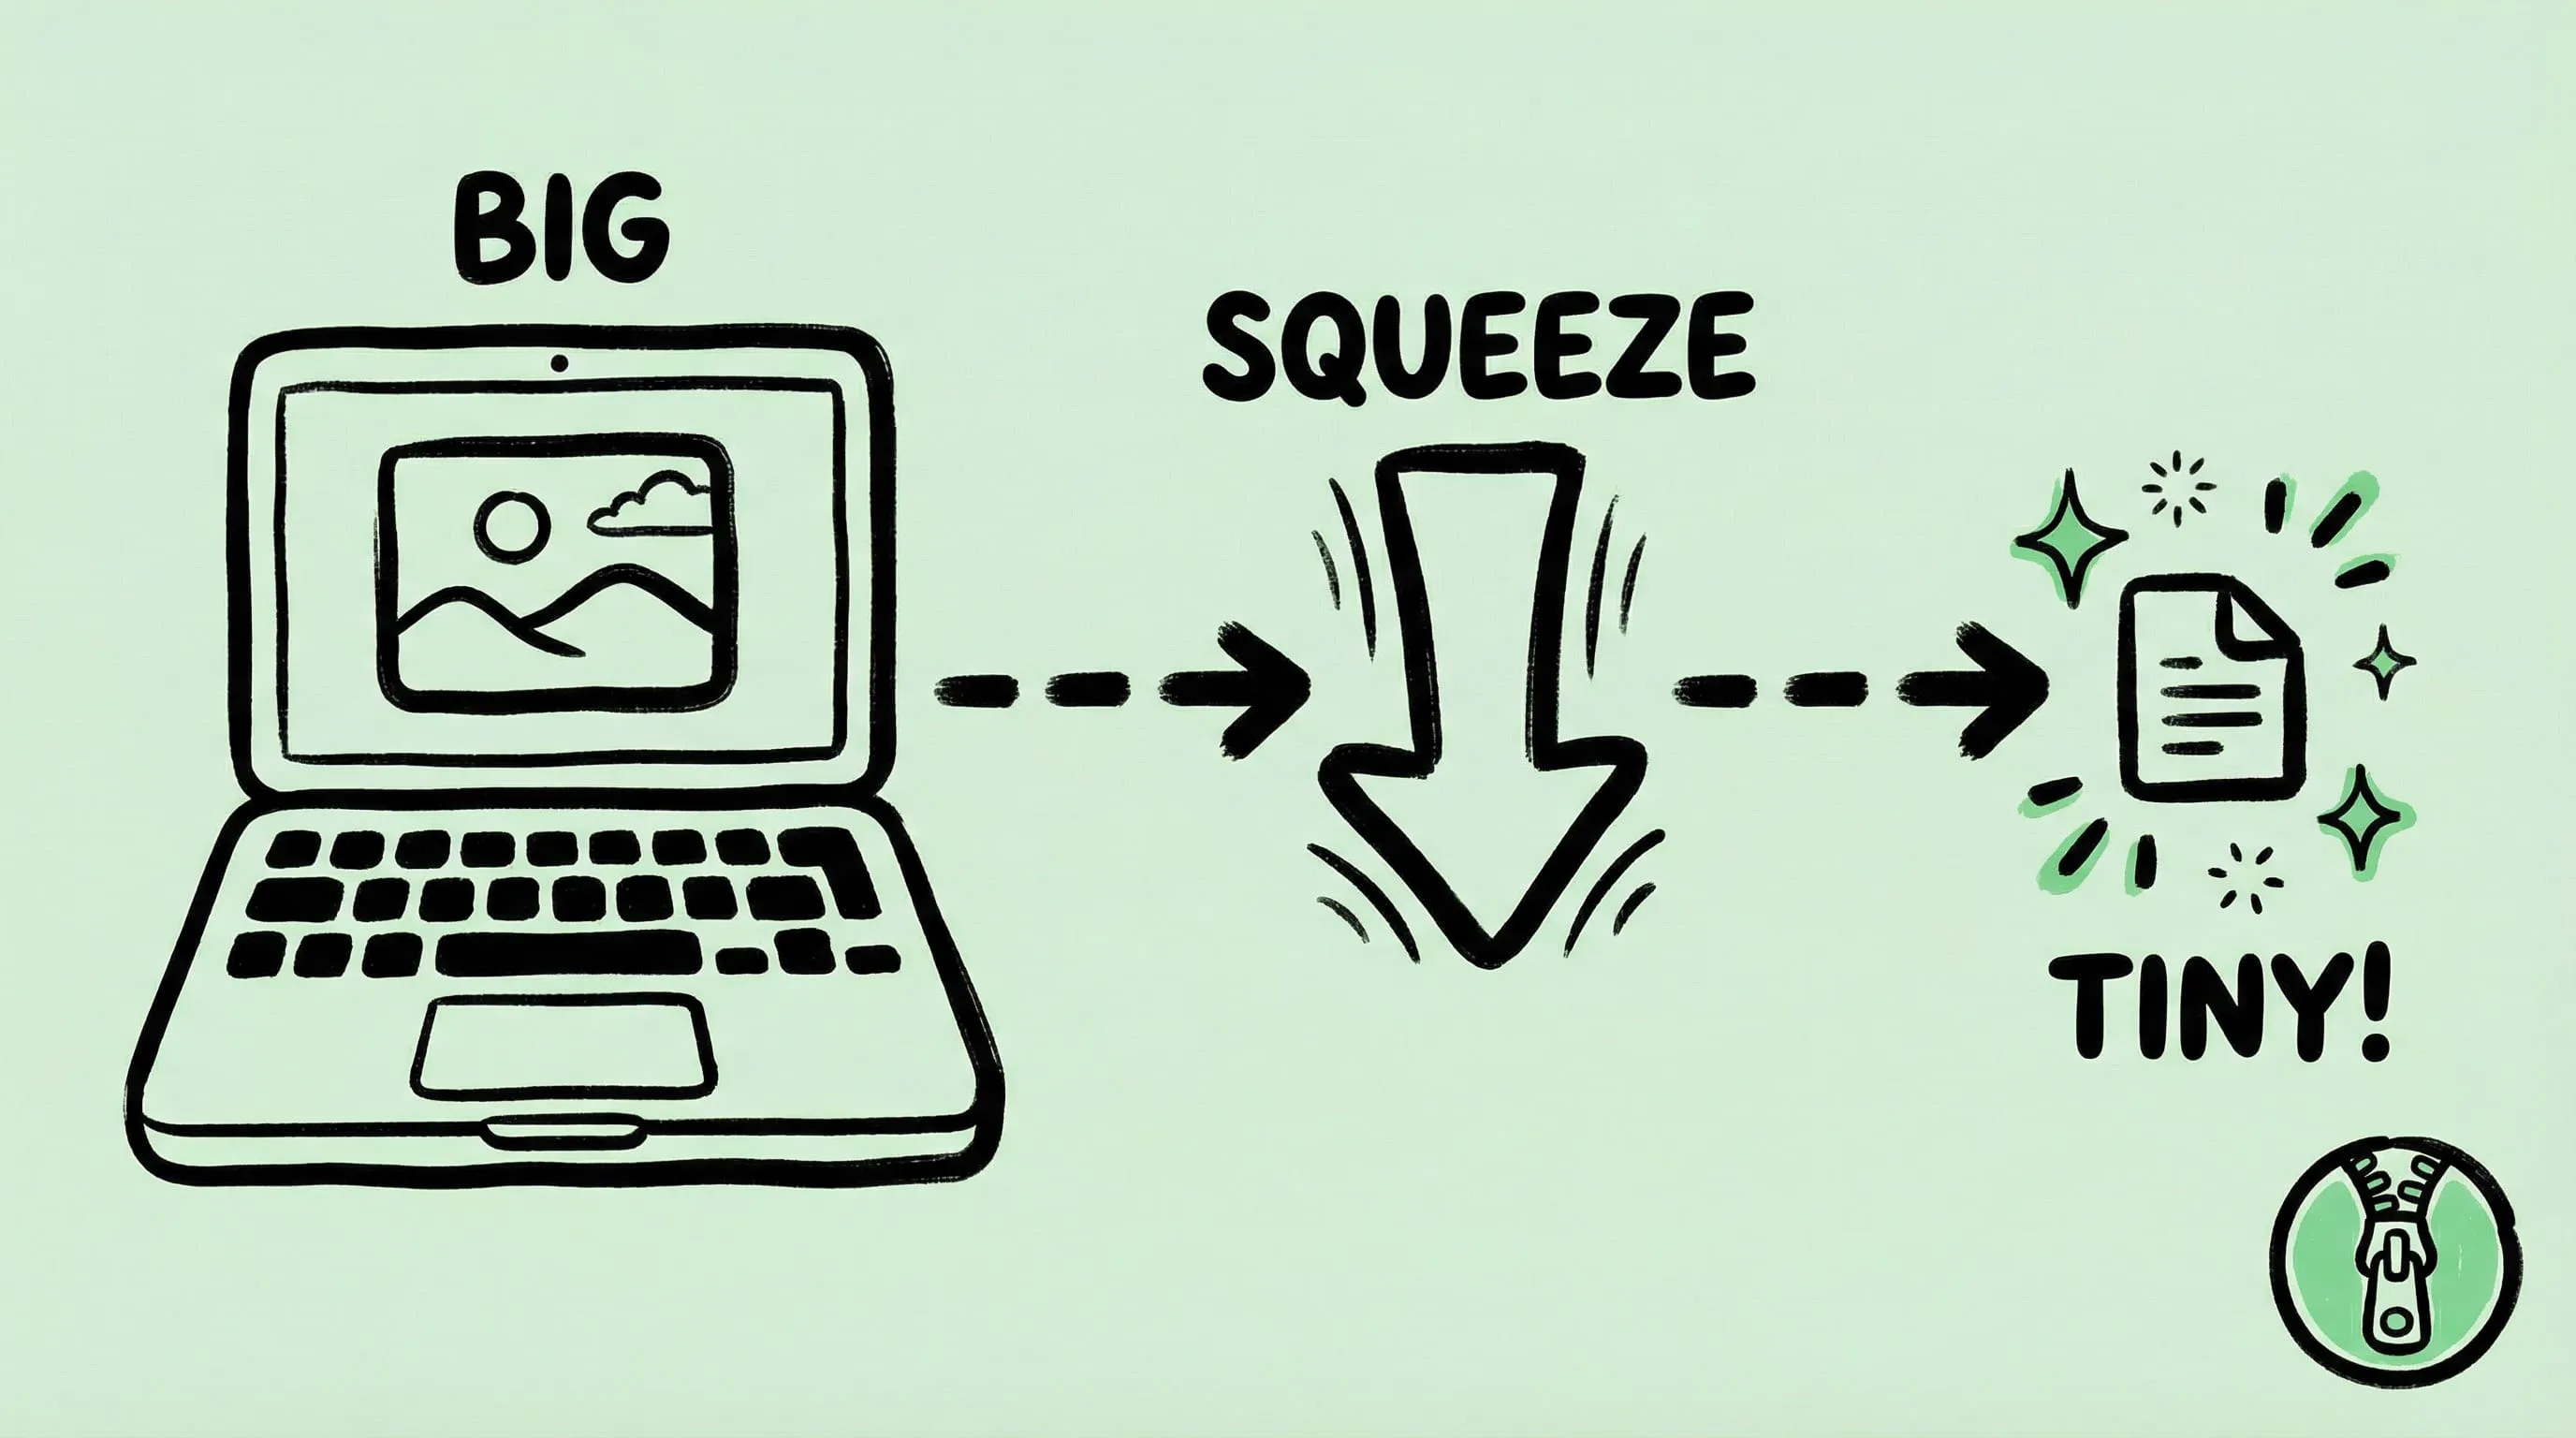
This guide covers image compression before-and-after on Mac: a first pass, a side-by-side comparison, and how to tune compression strength inside Zipic’s preview window without recompressing the same file repeatedly.
Why File Size Alone Isn’t a Quality Verdict
Compression ratios can mislead in both directions. “97% saved” is normal for a 4K PNG screenshot with flat backgrounds. “60% saved” can already be too aggressive on a portrait where skin tones go blotchy.
Specific cases where the ratio doesn’t predict the result:
- High-frequency detail. Tree leaves, hair, fabric texture, fine grass. JPEG’s DCT blocks blur these first; a strong setting flattens texture before the file shrinks dramatically.
- Smooth gradients. Sky, studio backdrops, glow effects. Banding (visible color steps) appears here before the file size moves much.
- Antialiased text in screenshots. Sub-pixel rendering relies on subtle color shifts on letter edges. Past Level 3, small text softens first; higher levels produce ringing.
- Skin tones. A photo can shed 70% of its bytes without visible change; another can fail at 30%. The viewer notices skin first.
To decide, place before and after side by side at the resolution you’ll publish at. Ratios narrow the candidates; the final call is visual.
The Compression Record: First Pass
Every compressed image in Zipic appears in the history list with thumbnail, format, size before, size after, and ratio. An unusually high ratio on a photo or a low one on a screenshot is a signal to inspect before shipping.
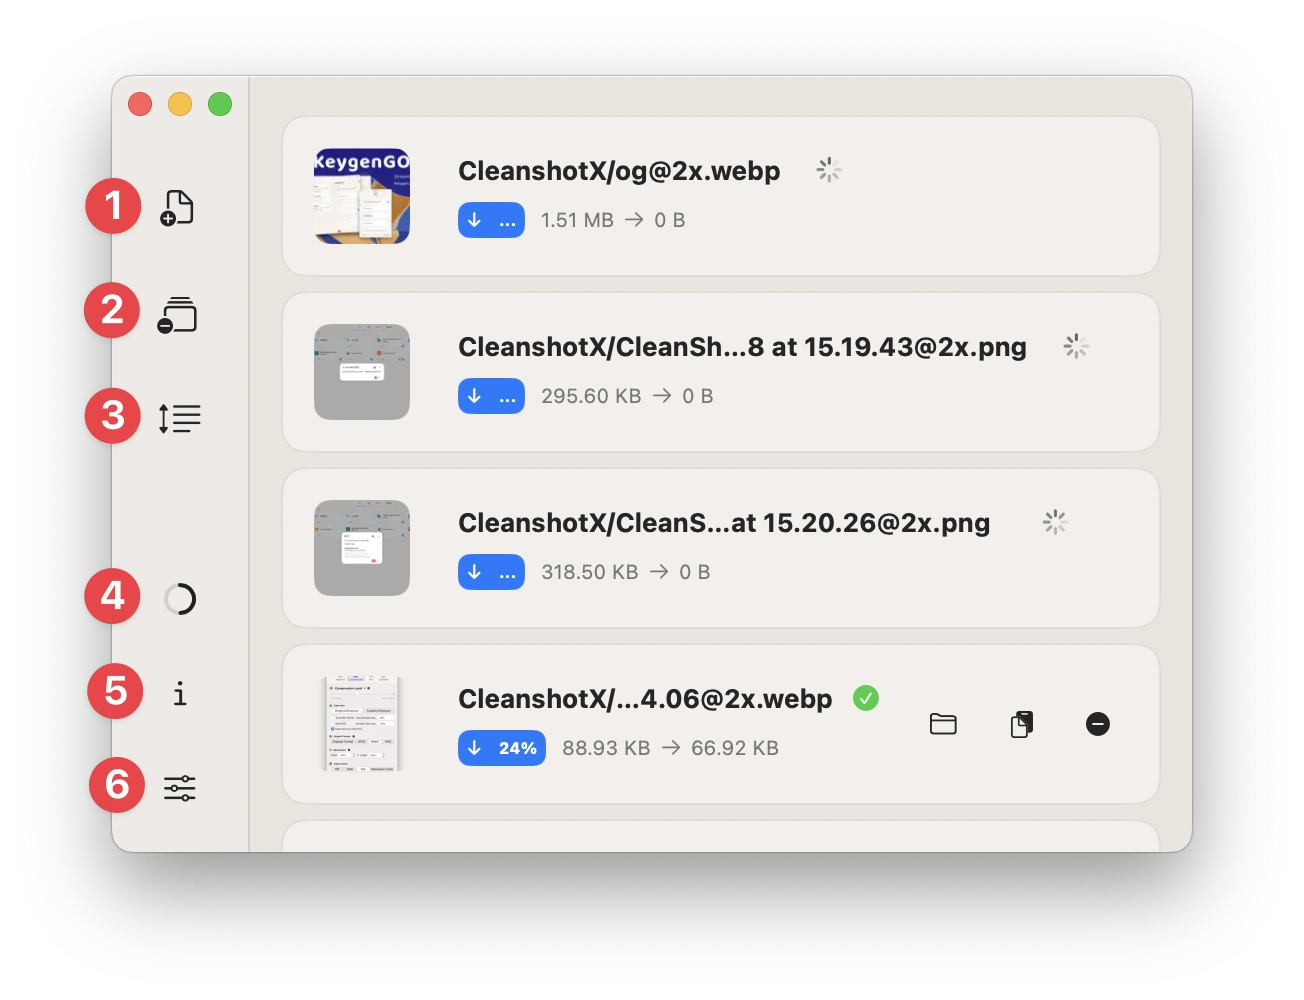
Use the history list for triage. Check the format column (did the WebP conversion happen?) and the ratios (99% often means the file was skipped). Open the comparison preview for anything ambiguous.
Zipic doesn’t persist this history across launches. If you want before-and-after pairs to remain on disk, save outputs to a separate folder via save options instead of replacing the originals.
Comparison Preview: Zoom, Pan, Tune
Clicking any thumbnail opens the comparison preview. The Free version shows a basic side-by-side view. Zipic Pro adds the controls needed for quality decisions:
- Zoom in for native pixel inspection. Banding, ringing, and softening become visible at 100% or higher.
- Pan across the image at zoom — most issues are localized to specific regions (skin, sky, text).
- Double-click to reset zoom.
- Bottom zoom slider for precise 50% or 200% levels.
- Compression strength slider inside the preview, with live re-render.
The in-preview strength slider changes the iteration. Without it: compress at Level 3, look, decide it’s too soft, change settings to Level 2, recompress, look again — four steps per round, losing zoom and pan position each time. With it: stay zoomed on the problem region and drag the slider until the artifact disappears or the file size stops shrinking.
Full preview details: view compression results in the Zipic basics guide.
How to Spot Over-Compression by Eye
Four common artifacts, in the order they appear as strength increases:
- Edge softening. UI 1px strokes and antialiased text edges lose crispness. Inspect at 200% zoom.
- Color banding. Smooth gradients (sky, studio backdrops, drop shadows, marketing-graphic backgrounds) break into visible steps. Visible at 100%.
- Block artifacts. High-frequency areas — trees, fabric, grass — show JPEG’s 8×8 blocks.
- Mosquito noise / ringing. Speckles near sharp edges, especially text on photo backgrounds.
When any of these appear in the preview, pull the strength slider back one or two ticks. Aim for the highest setting that produces no artifacts on your specific image — not on an average image, not on a review’s test image.
Practical rule: zoom to 100%, pan to the demanding region (face, sky, text, or fine texture), drag the slider down until the artifact disappears, then up one tick. That’s the maximum strength for this image type.
A Parameter Iteration Workflow
A structured pass takes a few minutes and avoids repeated recompressing. The workflow:
- Start at Level 3. Visually lossless for most content. Pair with WebP for general use, JPEG for compatibility, PNG only for transparency. See Image Compression Basics.
- Use a representative batch, not a single image. Five files from the same source — photo, screenshot, graphic, portrait, textured detail — surface problems a single image hides.
- Preview the hardest case. Usually a portrait, a sky gradient, or a screenshot with small text. If the preset works on the hardest case, easier ones will too.
- Tune in the preview. Use the strength slider until the demanding region passes; record that level.
- Save the level to the preset. Edit, save, run the full batch.
- Spot-check three random outputs. If they pass, the preset is ready.
Two common mistakes: tuning on a single easy image — the preset fails on harder ones at publish time; tuning only on the hardest — the preset is too conservative for the rest. The five-image sample avoids both.
Two related angles, separate from this guide: for a target file size (50 KB, 100 KB, 200 KB), see Compress Images to a Specific File Size. For the lossy/lossless decision, see Lossy vs Lossless Compression Explained.
Visualizing Compression Across Image Types
No single preset is right for every image type. The pattern that holds in practice:
| Image type | Starting level | Region to check first |
|---|---|---|
| UI screenshot, flat colors | Level 3 (WebP) | Small text edges, 1px UI strokes |
| Marketing graphic, gradients | Level 2 (WebP) | Banding in gradient backgrounds |
| Portrait photo | Level 3 (JPEG or WebP) | Skin tones, eye area, hair edges |
| Landscape photo | Level 3–4 (WebP) | Sky banding, foliage texture |
| Product shot, white background | Level 2 (JPEG) | Edge ringing at the product/background seam |
| App icon, logo | Lossless (PNG) | Edges at native pixel resolution |
| Charts, diagrams | Level 2 (PNG or WebP lossless) | Thin line crispness, text legibility |
The table isn’t worth memorizing — what matters is checking the right region for each type. After a few rounds across your usual content, the right preset becomes automatic; only unusual images need a preview.
Free vs Pro: What the Preview Differs By
The basic side-by-side preview is available in Free Zipic. Pro adds:
- Zoom in / out beyond fit-to-window
- Pan at zoom
- Double-click to reset zoom
- Bottom zoom slider
- In-preview compression strength slider with live re-render
The in-preview strength slider is the main workflow difference. Without it, before-and-after inspection still works — just not iteration inside the same window. Free is enough for one-off compression. For tuning a preset reused across thousands of images, the slider saves iteration time.
Quick Takeaways
- Compression ratio isn’t quality. 90% saved on a UI screenshot is normal; 90% on a portrait warrants inspection.
- Read the record list first, then preview. Format, ratio, and size let you triage before opening the image.
- Click the thumbnail to compare. Zipic Pro adds zoom, pan, and an in-preview strength slider so you can tune without recompressing.
- Four artifacts in order. Edge softening → banding → block artifacts → ringing, as strength increases.
- Tune on the hardest image in the batch. A preset that survives a portrait or a small-text screenshot survives the rest.
- Save outputs to a separate folder during tuning. Use Replace Original only for production batches.
FAQ
Why doesn’t Zipic show an SSIM or PSNR score in the preview? Numerical metrics are useful for engineering benchmarks but inconsistent with human perception per image. A photo can score 95% SSIM and still show visible sky banding; another can score 85% and look identical to most viewers. Zipic’s preview is built for the only reliable test — your eye on your image at the publish resolution.
Can I compare two compressed versions against each other? Manually, yes: keep the first version, recompress the original at different settings, open both in Preview / Quick Look side by side. The in-preview strength slider is faster — dragging it is effectively a live comparison of two compressed versions.
The preview looks identical at Level 2 and Level 4. Is something wrong? Probably not. Images with limited tonal range and low high-frequency detail (flat-color graphics, UI screenshots) survive aggressive settings without visible change. Check the file size column: if Level 4 is meaningfully smaller, use Level 4; if it’s similar to Level 2, the codec has reached a floor.
Does compressing the same image twice cause cumulative quality loss? For JPEG and other lossy codecs, yes — each lossy pass discards more information. Zipic’s Smart Skip recognizes already-compressed files and skips them by default. Re-compression runs only when settings or source files change.
What about programmatic before-and-after comparison for CI? Outside the preview UI’s scope — for automated workflows, see the URL Scheme guide and the folder monitoring workflow. The preview is for tuning; CI is for applying tuned presets at scale.
Related Articles
- How to Compress Images on Mac — The Complete Guide
- Compress Images to a Specific File Size (50 KB, 100 KB, 200 KB)
- Lossy vs Lossless Compression Explained
- DPI, Compression Ratio & File Size Explained
Zipic documentation: Image Compression Basics · User Interface Guide
Try Zipic
Download Zipic, drop a representative batch into the main window, and tune your preset in the comparison preview until the hardest image in the batch still looks right. Every download includes a full 7-day Pro trial. See pricing.
Related Reading
How to Compress Images on Mac: 5 Methods That Work
Learn how to compress images on Mac with drag-and-drop, Finder, presets, format conversion, and batch automation while protecting originals and quality.
Why Zipic Kept libwebp for WebP but Built Its Own AVIF Encoder
Zipic keeps Google's libwebp for WebP but built avifoptim after libavif failed to preserve iPhone HDR photos. The engineering trade-off explained.
Best gifski Alternative on Mac: When One Video at a Time Isn't Enough
gifski is a great video-to-GIF encoder, but it cannot batch, monitor folders, or compress existing GIFs. Here is the Mac gifski alternative for those jobs.
How to Compress and Optimize SVG Files on Mac with Zipic
Need an SVG optimizer on Mac? Compress and optimize SVG files with Zipic — strip editor bloat, pick from six compression levels, and batch entire icon sets.