How to Compress and Optimize SVG Files on Mac with Zipic
Need an SVG optimizer on Mac? Compress and optimize SVG files with Zipic — strip editor bloat, pick from six compression levels, and batch entire icon sets.
SVG is the format of choice for icons, logos, and flat illustrations on the web — it stays crisp at any size and is usually tiny. But an icon exported from Figma, Sketch, or Illustrator is rarely as small as it could be. The SVG file arrives carrying editor metadata, comments, hidden layers, and far more decimal precision than any screen needs. None of it shows up on screen; all of it adds bytes.
If you are looking for an SVG optimizer on Mac, Zipic handles SVG compression directly — no separate tool, no command line. This guide covers why SVG files carry that extra weight, how to compress them with Zipic, and how to pick the right level for icons you cannot afford to break.
Why SVG Files Need Optimizing
An SVG is text — an XML document that describes shapes, paths, and colors. That is what lets it scale without blurring, and it is also why it picks up clutter so easily.
A freshly exported SVG usually contains:
- Editor metadata — the name of the app that made it, document IDs, and export settings.
- Comments and hidden elements — layers that were switched off, notes left by the design tool.
- Excess precision — coordinates written to ten decimal places when two would render identically.
- Redundant attributes — repeated styling that could be defined once.
For a single icon the difference is small. For a website or an app that loads dozens of icons on every screen, the unoptimized bytes add up — slower page loads and a heavier bundle, for a result that looks no different.
What Zipic Does to an SVG
Zipic optimizes an SVG by removing what does not affect the picture: unnecessary metadata, comments, and redundant attributes, plus trimming numeric precision to what the rendering actually needs. The shapes, paths, and colors that draw the image stay intact, so the optimized file looks identical to the original.
SVG compression is a Zipic Pro feature, and it runs through the same flow as every other format — there is no separate mode to switch into. Drop an SVG in, and Zipic optimizes it the same way it would a JPEG or a PNG.
How to Compress SVG Files with Zipic
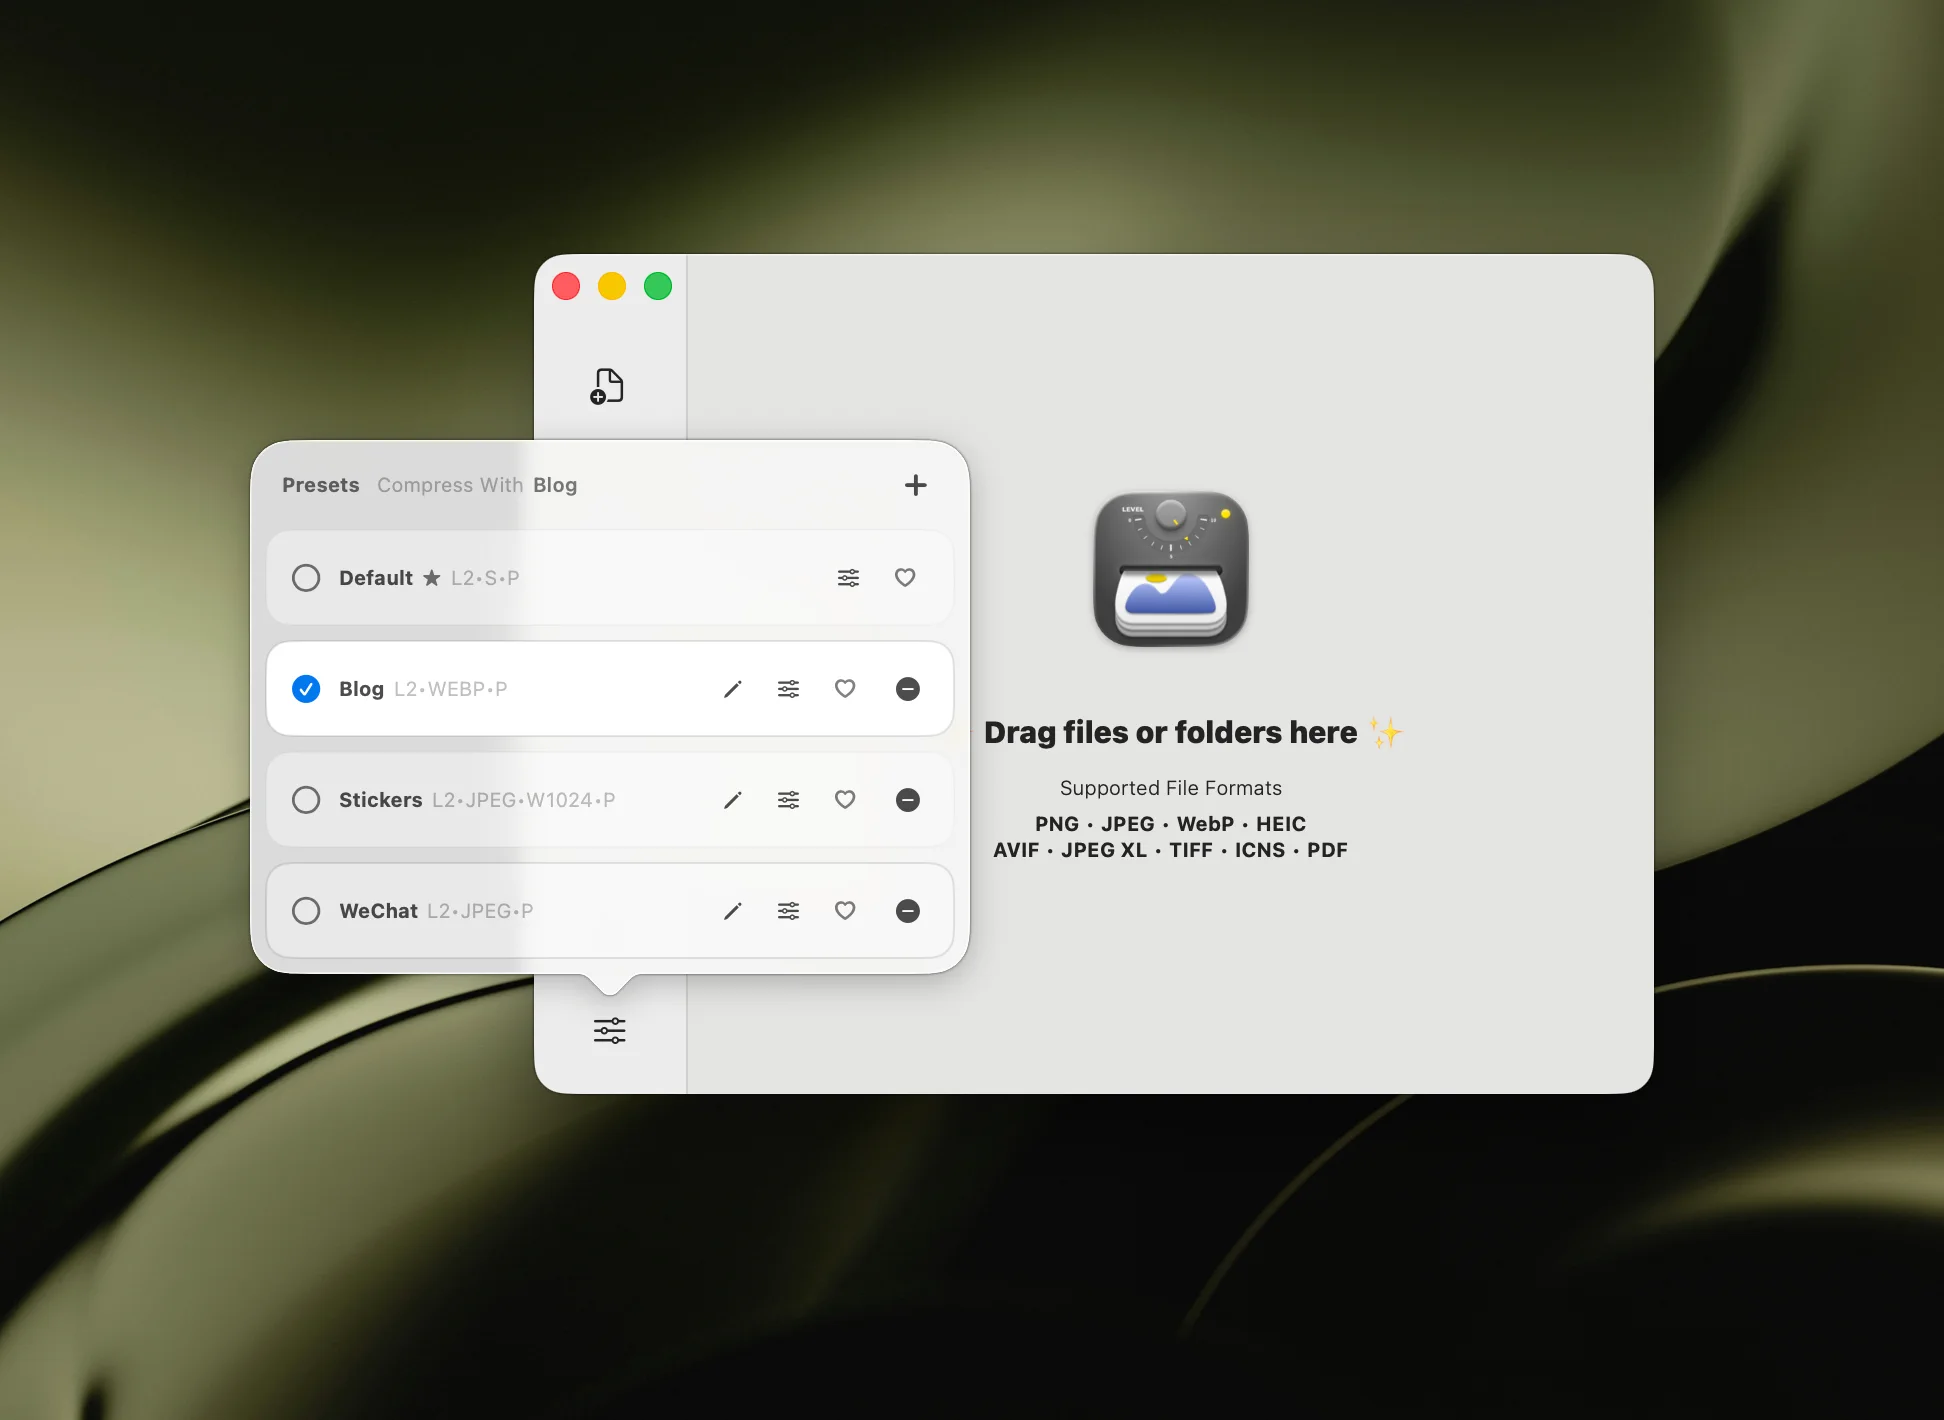
With Zipic, you set up a preset first, then drop your files onto it.
- Open Zipic’s preset settings and pick the compression level you want — the level scale is covered in the next section.
- Drag your SVG files onto the Zipic window, or onto the menu-bar Notch. You can drop a single file or a whole folder.
- Zipic optimizes each file the moment it lands. There is no separate Compress button.

Format conversion is not involved — an optimized SVG stays an SVG. The compression log shows the size before and after for each file.
Choosing the Right Compression Level
Zipic offers six compression levels for SVG, from a conservative cleanup to maximum optimization.
- Lower levels make safe changes only — stripping metadata and comments, with light precision trimming. Use these for icons with fine detail, or any SVG you want to change as little as possible.
- Higher levels optimize more aggressively, restructuring paths and cutting precision further. They produce the smallest files and suit simple, geometric icons.
A practical approach: start in the middle, check the result, and move up a level if the file still looks right. Most icon sets compress cleanly at a middle level. The full level scale is described in the Image Compression Basic guide.
Checking the Result with the Comparison View
Optimizing an SVG too hard can distort a curve or drop a thin stroke, and that is hard to catch in a file browser. Zipic’s comparison view renders both versions as live vectors — not flattened screenshots — so you can zoom in to any level and confirm the optimized SVG matches the original.
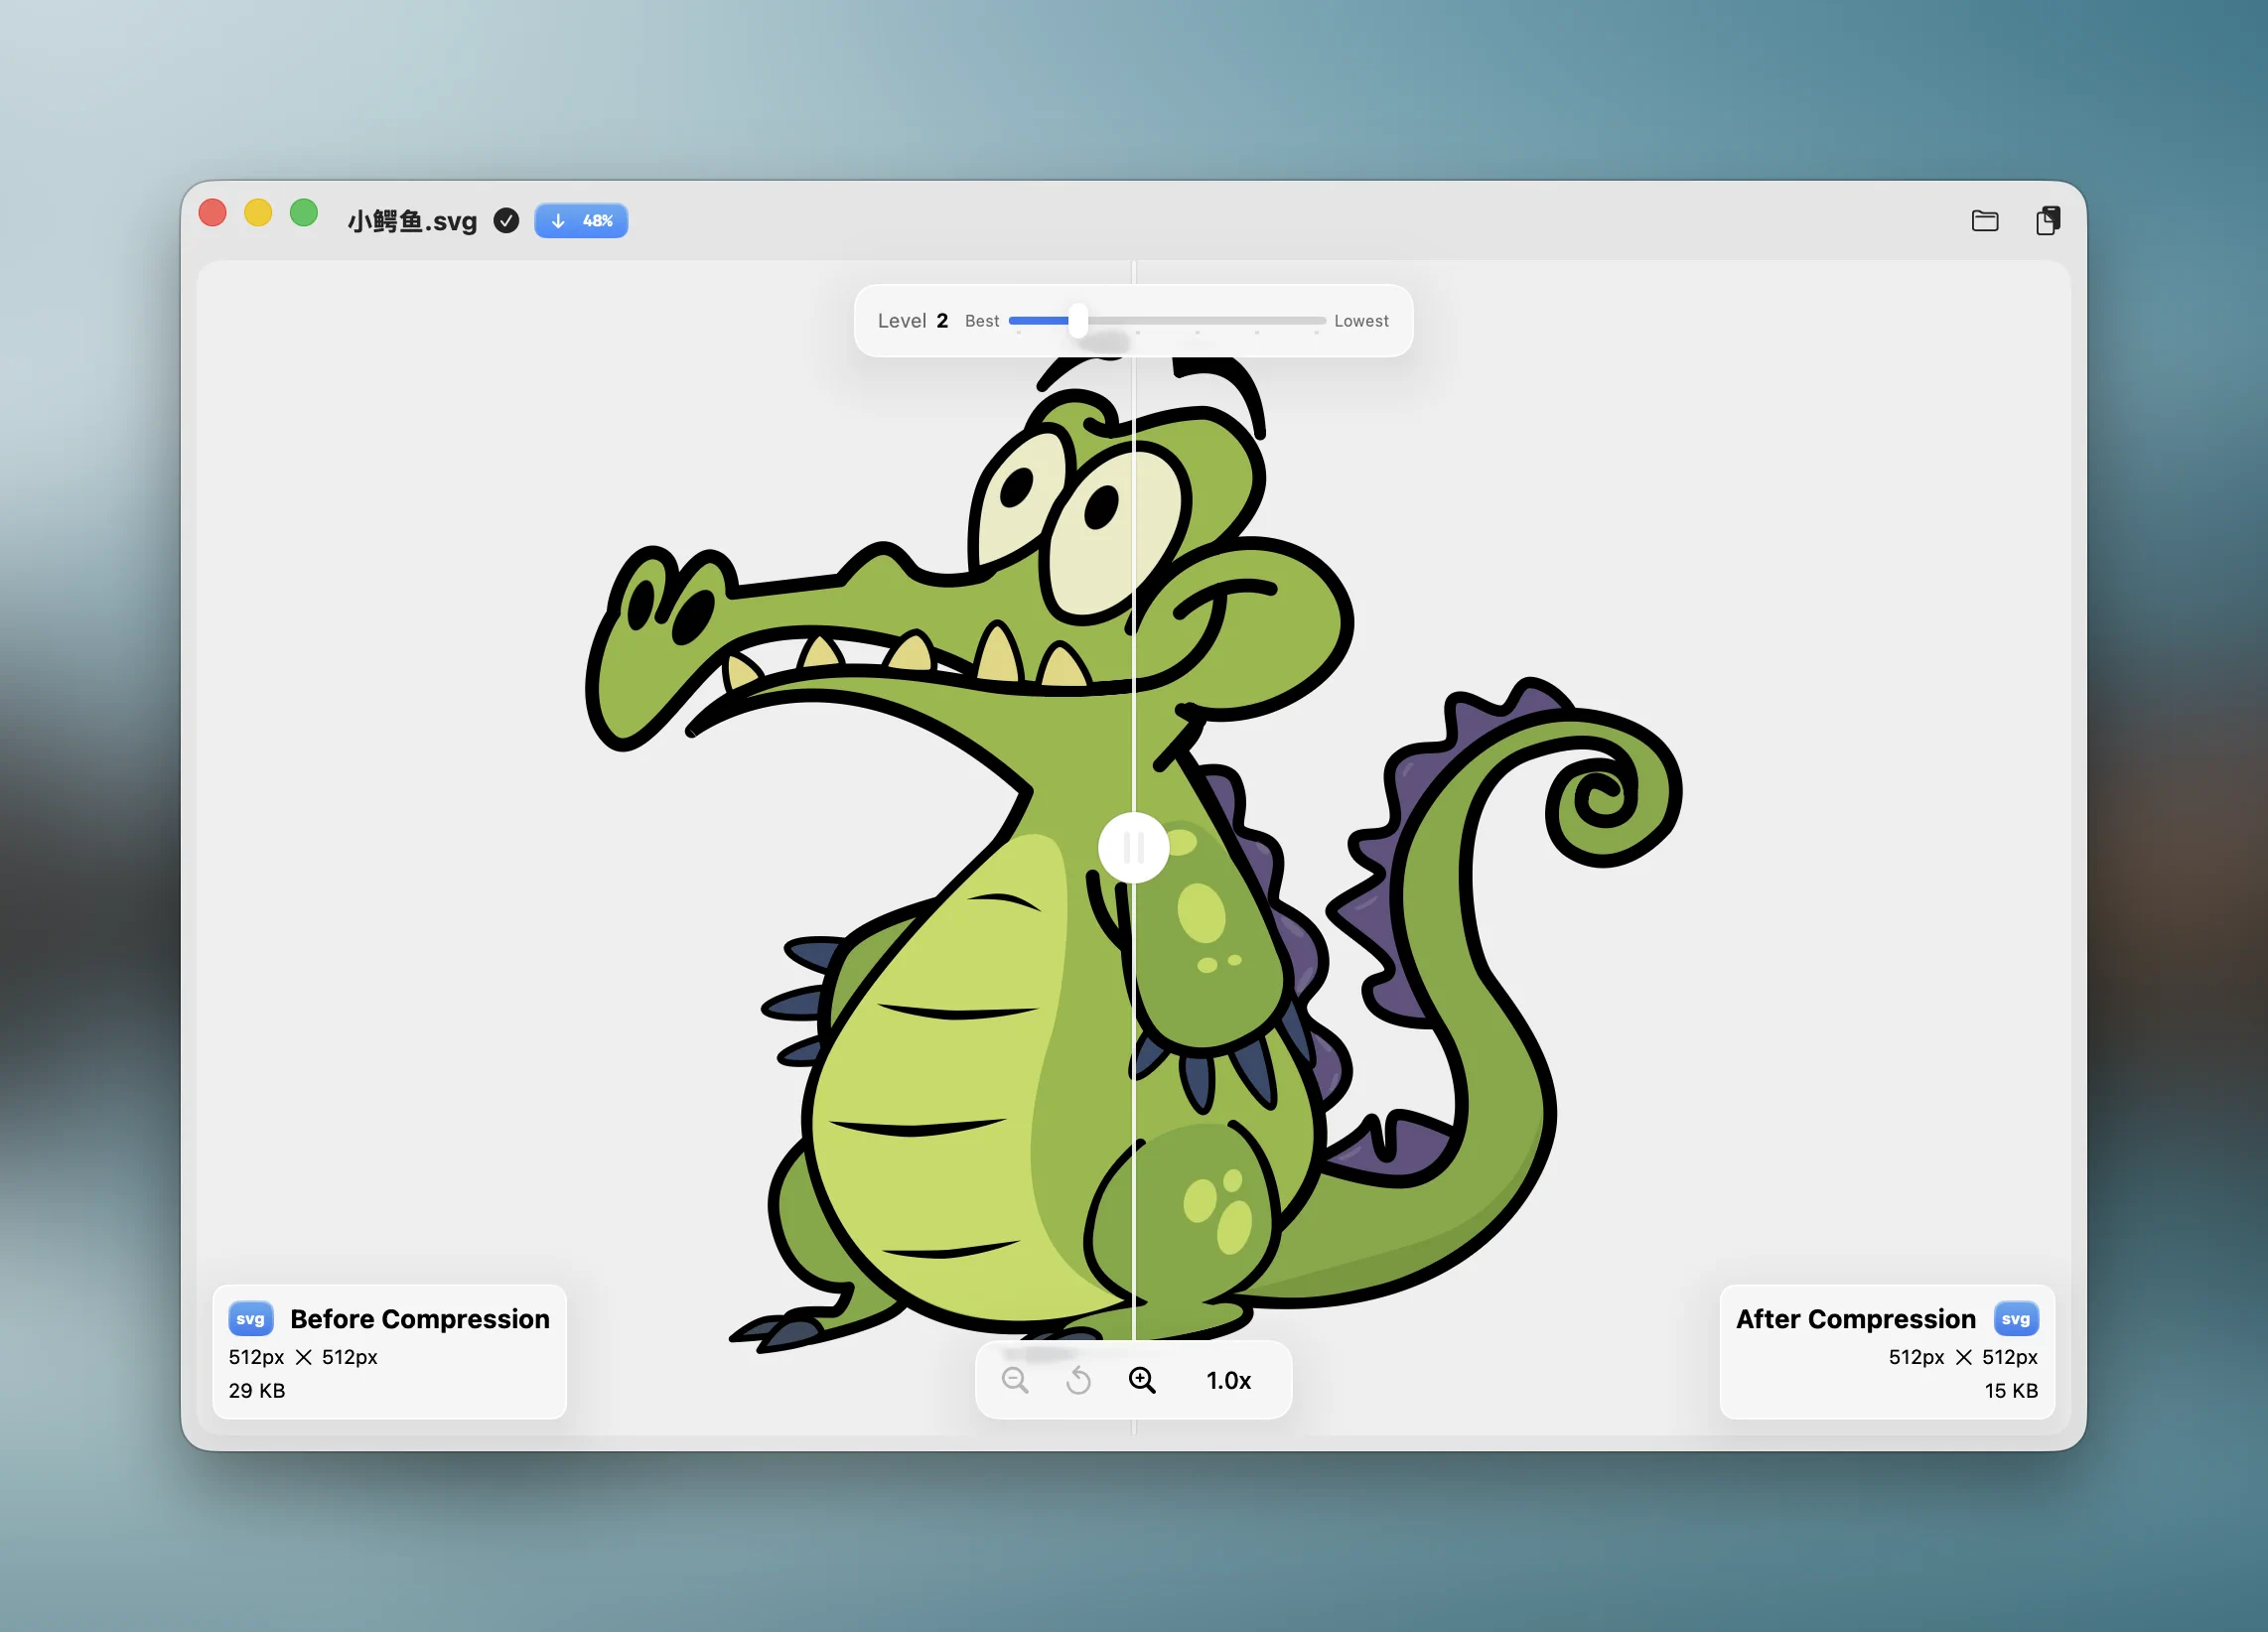
For curves and small strokes, zoom all the way in. If the optimized version holds up there, it holds up everywhere.
Batch-Optimizing an Icon Set
SVG optimization pays off most when there are many files. A design system or icon library can hold hundreds of SVGs, and optimizing them one at a time is not realistic.
Drop a whole folder onto Zipic and every SVG inside is optimized with the preset you picked. For a folder that keeps getting new icons, point Zipic’s Folder Monitoring at it — each SVG is optimized automatically the moment it is saved or exported there, so the versioned files in your repo are always the optimized ones.
This fits naturally into a design handoff: see image compression for design teams for the wider workflow, and batch compress images on Mac for how folder processing works across formats.
Try It
Download Zipic, drop in a folder of SVG icons, and watch them lose their editor bloat with no visible change. Every download includes a full 7-day Pro trial — SVG compression is a Pro feature, so the trial is the quickest way to try it on your own files. See Pro pricing when you are ready.
For the full list of formats Zipic handles and how to pick one, see Choosing Image Formats.
Related Articles
- Choose the Right Image Format — when SVG is the right choice and when it is not
- Image Compression Workflow for Design Teams — where SVG optimization fits in a design handoff
- Optimize Images for the Web — SVG icons inside a full-page budget
- Batch Compress Images on Mac — folder-level compression across formats
- Image Tools for Content Creators — a wider toolkit for visual assets
Related Reading
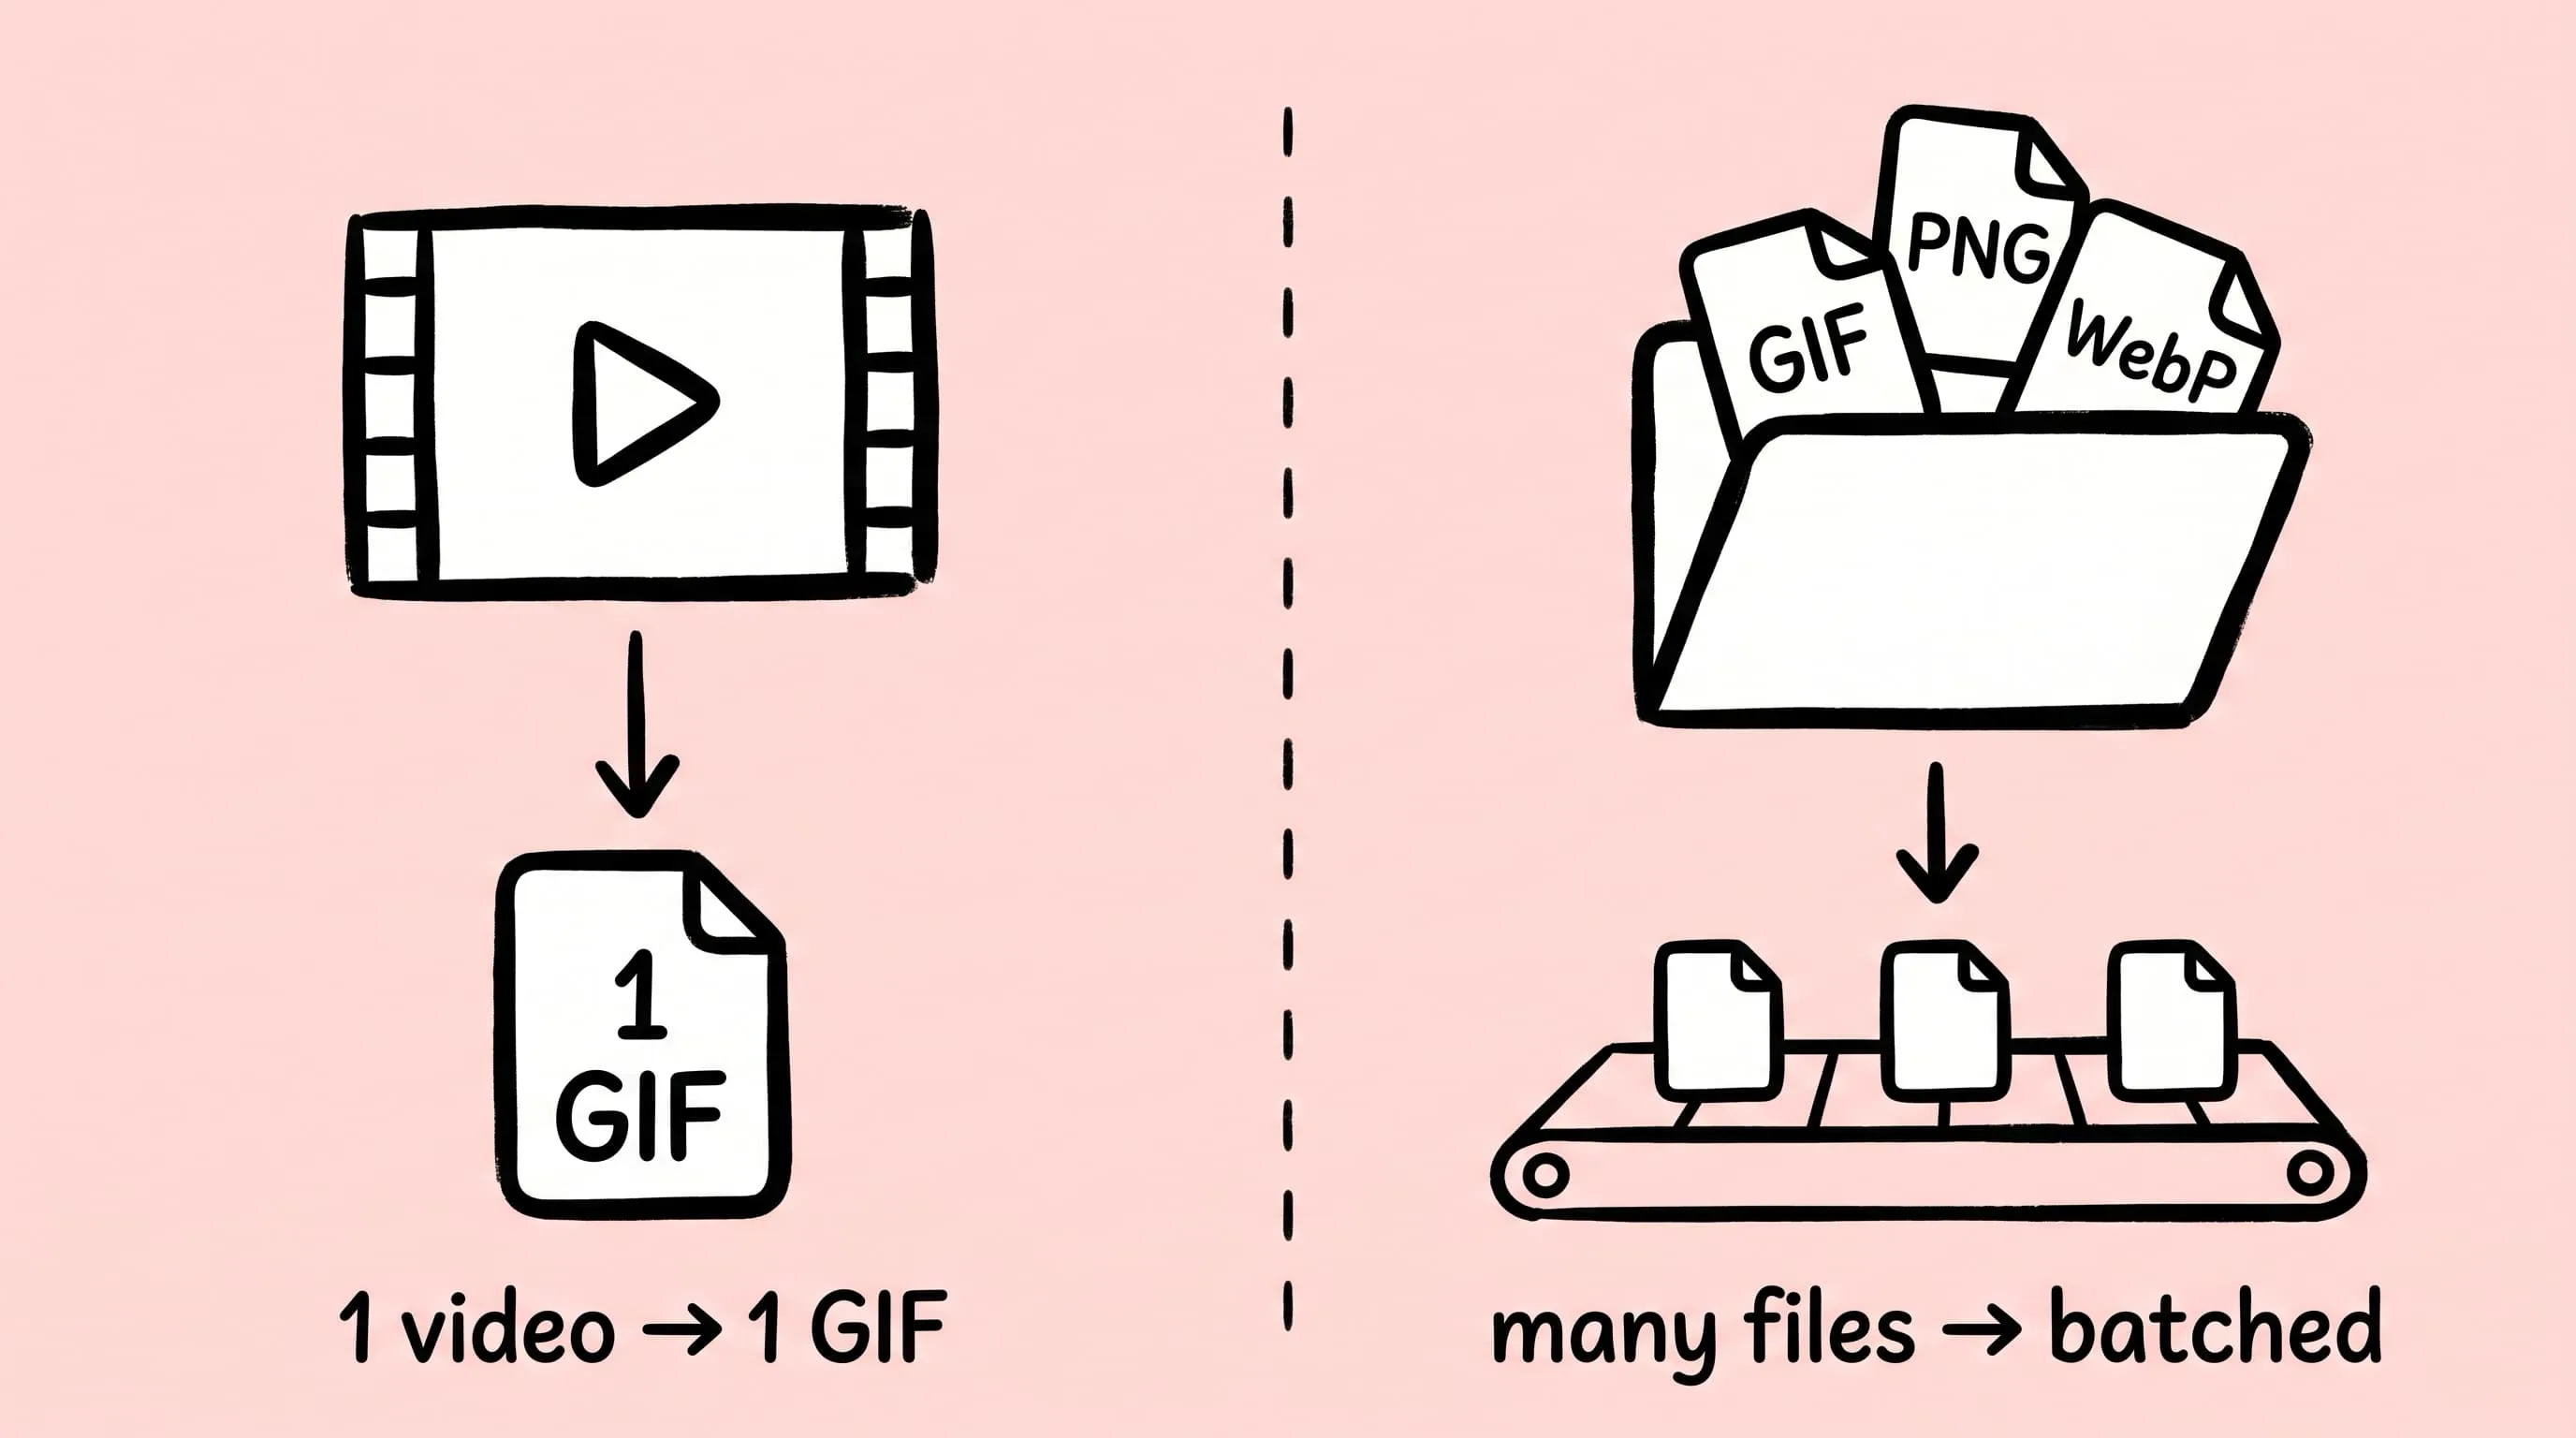
Best gifski Alternative on Mac: When One Video at a Time Isn't Enough
gifski is a great video-to-GIF encoder, but it cannot batch, monitor folders, or compress existing GIFs. Here is the Mac gifski alternative for those jobs.
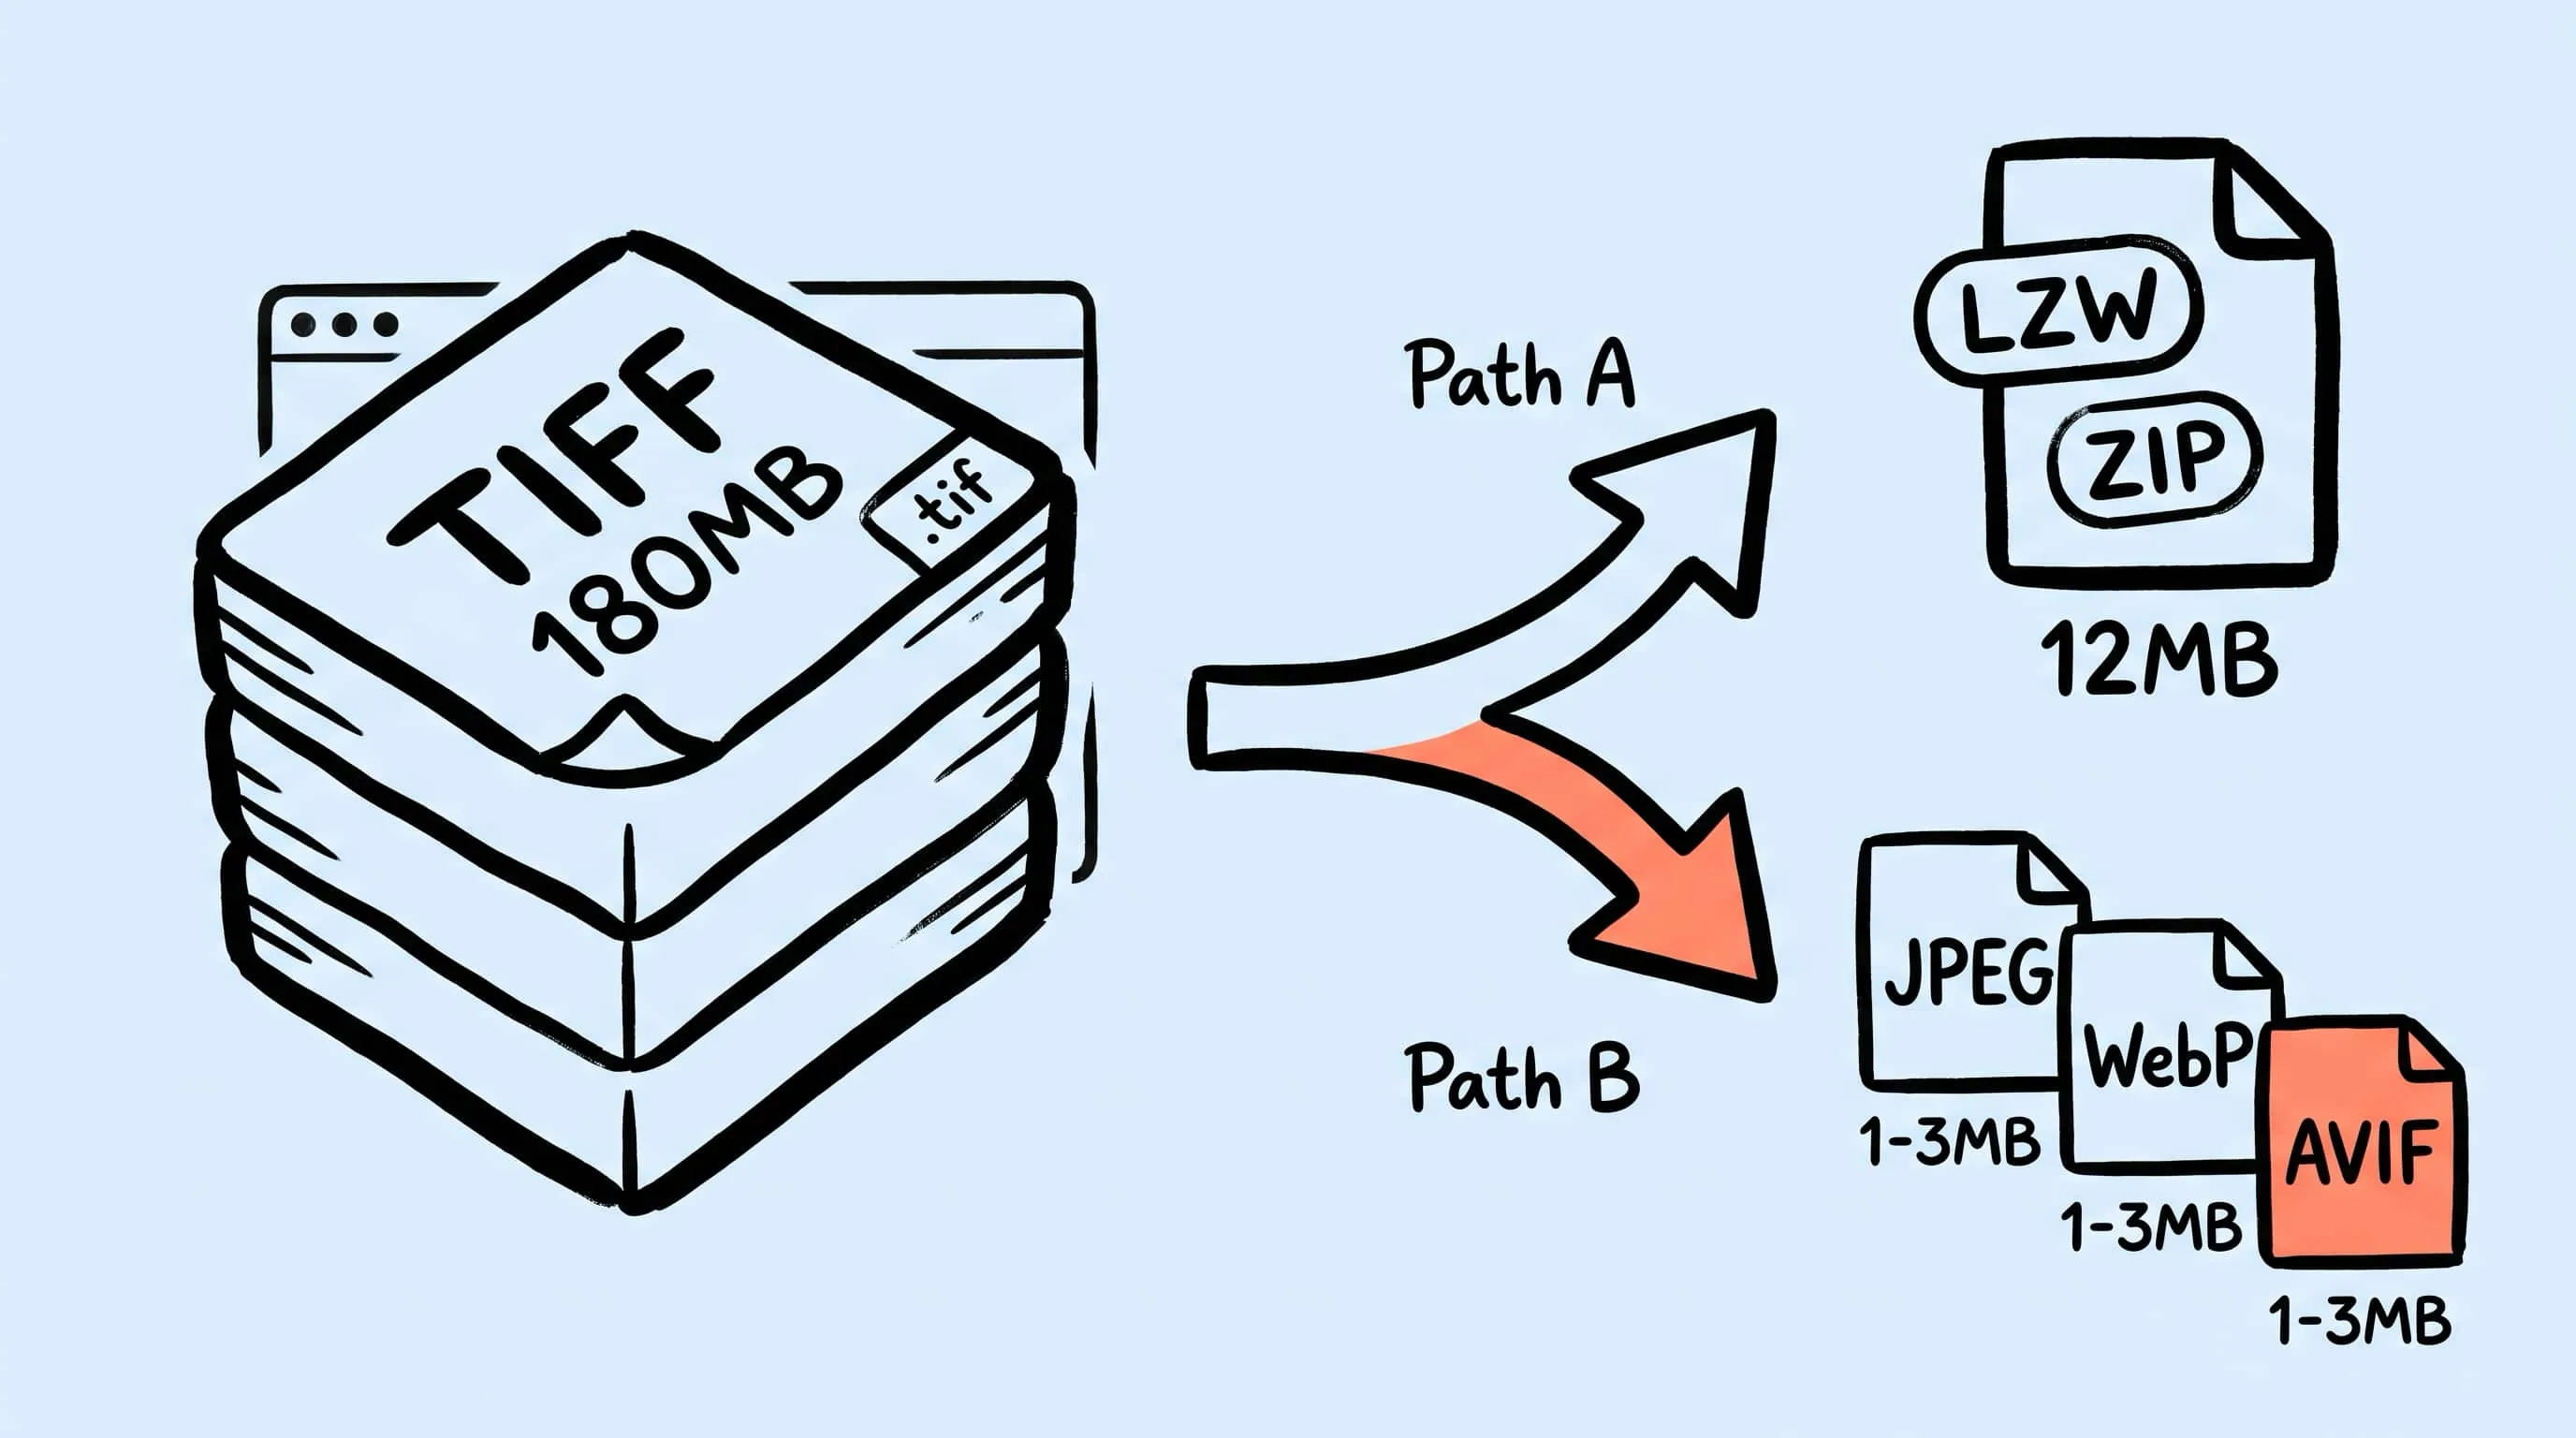
TIFF Compression: How to Reduce Large TIFF Files on Mac
Compress TIFF files on Mac without losing quality. Compare LZW vs ZIP, shrink 100 MB scans, and batch convert TIFF to JPEG, WebP, AVIF, HEIC, or JXL with Zipic.
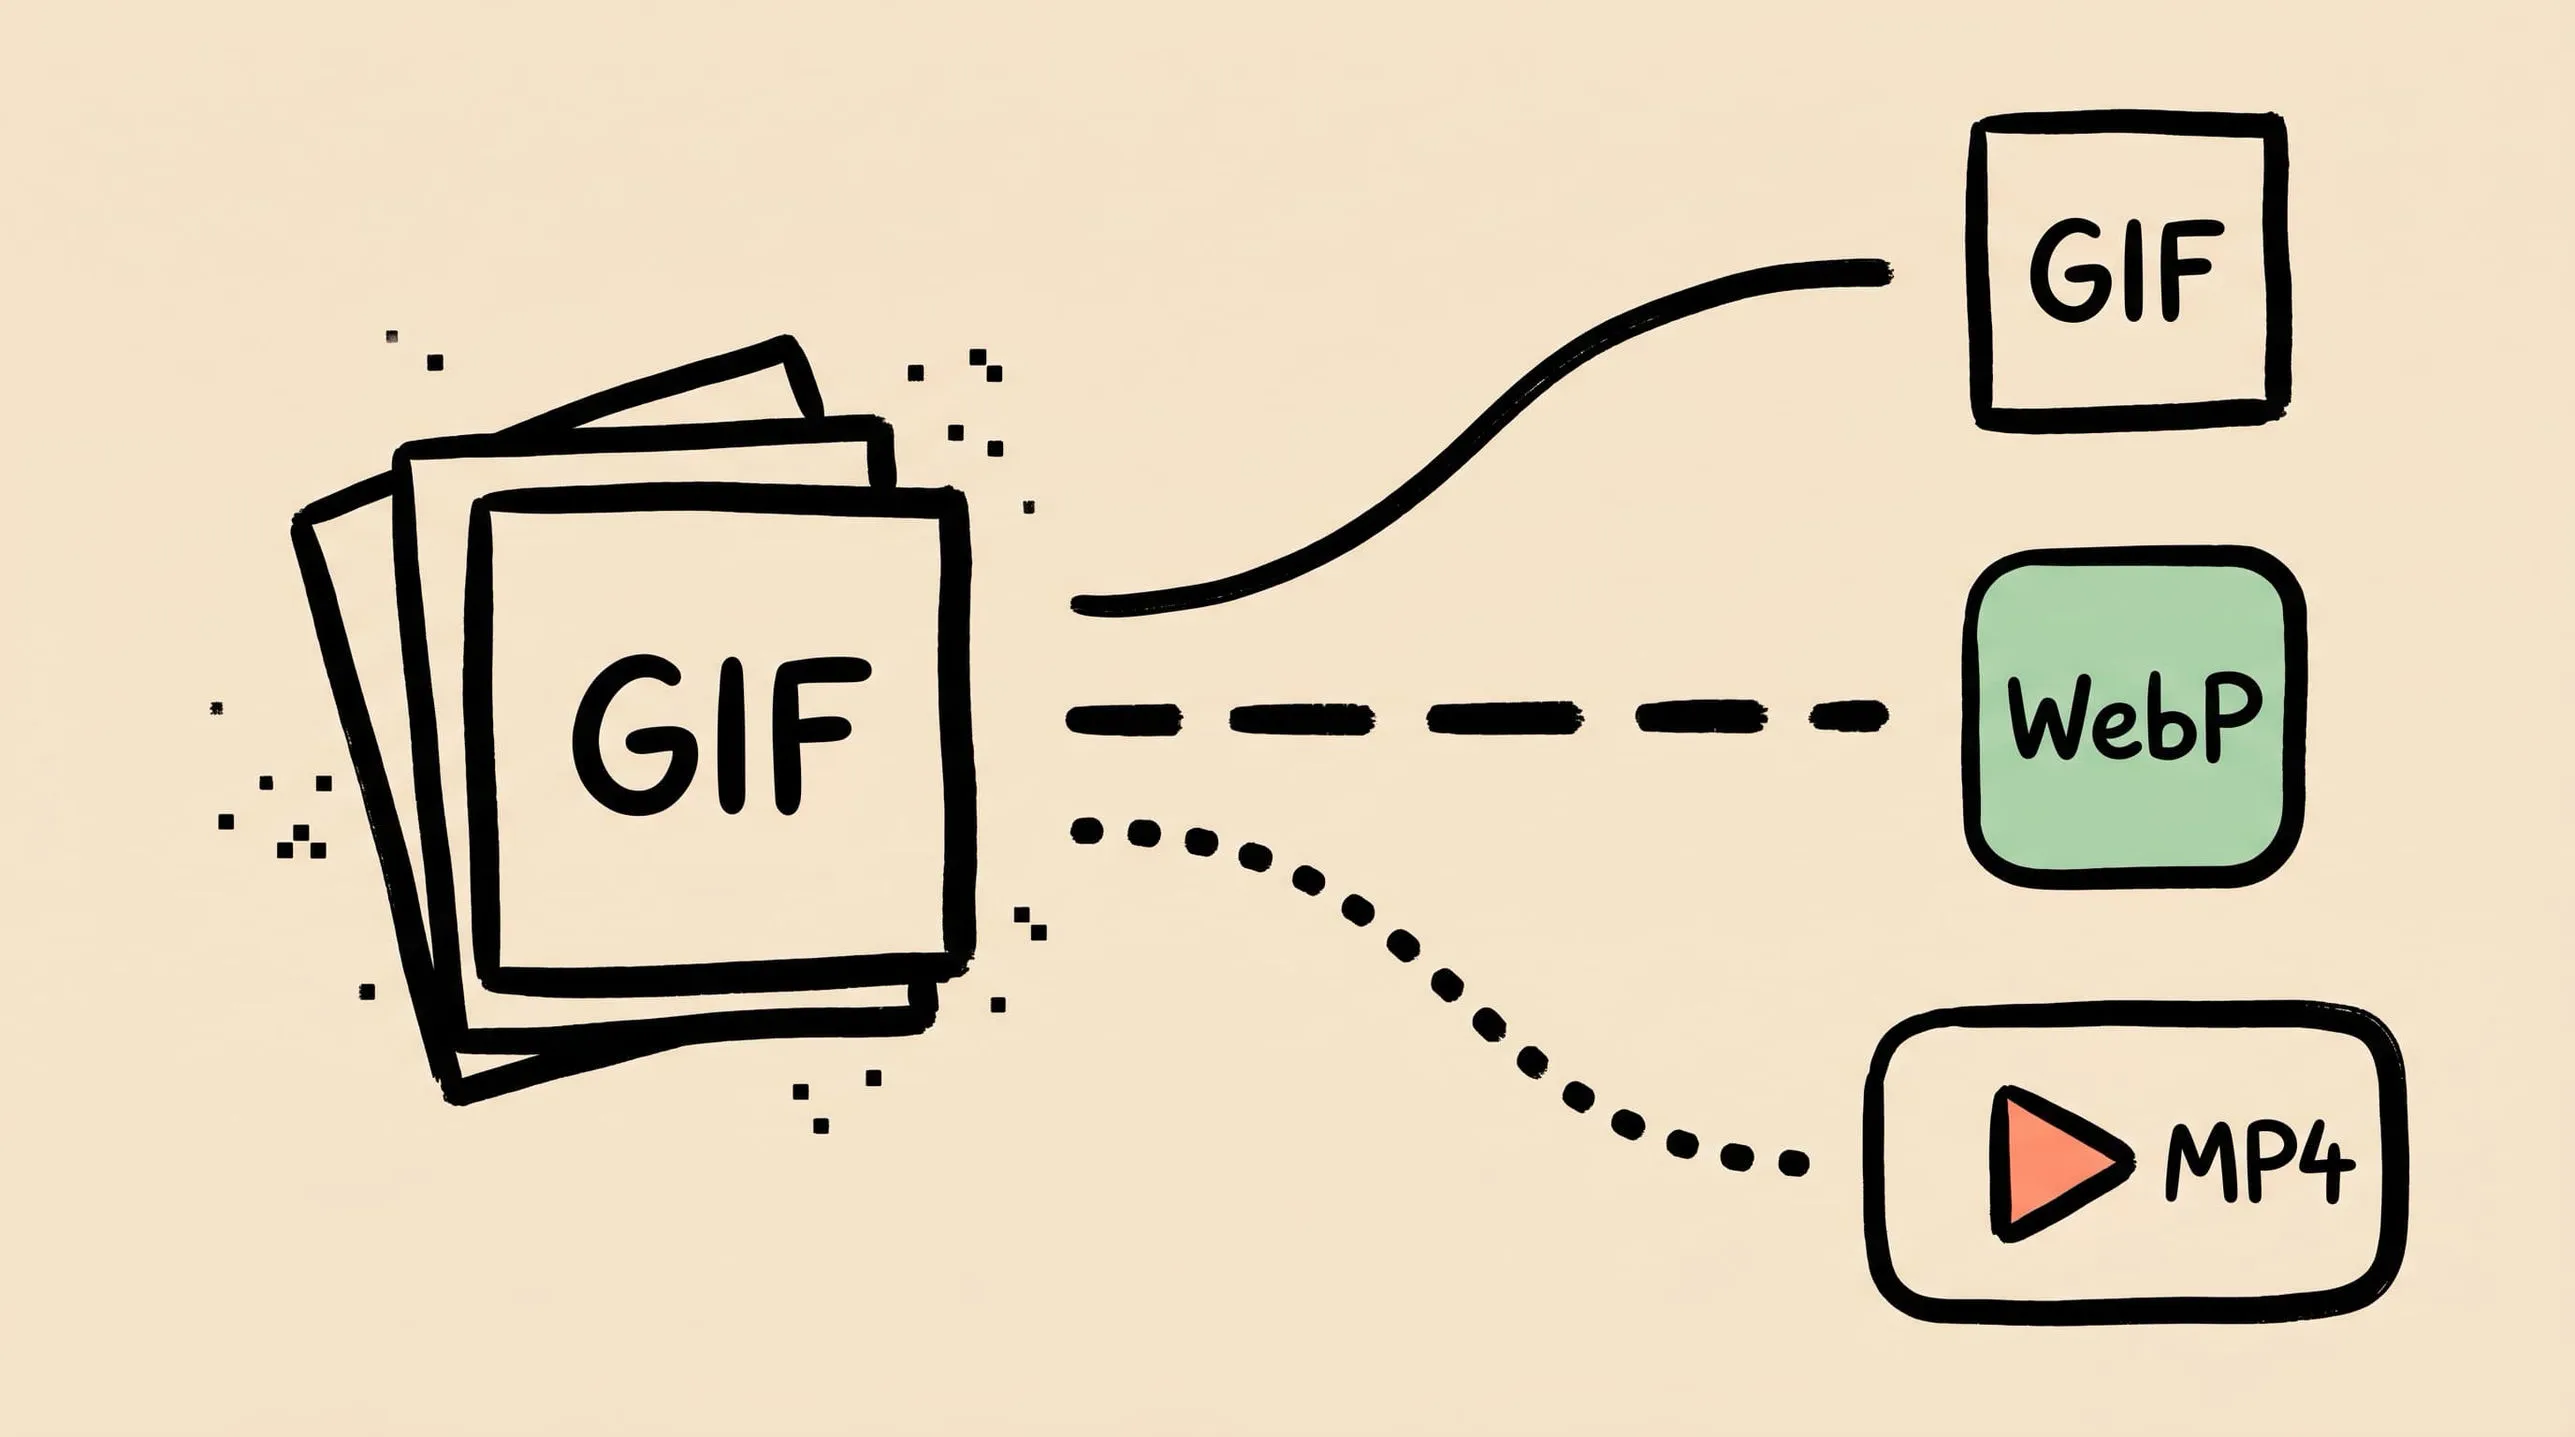
GIF Compression on Mac: Reduce Size and Keep Animation
Animated GIFs are often 10x larger than they need to be. Learn why, when to keep GIF vs convert to WebP/MP4, and how to compress GIFs on Mac in 2026.

WebP Image Optimizer for Mac: Convert and Compress to WebP
Looking for a WebP image optimizer on Mac? Zipic is a native WebP compression tool that converts JPEG, PNG, and HEIC to WebP with batch processing and quality control.