Raycast Image Compression: Hotkey Compress with Zipic
Set up Raycast image compression with the Zipic extension on macOS. Install, bind a global hotkey, and compress any Finder selection in one keystroke.
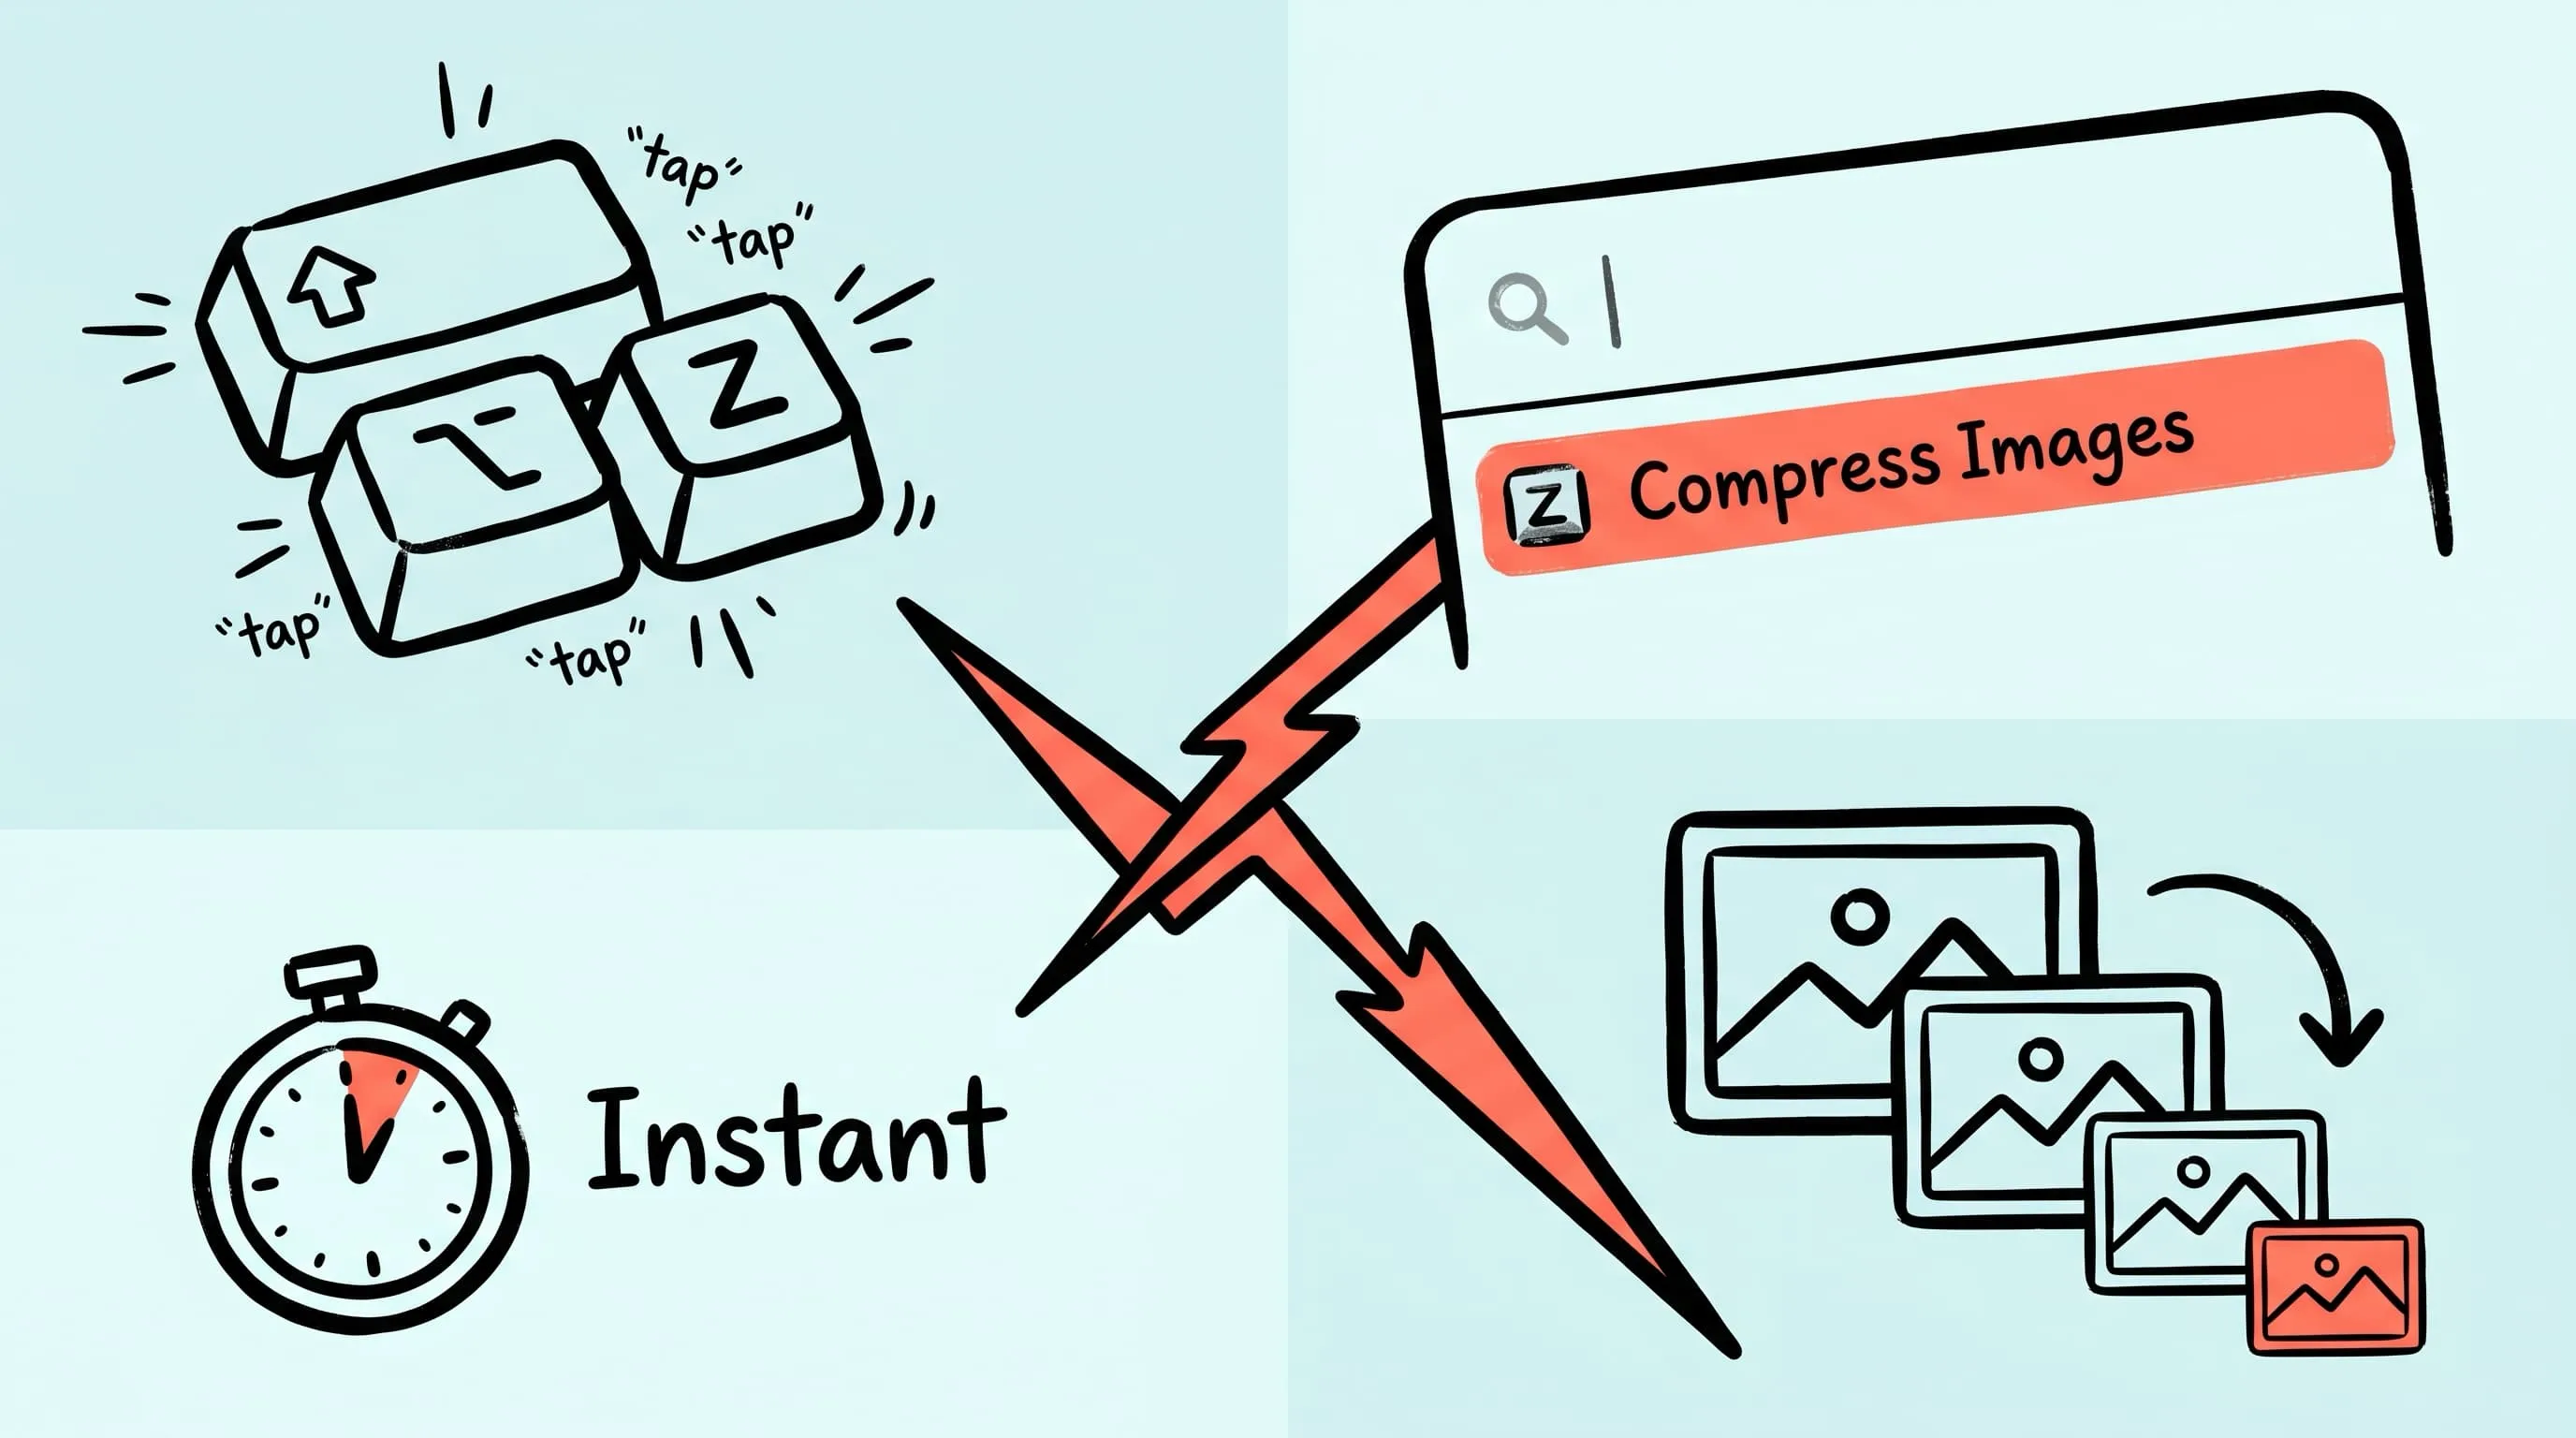
Raycast won over a lot of Mac users by doing one thing better than anything else: turning a global hotkey into an action. The Zipic extension drops image compression onto that same surface — select a few files in Finder, hit one shortcut, the work is already done.
This is the keyboard-first route. If you arrived here from the Apple Shortcuts automation guide or the folder monitoring guide, this is the third piece of the trio: Raycast for one-off, hotkey-driven compression.
Why Raycast for Image Compression
Three Mac surfaces, three sweet spots. Raycast wins exactly one of them — the “I have a few files in Finder, compress them now, get out of my way” moment. No app switch, no menu, no drag.
- Folder Monitoring — set-and-forget on a directory. Best when the same folder fills up forever (Desktop screenshots, Downloads, design exports).
- Apple Shortcuts — programmable triggers, parameter prompts, Share Sheet, scheduled runs on macOS 26. Best when you need branching logic or a Quick Action in Finder’s right-click menu.
- Raycast Extension — a single global hotkey that compresses whatever you’ve selected. Best when you live in Raycast already and want compression to be one keystroke away.
As of May 2026, Raycast on macOS has crossed 2,000 store extensions and reached version 1.104+. Adding Zipic to that surface puts image compression alongside your clipboard history, window manager, and AI extensions — all driven by the same hotkey muscle memory.
Quick Takeaways
- The official Zipic Raycast extension is published by
okooo5kmwith the command Compress Images, and currently has 3,000+ installs. - Two install paths: inside Raycast (
store→ search “Zipic”) or via the web store. Both land the same extension. - The fast path is Hotkey Mode — bind
⇧⌥Z, select files in Finder, press the combo. Done. - The extension is a thin Raycast wrapper over Zipic’s URL Scheme — every compression goes through the engine you already configured in Zipic’s main app.
- Both free and Pro users can run the extension. Free accounts compress up to 25 images per day; Pro lifts the cap and unlocks AVIF, JPEG-XL, TIFF (lossless), ICNS, SVG, PDF, and APNG.
- For “compress every screenshot the moment it lands,” Raycast is the wrong tool — see the folder monitoring guide.
Install the Zipic Extension in Raycast
Two paths. Pick whichever matches the muscle memory you already have.
Path 1: Install From Inside Raycast
Faster if Raycast is already running.
- Open Raycast (
⌘ + Spaceby default). - Type
storeand press Enter to open the Extension Store. - Search
Zipic. - Find Images Compression by
okooo5kmand press Enter to install.
Path 2: Install From the Web Store
Use this when someone sends you a link, or you want to read the description before installing.
- Visit the Raycast Extension Store and search
Zipic, or jump straight to the Images Compression listing. - Click Install Extension. Raycast handles the rest.
The extension requires Zipic to be installed on your Mac. If it isn’t yet, download Zipic first — the extension fires Zipic via URL Scheme and won’t do anything without the app.
Method 1: Compress with the Raycast Command
The “I just installed it, what now” path. Slower than the hotkey, but worth knowing — it’s the surface where you’d later remap, configure, or chain commands.
- In Finder, select the images or folders you want to compress.
- Open Raycast (
⌘ + Space). - Type
compress. - Pick Compress Images.
- Press Enter.
Compression happens in the background using whichever preset is currently active in Zipic. No window opens, no progress dialog steals focus — Raycast hands the selection to Zipic and exits.
If you want a different preset for this run, switch the active preset inside Zipic’s main app first, then fire the Raycast command. The extension always reads Zipic’s current configuration; it deliberately ships no settings UI of its own, which keeps the command surface minimal.
Method 2: Bind a Global Hotkey for Instant Compression
This is why people install the extension. Once a hotkey is bound, Raycast itself doesn’t even need to be visible — pressing the combo dispatches Compress Images against your current Finder selection.
Step 1: Open Raycast Settings
Open Raycast → Settings → Extensions → find Images Compression under your installed extensions.
Step 2: Set the Hotkey
In the Hotkey field next to the Compress Images command, click and press your combo. We recommend ⇧ + ⌥ + Z — it’s mnemonic (Z = Zipic) and rarely conflicts with system or app shortcuts.
Step 3: Use the Hotkey Anywhere
Select files or folders in Finder, press ⇧ + ⌥ + Z, and Zipic compresses them immediately. No ⌘ + Space, no typing, no menu navigation.
This is the lowest-friction compression flow on the Mac. Time-to-result is measured in milliseconds — pick files, press combo, files are compressed before your finger leaves the keyboard.
How the Raycast Extension Talks to Zipic
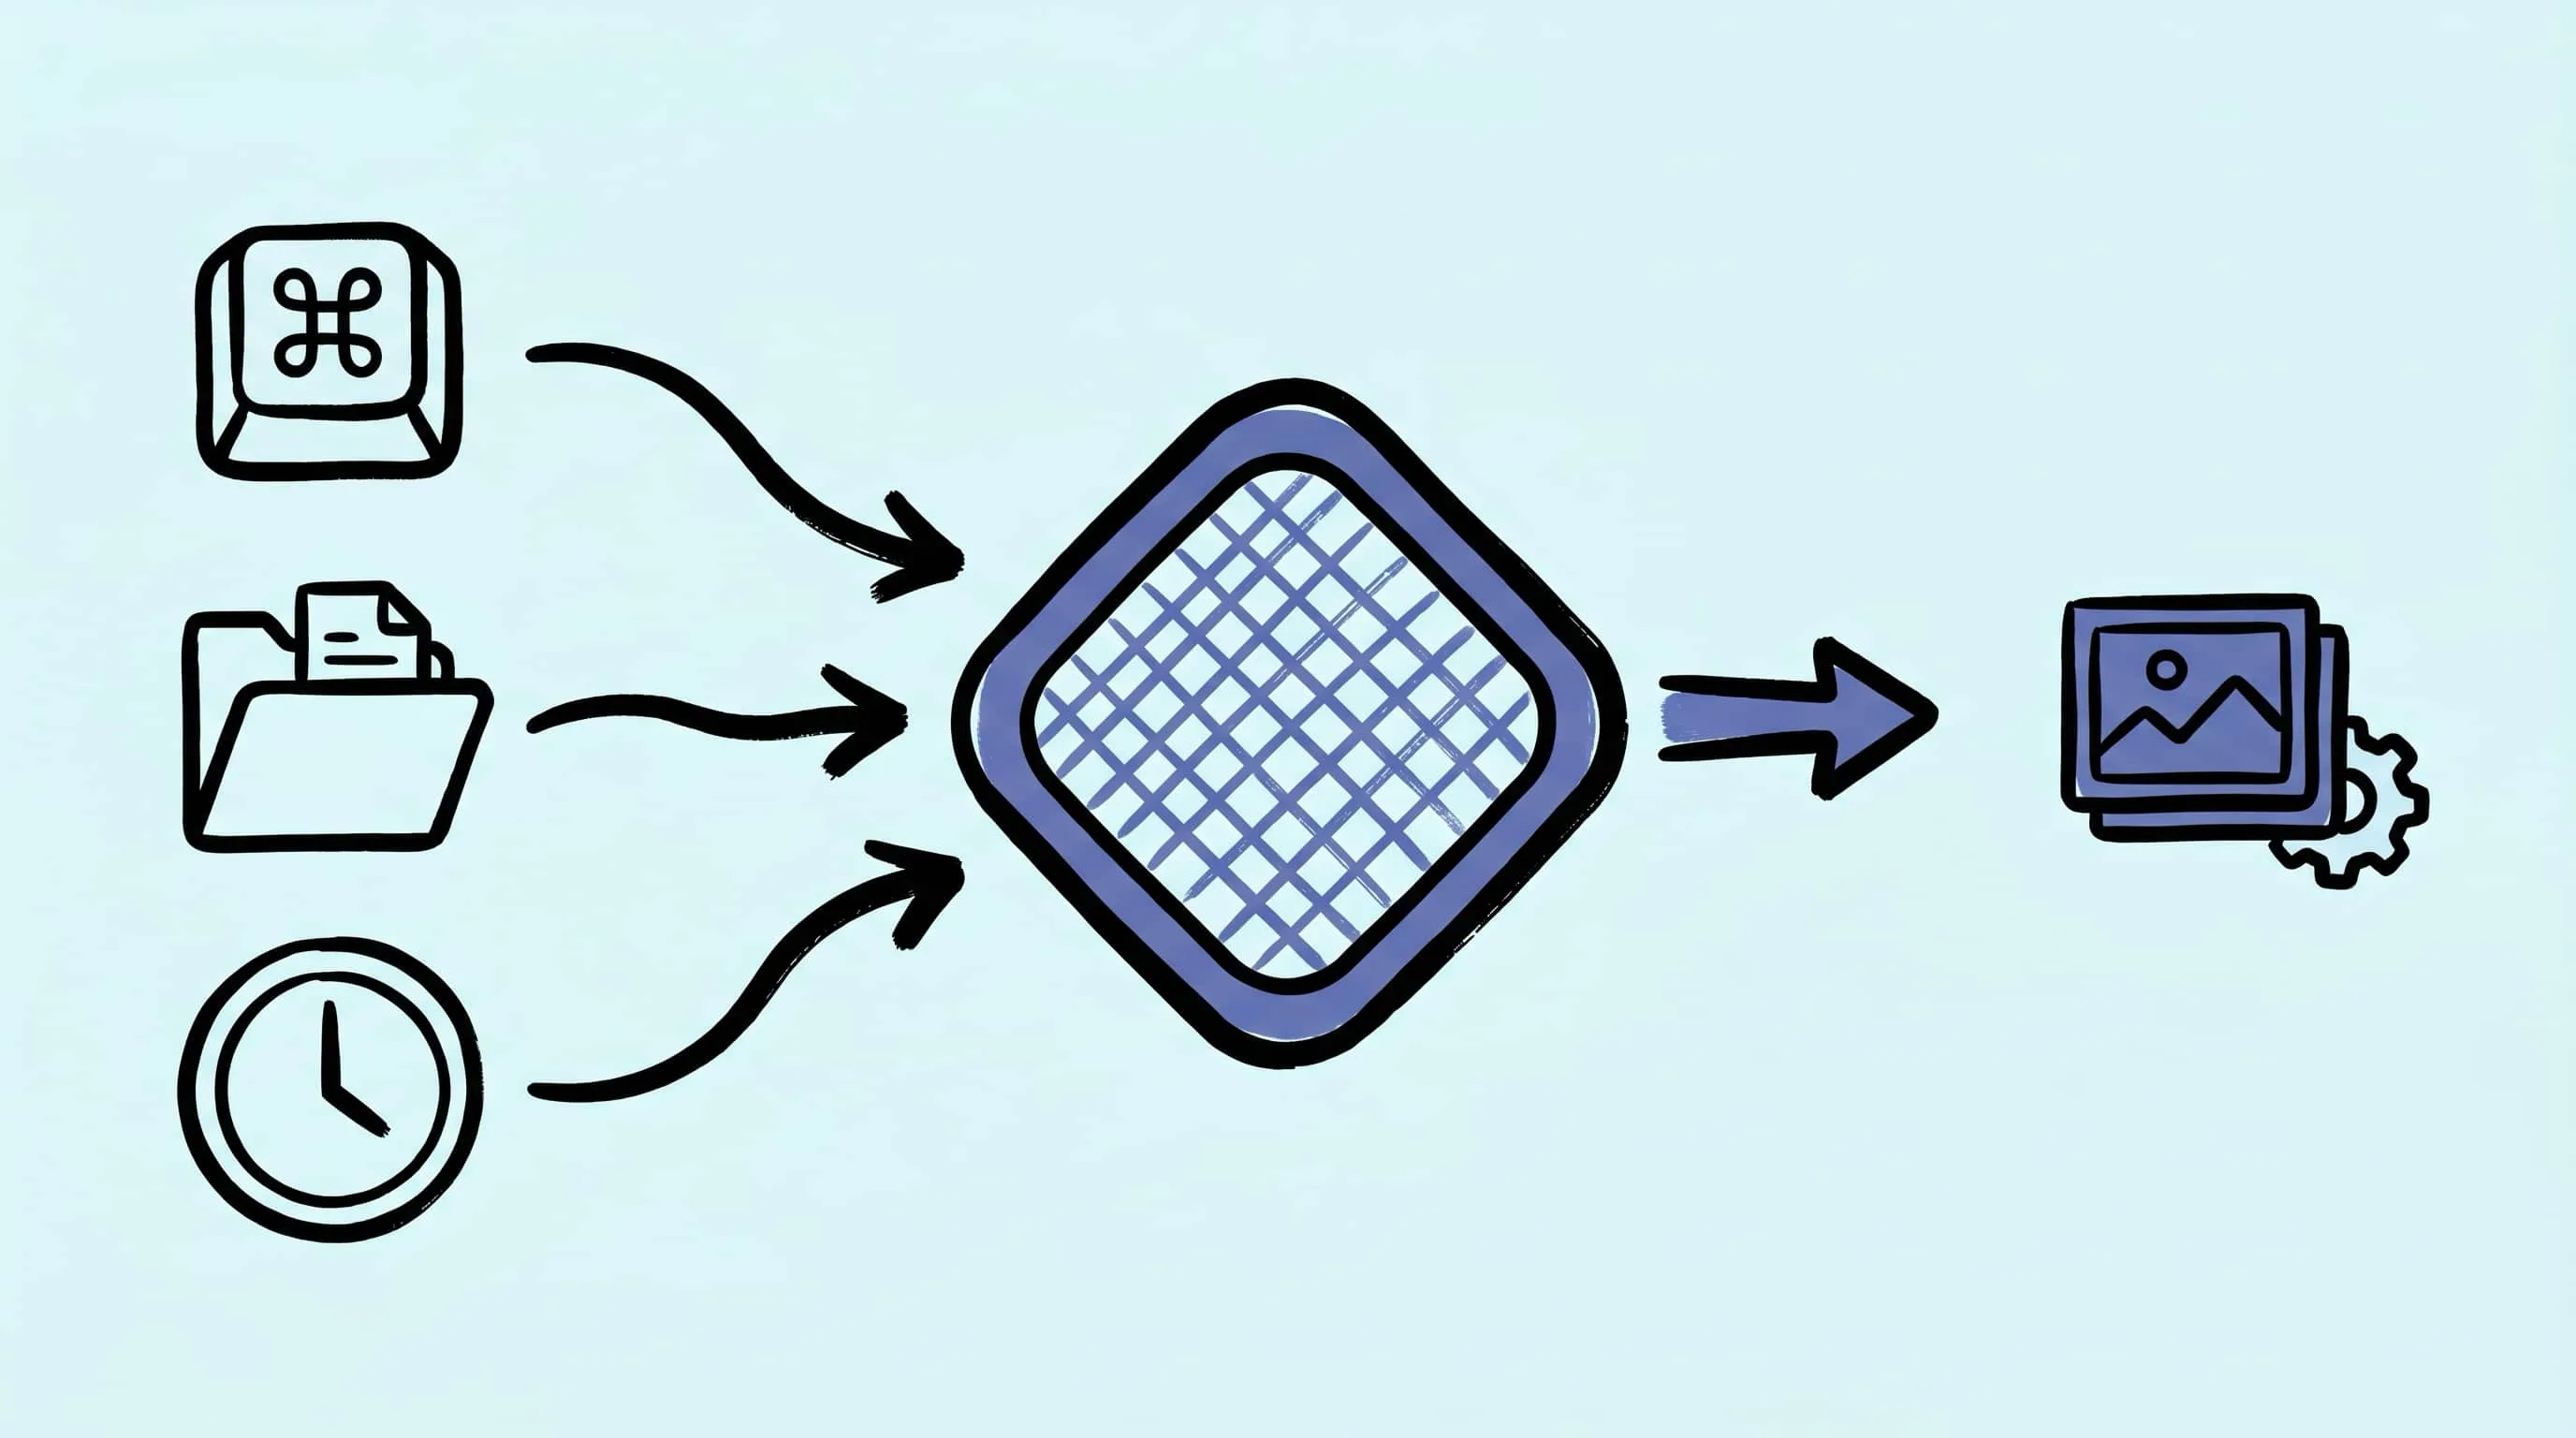
The extension is intentionally thin. Under the hood it dispatches Zipic’s URL Scheme — zipic://compress?url=<path> — for every selected Finder item. That has two practical implications:
- Your active preset wins. Compression level, output format, save location, resize rules — whatever you’ve configured in Zipic’s main app is what the extension applies. Raycast doesn’t pass parameters of its own.
- The same engine handles everything. Whether you trigger compression from Raycast, Apple Shortcuts, a shell script, or Zipic’s own drag-and-drop, every byte runs through the same compression engine. Quality and output stay consistent across surfaces.
If you need per-call parameters — different formats per project, different quality levels per recipient — wrap the URL Scheme in Apple Shortcuts instead. The Raycast extension is built for “respect the preset, fire instantly.”
Raycast vs Apple Shortcuts vs Folder Monitoring
Three surfaces, three jobs. Don’t try to make Raycast do what Folder Monitoring does, or vice versa.
| Surface | Best for | Trigger | What it costs you |
|---|---|---|---|
| Raycast Extension | One-off, hotkey-fast compression of a Finder selection | Global hotkey or Raycast command palette | One preset at a time |
| Apple Shortcuts (AppIntents) | Conditional logic, Share Sheet, time-of-day runs, parameter prompts | Quick Action, hotkey, menu bar, time-of-day, Share Sheet | Slightly more setup |
| Folder Monitoring | Always-on watch on a directory (Desktop, Downloads, exports) | File-system events | Pro only; one-time configuration per folder |
A real-world stack often uses all three. The author’s setup looks like:
- Folder Monitoring on
~/Desktop— every screenshot gets compressed before I drag it anywhere. - Apple Shortcuts in the Share Sheet — for compressing one image out of Safari or Photos with format conversion.
- Raycast
⇧⌥Z— for the “I selected three exports in Finder and want them squashed before I attach them to email” moment.
If you only adopt one, pick the surface that matches how you trigger work. Live in Raycast already? Install the extension. Live in Apple’s automation surfaces? Use AppIntents inside Shortcuts. Want compression to happen without you triggering anything? Configure Folder Monitoring.
Five Real Workflows for Raycast + Zipic
The hotkey is the fast part — pairing it with the right Zipic preset is what turns it into a real workflow.
1. Pre-Email Resize and Squash
- Zipic preset: Level 4, JPEG, resize to width 1600.
- Raycast trigger:
⇧⌥Z. - Use it: Pick attachments in Finder, press the combo. Email-ready files in under a second — comfortably under Gmail’s 25 MB cap.
2. Mid-Article Screenshot Cleanup
- Zipic preset: Level 3, WebP, save in place.
- Raycast trigger:
⇧⌥Z. - Use it: While writing a doc or blog post, take screenshots, then select them in Finder and squash. PNGs come out as noticeably smaller WebPs (Google’s official WebP study measured around a 45% drop on typical web PNGs) without leaving your editor flow.
3. Hand-Off Folder for a Designer or Client
- Zipic preset: Level 2, original format, save to a
_compressed/subfolder. - Raycast trigger:
⇧⌥Zafter selecting the source folder. - Use it: Originals stay untouched; the compressed mirror sits next to them. Drop the subfolder into Drive or Slack.
4. Avatar/Thumbnail Pipeline
- Zipic preset: Level 4, AVIF (Pro), resize to 512×512, save in place.
- Raycast trigger:
⇧⌥Z. - Use it: Drop raw avatar uploads into a holding folder, select them all in Finder, press the combo. Square AVIFs come out ready for upload.
5. App Icon Slice Squash
- Zipic preset: Level 4, PNG, save in place.
- Raycast trigger:
⇧⌥Zagainst anIcon.appiconset/folder selected in Finder. - Use it: Squashes every PNG slice in the asset catalog without you opening Xcode or Zipic’s main window. Pairs nicely with the web developers guide when you’re cleaning up a release branch.
Common Issues and Fixes
A short list of “I pressed the hotkey and nothing happened” causes:
- Zipic isn’t installed. The extension is a wrapper around Zipic’s URL Scheme. Download Zipic first.
- Files aren’t selected in Finder. The extension reads the Finder selection at the moment you press the hotkey. If Finder doesn’t have focus on the files you want, nothing gets compressed.
- Preset is wrong. Compression went through, but the output isn’t what you expected? Open Zipic, switch the active preset, and re-fire the hotkey.
- Hotkey conflicts.
⇧⌥Zis uncommon on purpose, but if it clashes with another app, change it in Raycast → Settings → Extensions → Images Compression.
Related Articles
- Automate Image Compression with Apple Shortcuts and Zipic — when you need branching logic, Share Sheet, or scheduled runs instead of a single hotkey.
- macOS Automation: Auto-Compress with Folder Monitoring — the right tool for “compress everything that lands in this folder, forever.”
- Batch Compress Images on Mac — every batch surface side by side, including drag-and-drop and Finder right-click.
- Image Compression for Web Developers — calling the same URL Scheme from Node, Python, and CI.
- Zipic URL Scheme Guide — the parameter reference behind every Raycast call.
Documentation: Raycast Extension | Workflow Integration
Ready to bind the hotkey? Download Zipic — free for 25 images per day. Every download includes a full 7-day Pro trial. Zipic Pro unlocks AVIF, JPEG-XL, TIFF, ICNS, SVG, PDF, APNG, folder monitoring, and unlimited batches as a one-time purchase.
Related Reading
Automate Image Compression with Apple Shortcuts and Zipic
Drive Zipic Pro's native AppIntents from Apple Shortcuts on macOS. Five ways to trigger compression — Quick Action, in-app hotkey, menu bar, Share Sheet, and scheduled automation — paired with five real recipes.
macOS Automation: Auto-Compress with Folder Monitoring
Set up automatic image compression on macOS with Zipic's folder monitoring. Auto-compress screenshots, downloads, and design exports as they appear.
Batch Compress Images on Mac: 5 Fast Methods That Scale
Batch compress images on Mac with folders, Finder, Raycast, monitoring, or Shortcuts. Compare setup, automation, Pro needs, and safe output options.
How to Compress Images on Mac: 5 Methods That Work
Learn how to compress images on Mac with drag-and-drop, Finder, presets, format conversion, and batch automation while protecting originals and quality.