Automate Image Compression with Apple Shortcuts and Zipic
Drive Zipic Pro's native AppIntents from Apple Shortcuts on macOS. Five ways to trigger compression — Quick Action, in-app hotkey, menu bar, Share Sheet, and scheduled automation — paired with five real recipes.
Most Shortcuts tutorials stop at “now you have a shortcut.” That’s only half the loop. The other half — and the one that actually saves you time — is what triggers it. A button in the Shortcuts app that you have to remember to click is just a slower way to open Zipic.
This guide skips the introductory “what is Apple Shortcuts” tour. We’ll spend the article on the part nobody covers: how to drive Zipic’s native AppIntents from Apple Shortcuts, the five ways to trigger them on macOS, and five real recipes for compressing images automatically with Zipic.
Why Pair Apple Shortcuts with Zipic
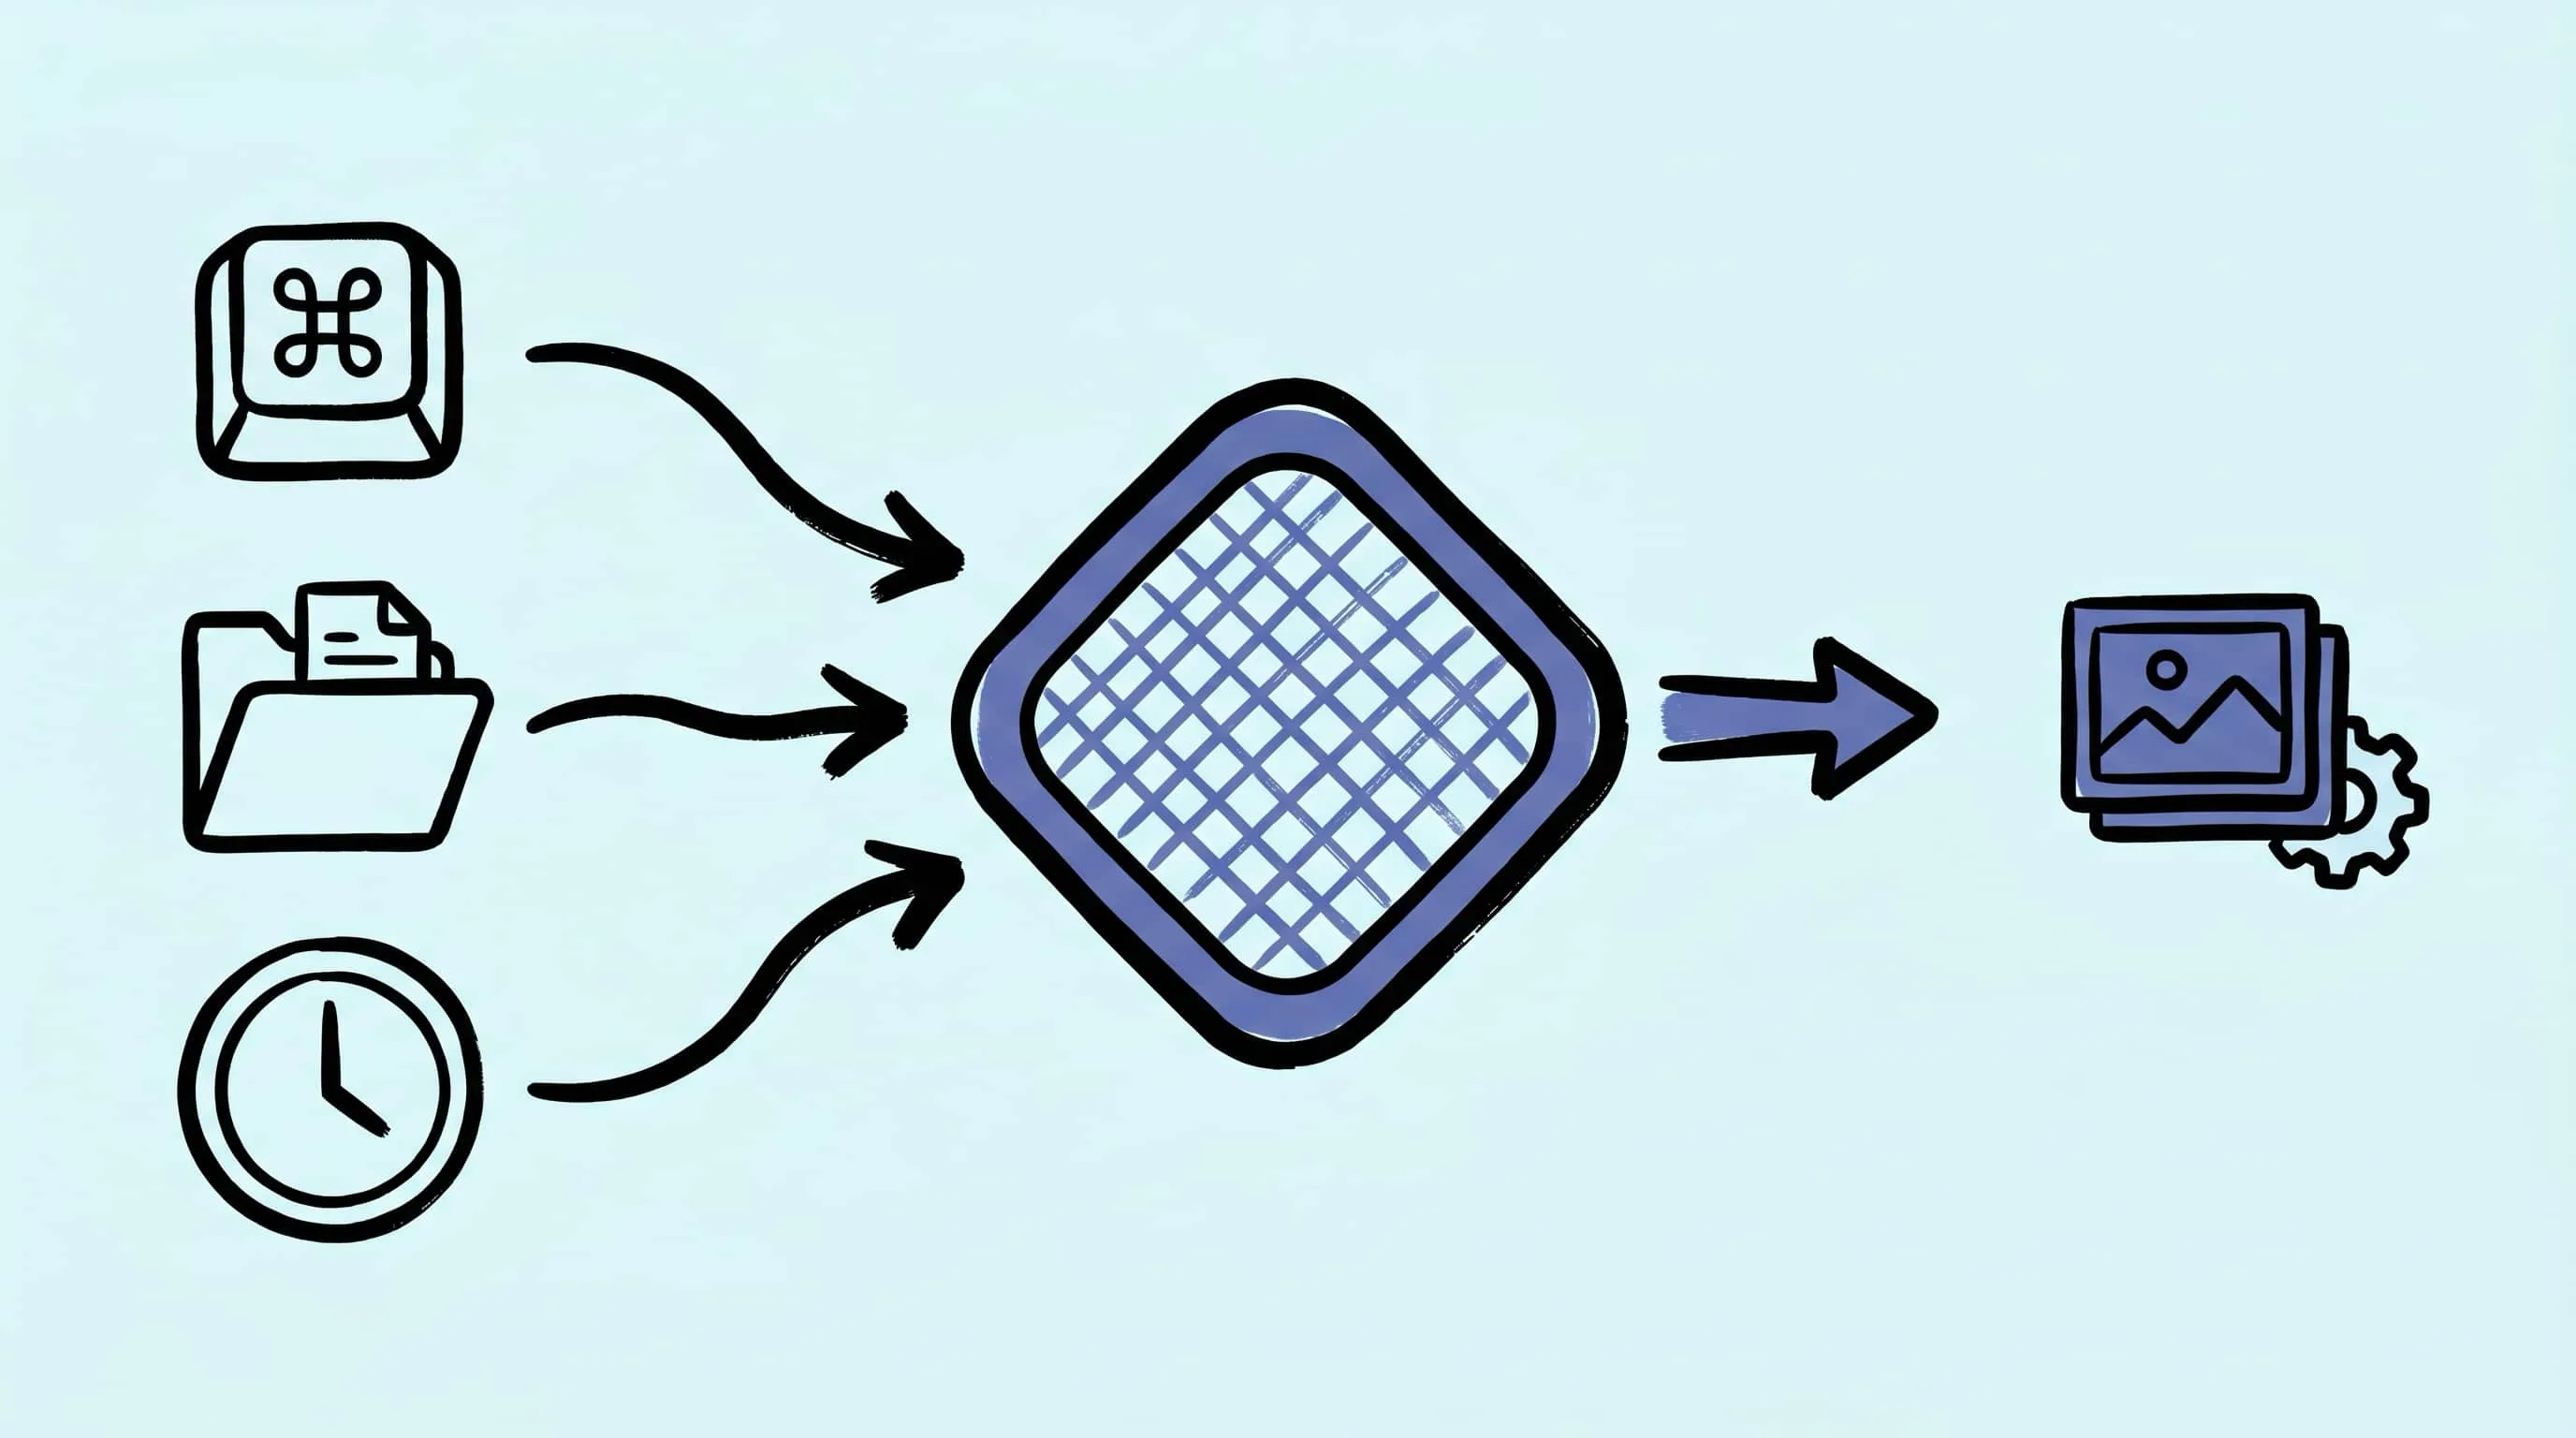
Think of Shortcuts as the trigger layer and Zipic as the engine. Shortcuts is excellent at watching for events — a hotkey, a menu bar click, a Share Sheet selection, a clock tick — but its built-in image actions are limited to basic resize and format conversion. Zipic is the opposite: a tuned compression engine for JPEG, PNG, WebP, AVIF, HEIC, JPEG-XL, and PDF, but it doesn’t watch for those events on its own.
Wire them together and you get the best of both: Shortcuts decides when to compress, Zipic decides how.
This pairing got more powerful in macOS 26 (Tahoe), when Apple shipped personal automations on Mac — including time-of-day triggers. The Shortcuts app on Mac finally surfaces the same scheduled-automation surface that iOS users have enjoyed for years.
Quick Takeaways
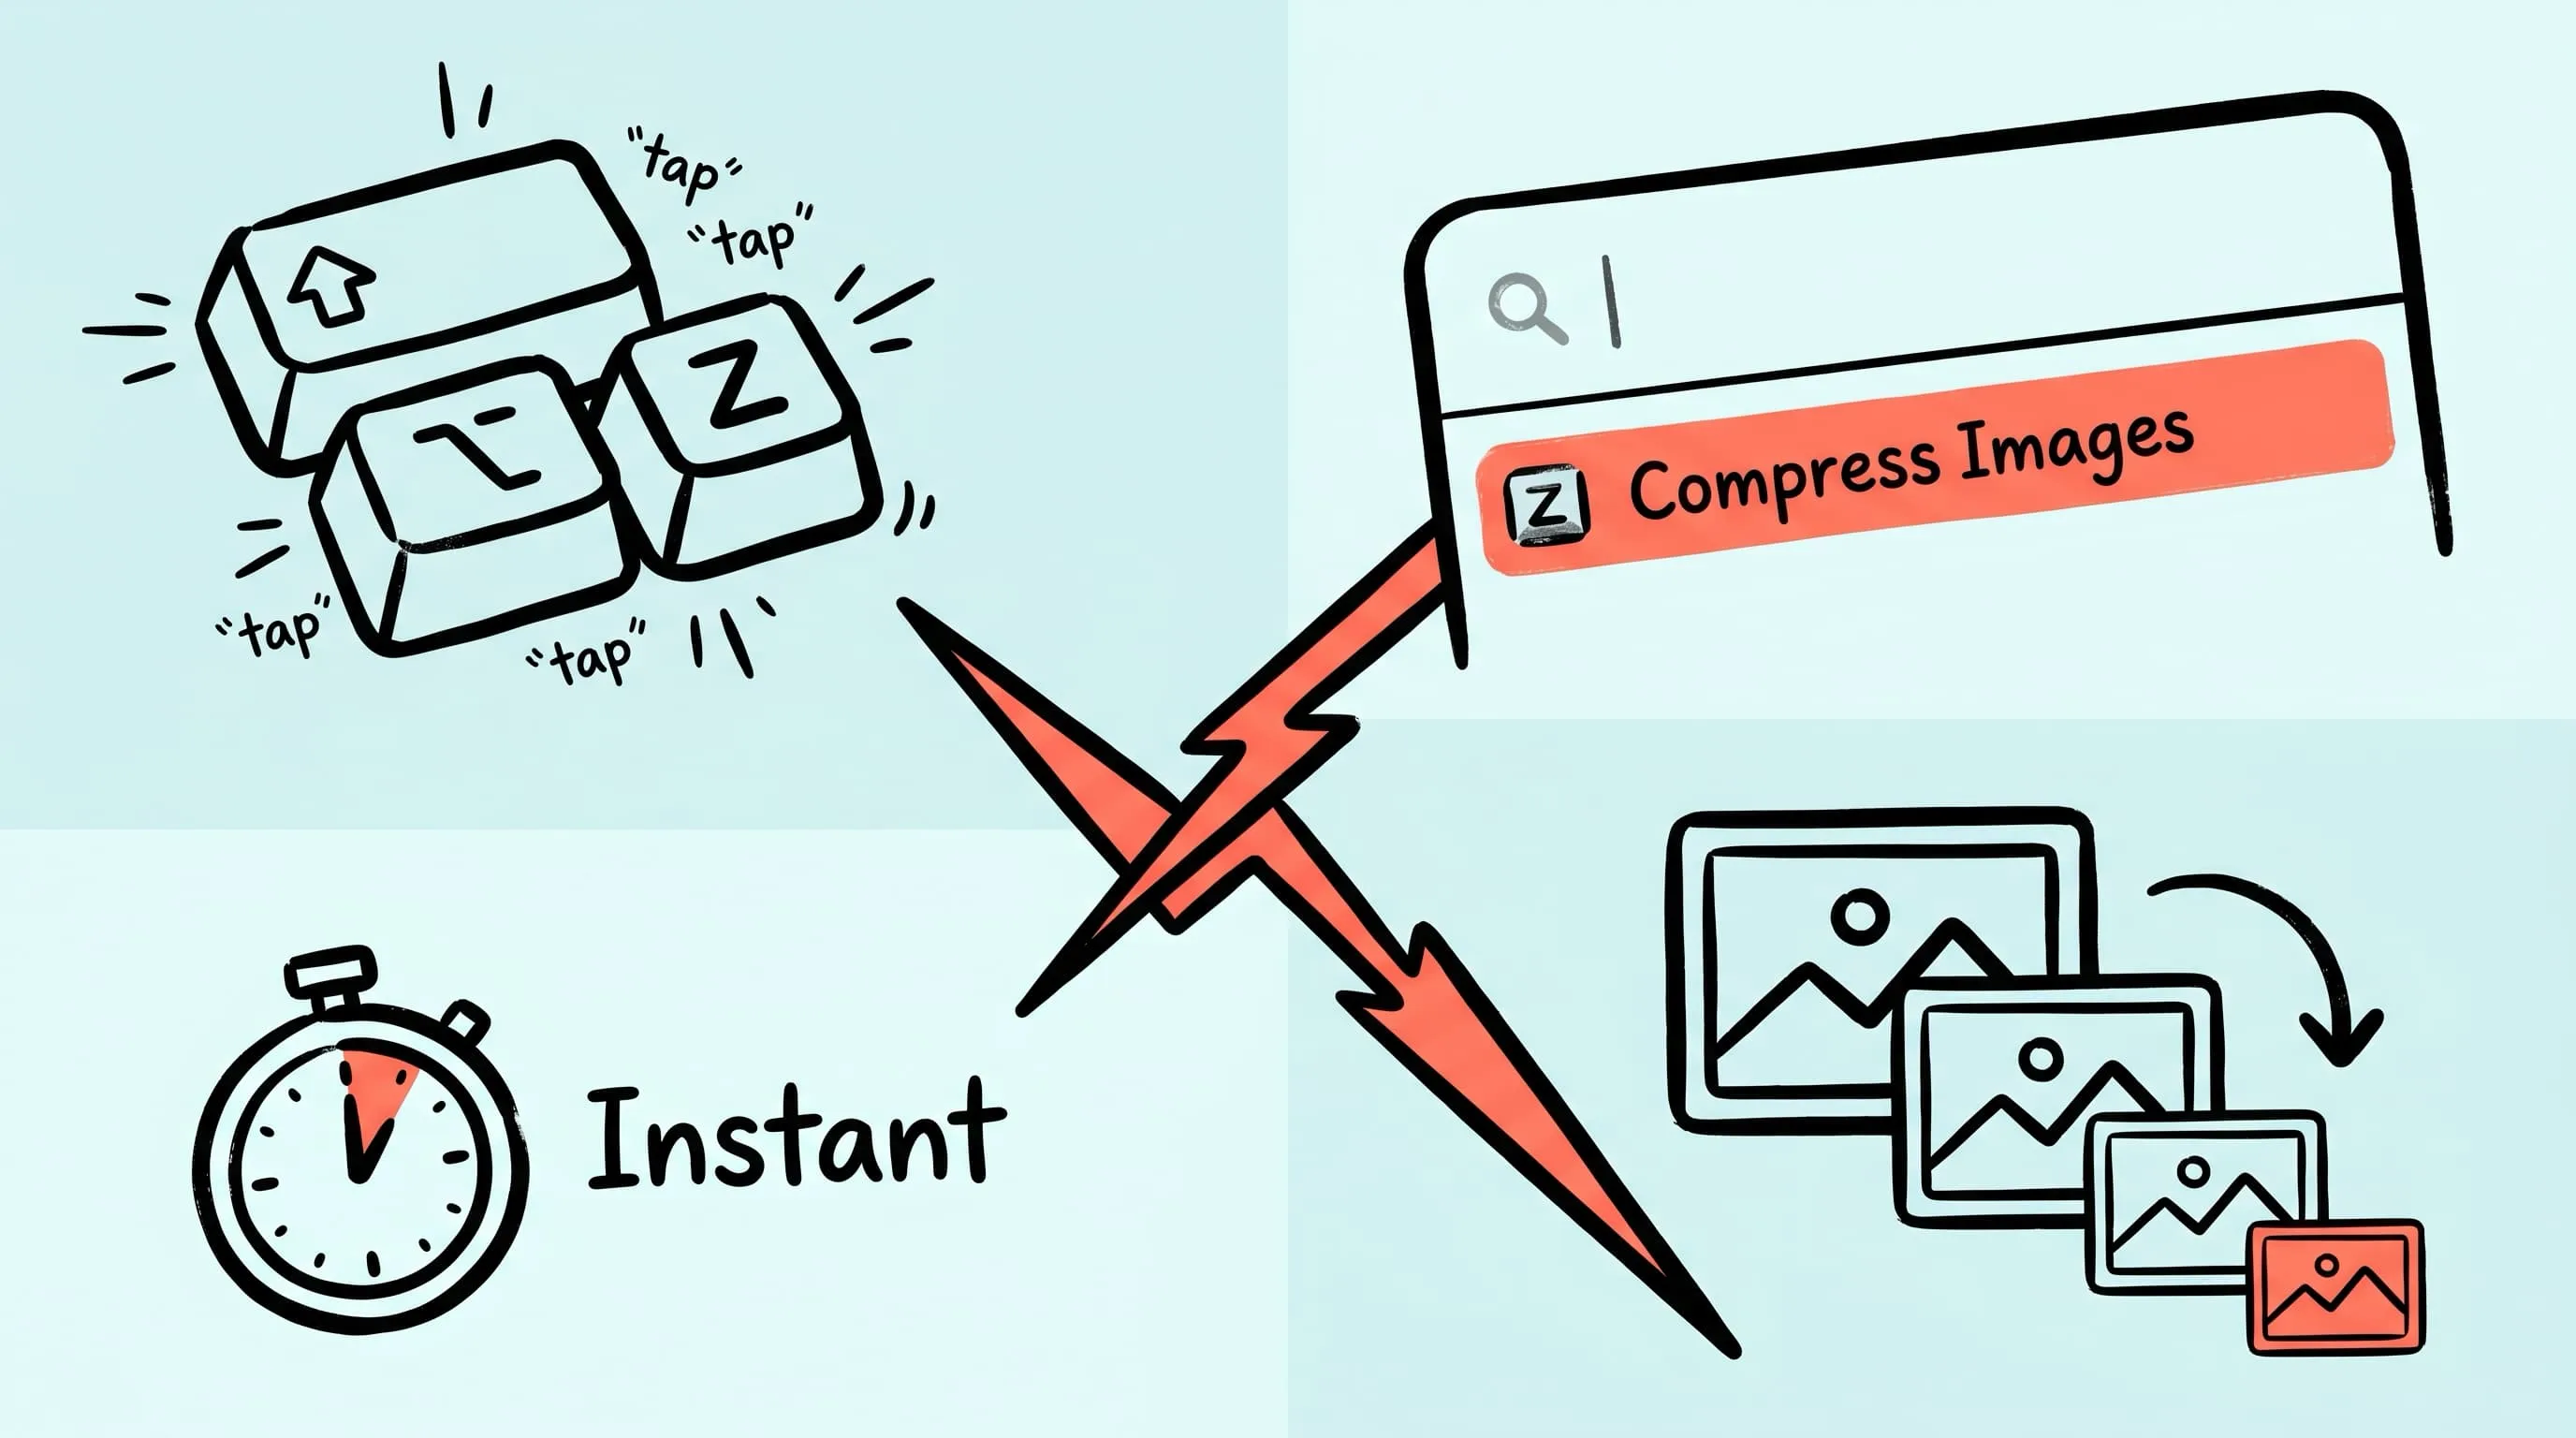
- Use AppIntents inside Shortcuts, not URL Scheme. Zipic Pro exposes two native actions —
CompressandConvert Format— that show up directly in the Shortcuts editor. No URL strings, no encoding, no Open URL action. - Zipic provides a ready-made AppIntents shortcut via iCloud. Add it once, then bind a hotkey or pin it to the menu bar.
- The five reliable triggers on Mac are Quick Action, in-app Keyboard Shortcut, Menu Bar, Share Sheet, and Time-of-Day Automation (macOS 26+).
- The five recipes below combine those triggers with the
CompressAppIntent for email-ready resizing, format routing, on-demand quality picking, Share Sheet compression, and overnight cleanup. - For “compress every screenshot the moment it lands on Desktop,” skip Shortcuts entirely — Zipic’s built-in folder monitoring is more reliable and more efficient.
- URL Scheme is still the right tool — but for non-Shortcuts callers like shell scripts, CI pipelines, Raycast, or AI agents.
The Backbone: Zipic’s Native AppIntents
Zipic Pro ships two AppIntents that appear directly in the Shortcuts editor — same way Files or Photos surface their actions:
- Compress — supports every compression option Zipic has: compression level, output format, save location, resize. If you leave a parameter blank, Zipic falls back to the current preset configured in the app.
- Convert Format — a dedicated, focused action for switching formats only.
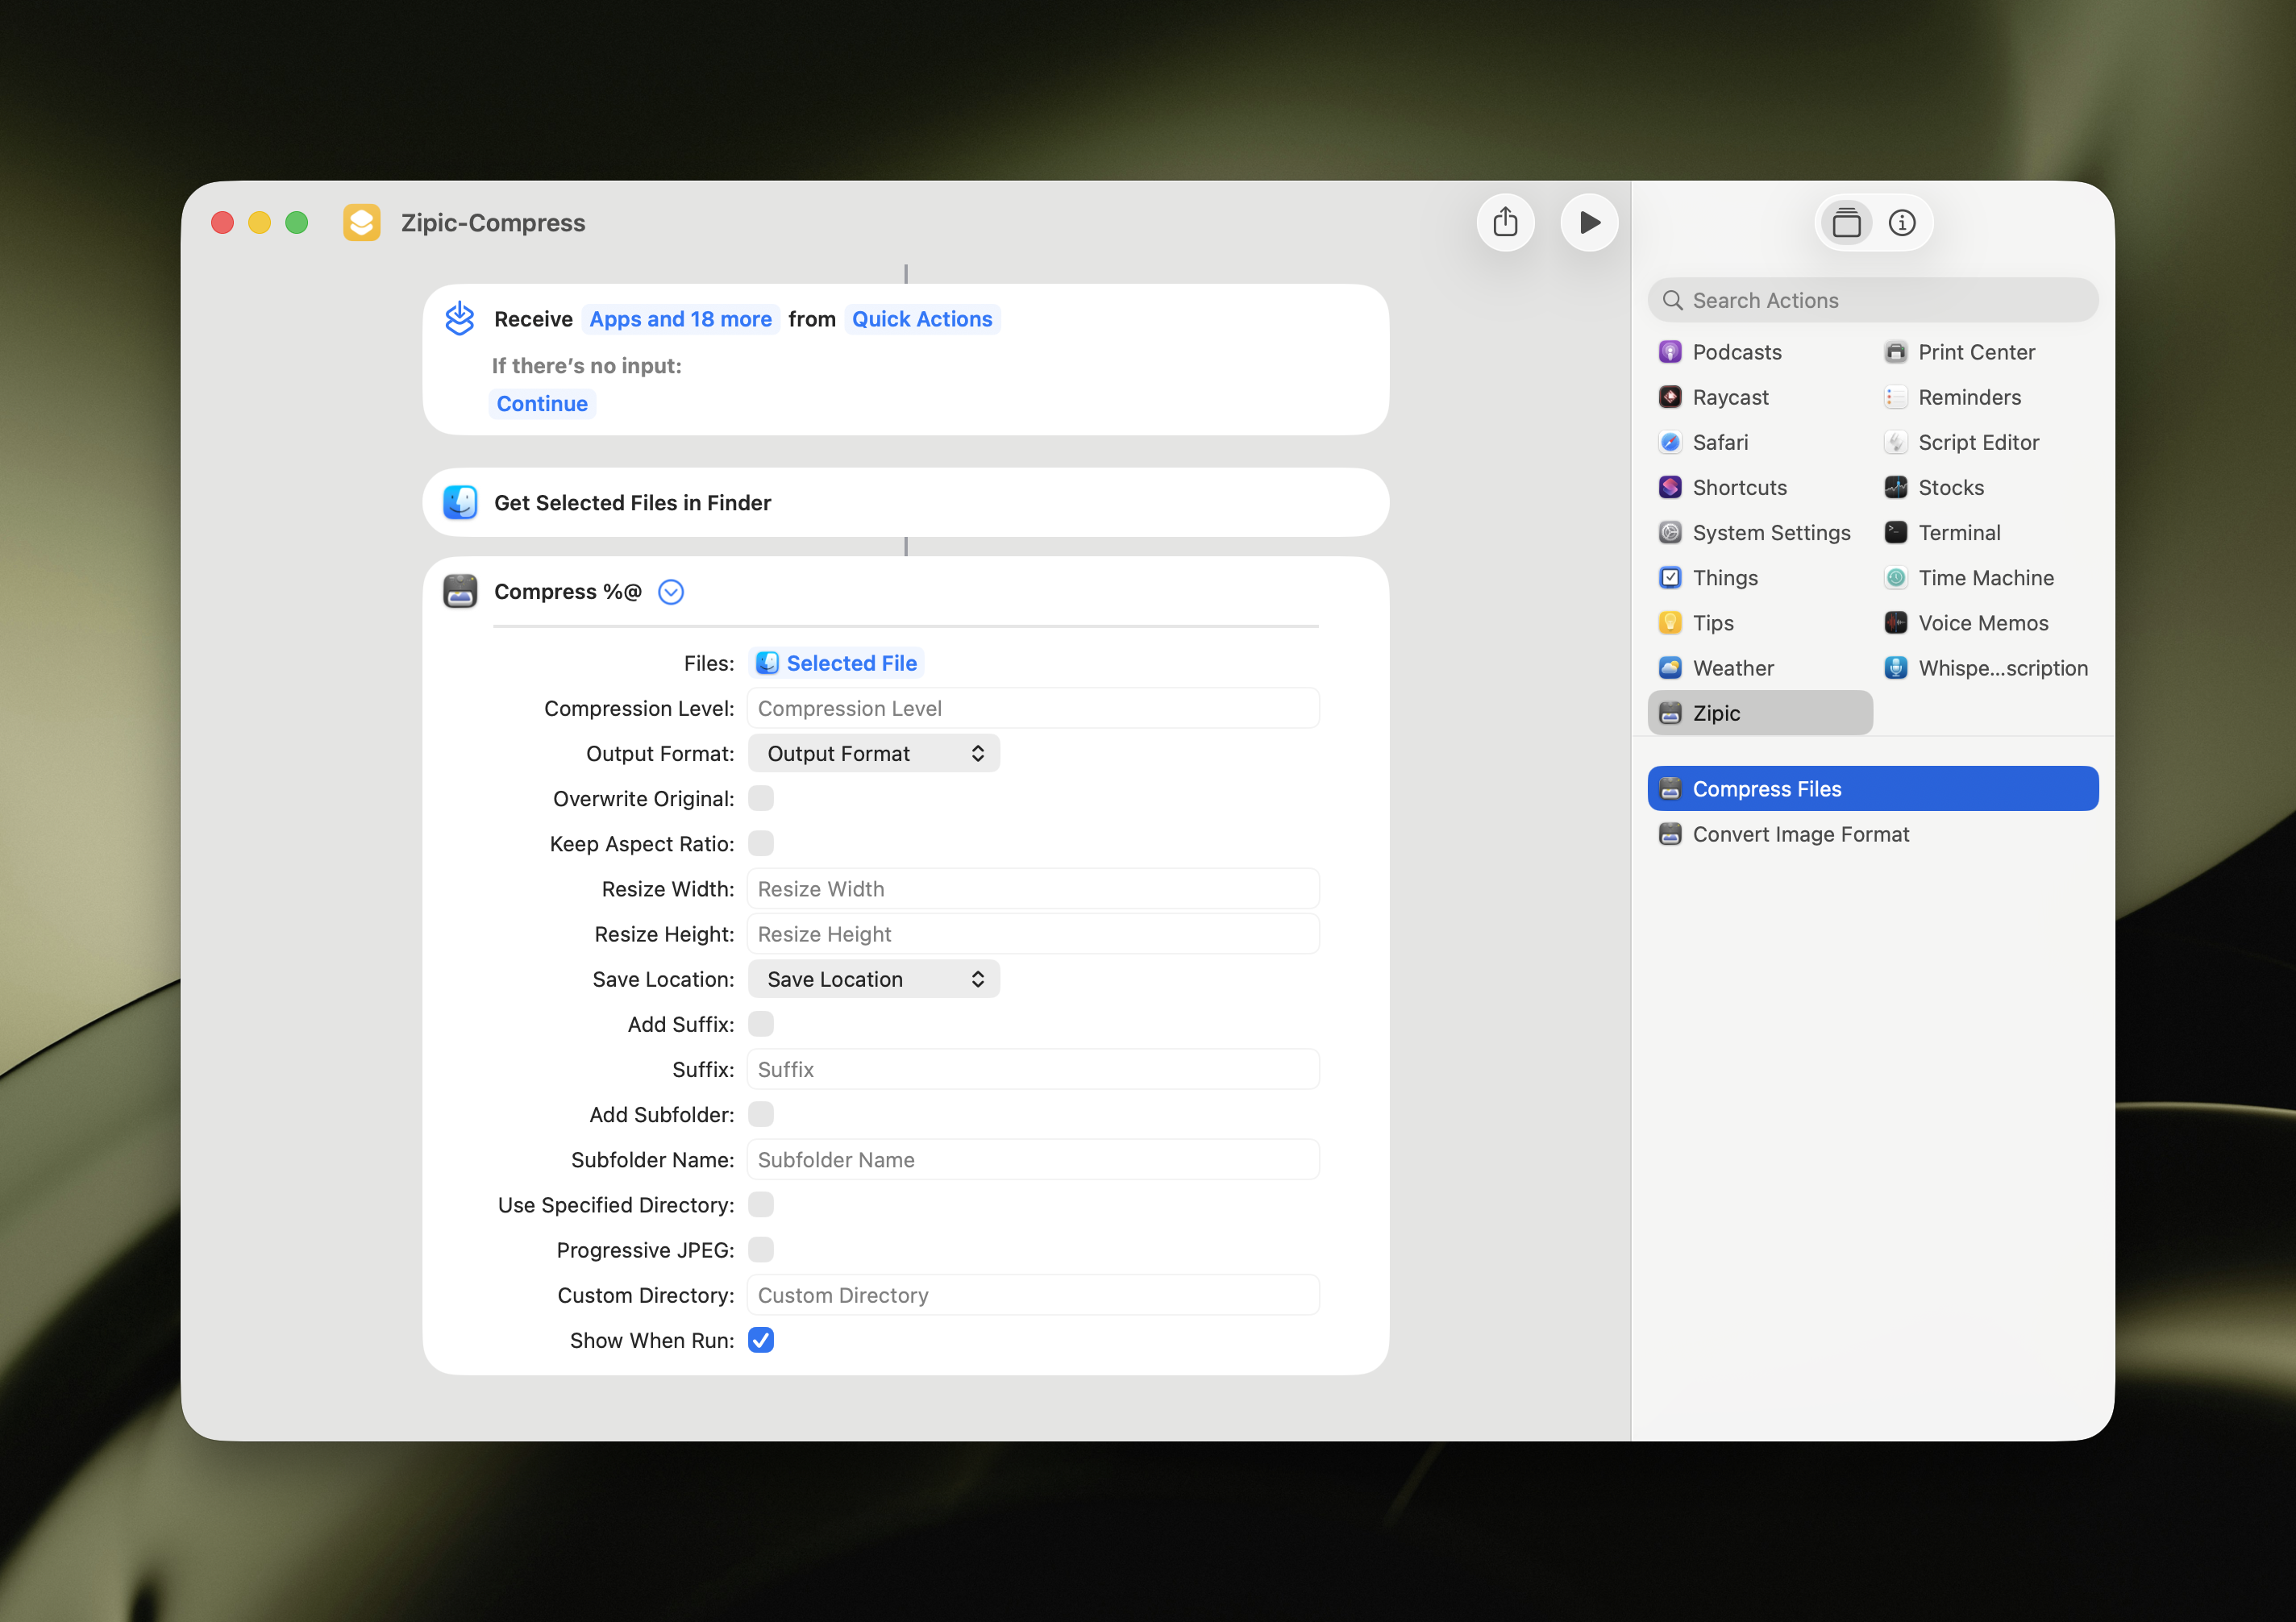
Skip building from scratch. Add Zipic’s official AppIntents-based shortcut from iCloud — it’s already wired up to receive selected Finder files, run Compress, and stay out of your way. From there, every recipe in this article is just “open the shortcut, change a parameter, attach a trigger.”
Because it’s an AppIntent rather than a URL call, you get four practical wins:
- Silent compression — Zipic does the work and exits without opening its main window.
- Keyboard shortcut binding — assigned right inside the Shortcuts app, not in System Settings.
- Finder right-click integration — toggling “Use as Quick Action” puts it on the context menu.
- Apple Intelligence-ready — AppIntents are the surface Apple Intelligence reads from, so the same shortcut becomes addressable by name in natural-language flows.
Five Ways to Trigger Your Shortcut on macOS
Same shortcut, five different ways to fire it. Each one fits a different moment in your workflow.
Trigger 1: Finder Quick Action (Right-Click Menu)
Best for ad-hoc compression of files you’ve already selected in Finder.
In the shortcut’s details panel, enable Use as Quick Action → Finder. macOS adds the shortcut to the right-click menu under Quick Actions. Select files, right-click, pick Zipic. No keyboard, no app switch.
To trim the noise: System Settings → Privacy & Security → Extensions → Finder → Quick Actions lets you keep only the shortcuts you actually use.
Trigger 2: Keyboard Shortcut (Assigned Inside Shortcuts)
Best for power users who never want to leave the keyboard.
Open the Zipic shortcut in the Shortcuts app. In the details panel on the right, click Add Keyboard Shortcut and press your combo. ^⌥C (Control-Option-C) is the default Zipic uses and rarely conflicts with anything. Save.
Now the hotkey fires the shortcut globally. Selecting files in Finder and pressing ^⌥C runs the Compress AppIntent immediately.
This is the recommended way to bind a hotkey: macOS picks it up across the system without you needing to register a Service in System Settings.
Trigger 3: Menu Bar Item
Best for shortcuts that need parameters chosen at run time, or for tasks where you don’t want to remember a hotkey.
Toggle Pin in Menu Bar in the shortcut details. macOS adds a Shortcuts icon to the menu bar with your shortcut listed. One click runs it.
Pair this with shortcuts that prompt for input — for example, a wrapper that asks for compression level or output format before invoking Compress.
Trigger 4: Share Sheet
Best for compressing a single image you’re already viewing in Safari, Photos, or Messages.
In the shortcut’s details panel, enable Show in Share Sheet and set Receive: Images, Files as input. The Share menu in macOS now lists your shortcut. Right-click an image in Safari → Share → Compress with Zipic — done.
Inside the shortcut, pass the shared input straight into the Compress AppIntent’s Image parameter. No URL juggling, no temp file dance.
Trigger 5: Time-of-Day Automation (macOS 26+)
Best for scheduled batch jobs, like compressing yesterday’s screenshots overnight.
This trigger is a macOS 26 system capability, not a Zipic feature. Open the Automation tab in Shortcuts → New Automation → Time of Day → 02:00, daily. Inside, run a small wrapper shortcut that grabs folder contents from ~/Desktop, filters for files modified today, and feeds them to the Compress AppIntent.
On macOS 13 through 25, time-based runs require a launchd plist or cron job calling shortcuts run "Compress with Zipic". That still works and is more portable across versions.
Five Ready-to-Use Recipes
Combine the right trigger with the right Compress parameters and you get a specific, dependable workflow. Every recipe below uses the AppIntent inputs (compression level, format, save location, resize) — no URL strings.
Recipe 1: Email-Ready Resize and Compress
- Trigger: Quick Action.
- Inside the shortcut:
Compressaction with Compression Level: 4, Format: JPEG, Width: 1600, Save Location: Original. - Result: Pick attachments in Finder, right-click → run. You get JPEGs capped at 1600 px wide and aggressively compressed — comfortably under the 25 MB Gmail/Outlook ceiling.
Recipe 2: Format Routing (PNG → WebP, JPG → AVIF)
- Trigger: In-app Keyboard Shortcut (
^⌥R). - Inside the shortcut: For each input file, use If on the file extension.
.pngbranch runsConvert Formatwith Format: WebP;.jpg/.jpegbranch runsConvert Formatwith Format: AVIF; otherwise pass through. - Result: One key picks the right modern format per file type. Useful when cleaning up mixed asset folders before commit.
Recipe 3: On-Demand Compression with Adjustable Quality
- Trigger: Menu Bar Item.
- Inside the shortcut: Run Choose from Menu with options
Quick (level 2),Balanced (level 4),Max (level 6), then callCompresswith the chosen level. - Result: One click in the menu bar, pick a quality, and the same files get compressed to that level. Perfect when you want one-off control without editing parameters every time.
Recipe 4: Share Sheet Compress-and-Save
- Trigger: Share Sheet.
- Inside the shortcut: Receive Images, Files as input → call
Compresswith Format: WebP, Compression Level: 4, Save Location: Custom, Directory: /Users/yourname/Compressed. - Result: In Safari, Photos, or Messages, hit Share → Compress with Zipic. The image lands compressed in a fixed folder, ready to upload.
Recipe 5: Late-Night Batch from Today’s Downloads
- Trigger: Time of Day (02:00 daily) on macOS 26+, or
launchdon earlier versions. - Inside the shortcut: Get folder contents from
~/Downloads→ Filter whereKind is ImageandDate Created is today→ For Each → callCompress. - Result: Yesterday’s downloads end up compressed by morning.
Want a “compress every screenshot the moment it appears” pipeline? Don’t use Shortcuts for that — use Zipic’s native folder monitoring instead. See the decision matrix at the end.
When URL Scheme Is the Right Tool
AppIntents are the answer inside Apple’s automation surfaces. URL Scheme is the answer everywhere else — shell scripts, CI pipelines, Raycast, Hammerspoon, AI coding agents, third-party tools, web extensions. The same Zipic compression engine, two different doorways.
The base URL is zipic://compress, with every option exposed as a query parameter (url, level, format, directory, width, height, location, addSuffix, etc.).
You’d reach for URL Scheme when:
- You’re calling Zipic from a shell script or build pipeline —
open "zipic://compress?url=/path/img.png&format=webp&level=3"works in any Bash, Make, or CI step. - You’re driving Zipic from a programming language — Swift, Python, Go, JavaScript, TypeScript all have one-line wrappers documented in the Integrating Zipic guide.
- You’re integrating with Raycast or another launcher — Zipic ships an official Raycast extension built on this same URL Scheme.
- You’re letting an AI agent drive compression — Zipic provides a one-command Claude Code skill (
npx skills add okooo5km/Skills4U --skill zipic) that translates “compress these screenshots” into the rightopen zipic://...call. See the AI & CLI Integration guide for setup.
For the full URL Scheme parameter reference and code examples in five languages, see the URL Scheme guide and the developer-focused image compression API walkthrough.
Choosing Between Shortcuts, Folder Monitoring, and Raycast
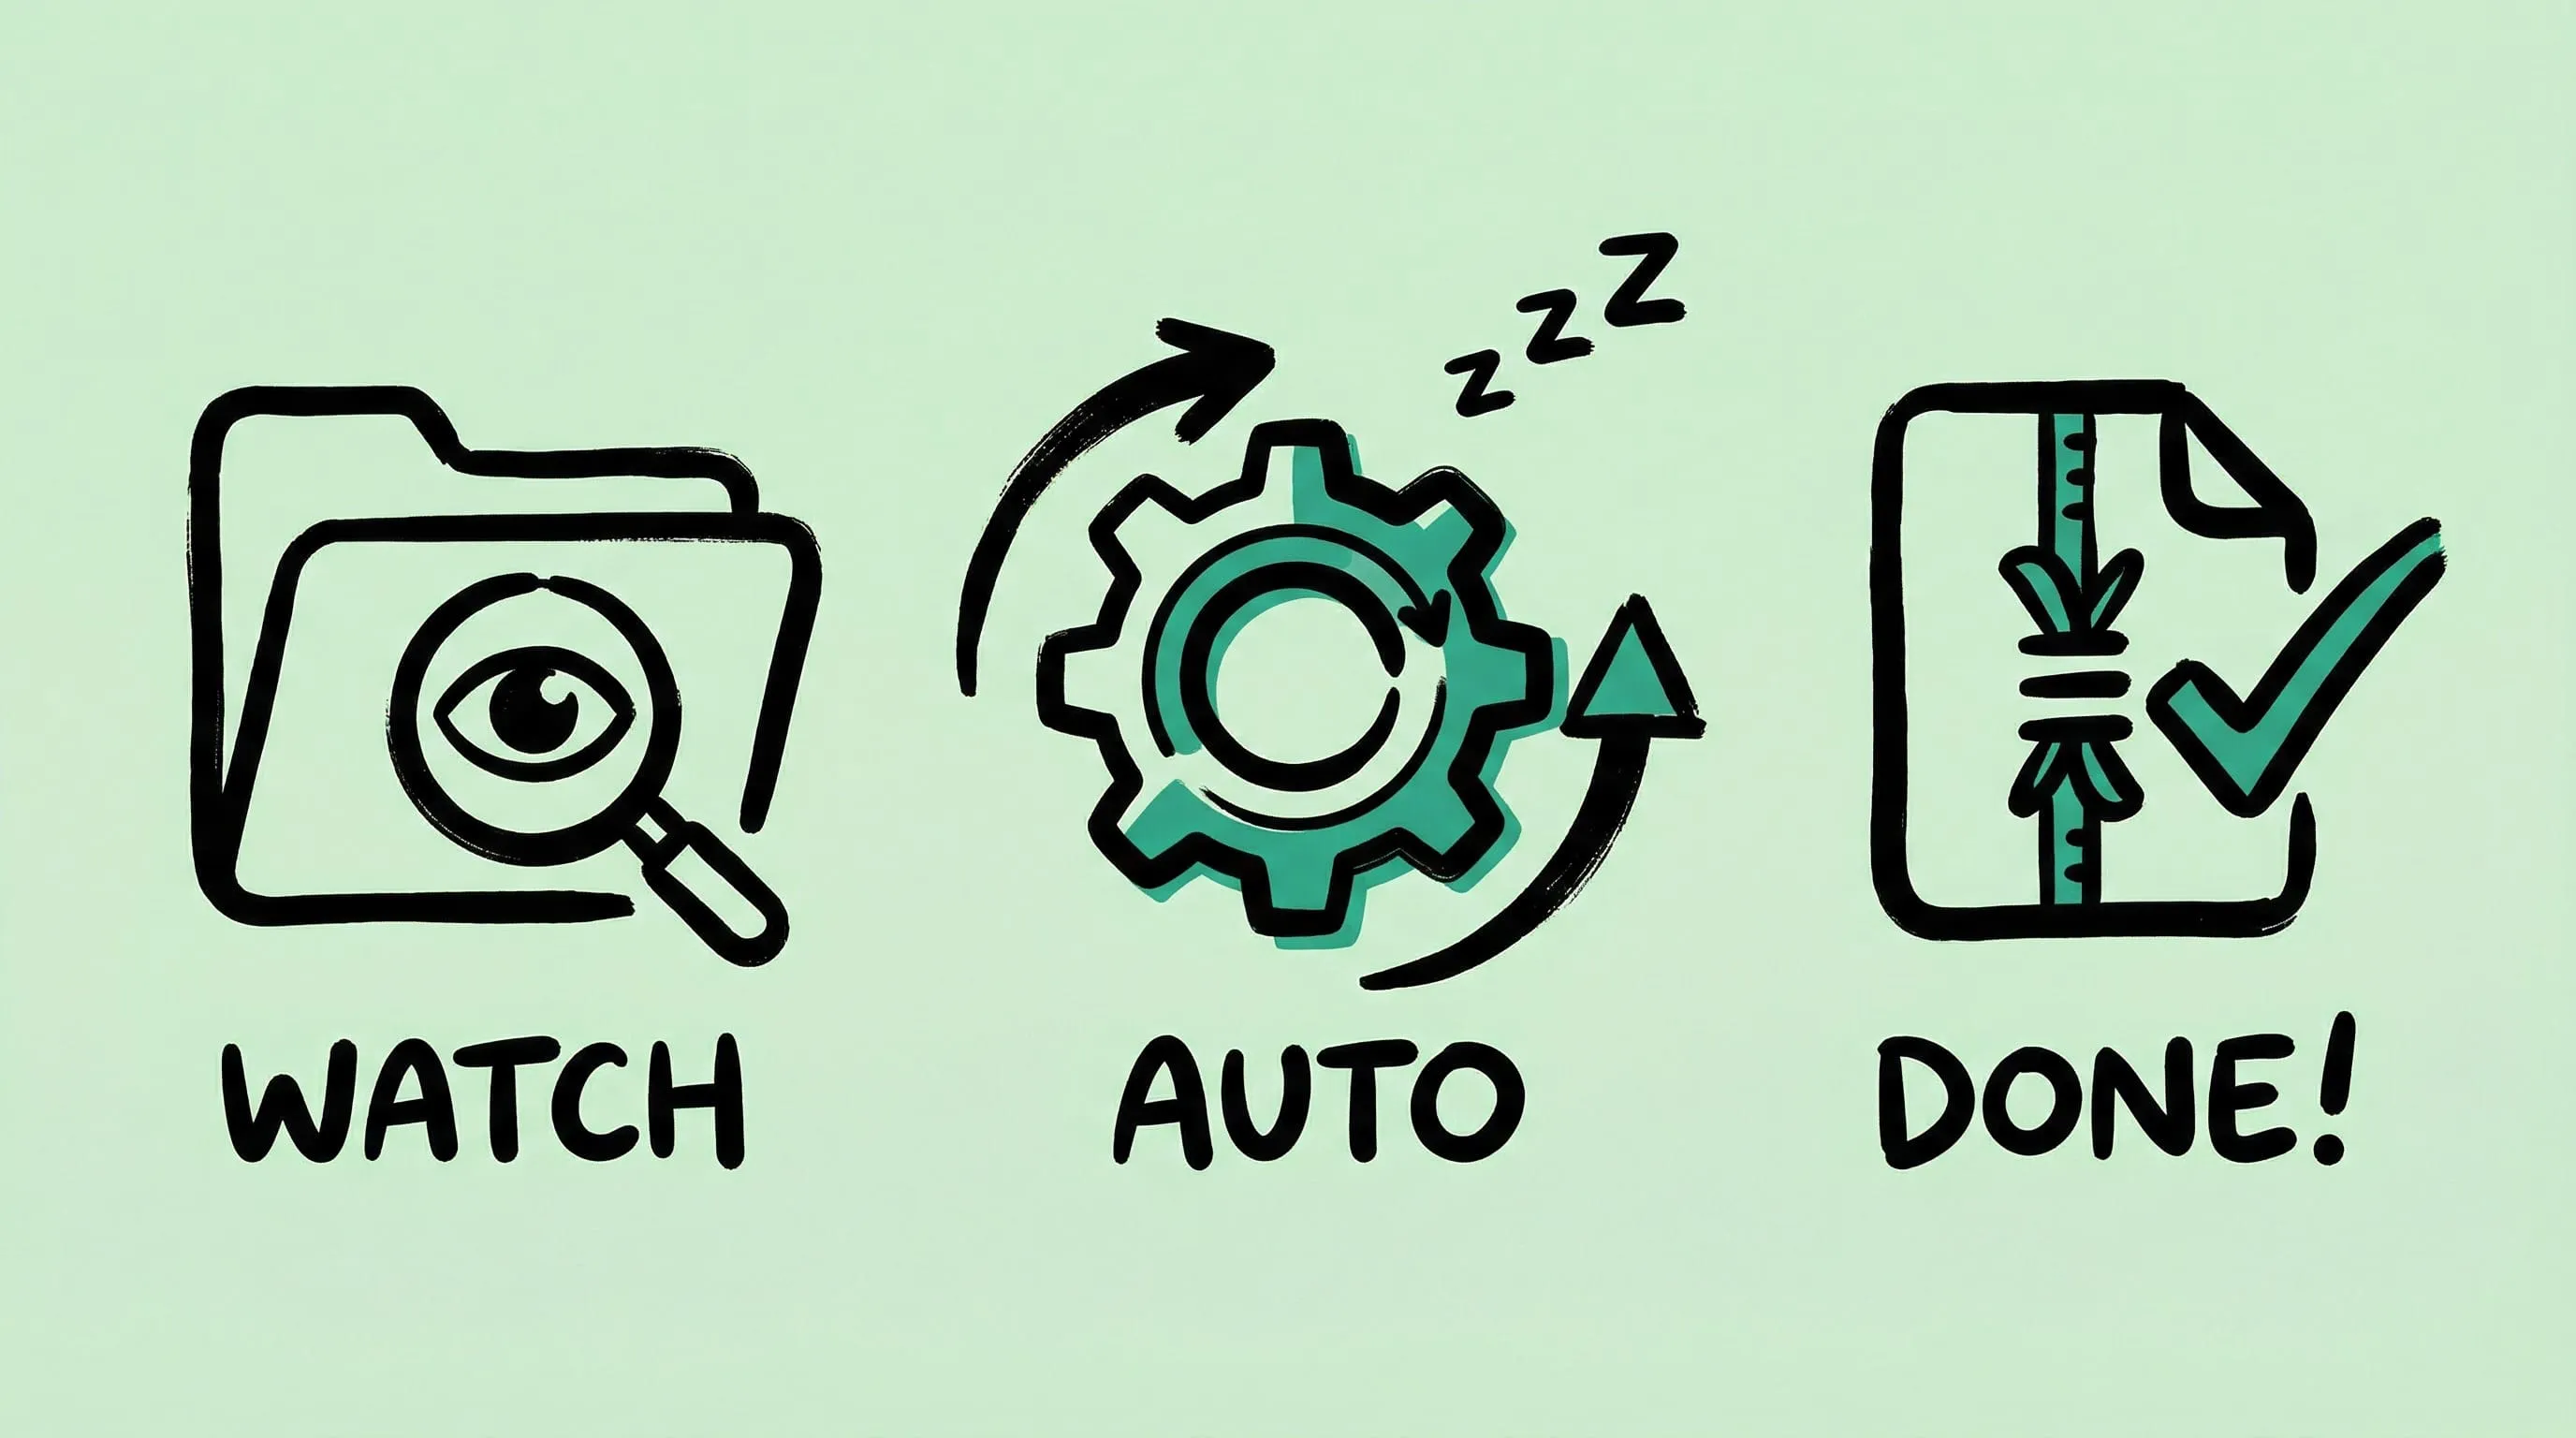
Three Mac automation surfaces, three sweet spots. The honest answer: for any “always-on, watch this folder forever” use case, Zipic’s native folder monitoring is the right tool — not Shortcuts.
| Tool | Best for | Trigger style | Why |
|---|---|---|---|
| Zipic Folder Monitoring | Always-on watch on a Desktop, Downloads, or export folder | File-system events | Native, lower CPU, supported all the way back to macOS 13 |
| Apple Shortcuts (AppIntents) | Manual triggers, per-task customization, scheduled runs (macOS 26+) | Hotkey, menu bar, Share Sheet, time-of-day | Best when you want compression on demand or with parameter prompts |
| Raycast Extension | Hotkey-driven one-off compression with parameter prompts | Manual hotkey | Lowest-friction for “one image, now” |
For “compress every PNG that lands on the Desktop,” Zipic’s native folder monitoring is simpler, more reliable, and runs on older macOS — Shortcuts can’t match a daemon that’s been built specifically for that job. If you need conditional logic, multi-app pipelines, or scheduled runs, Shortcuts is the right home. Raycast is the fastest path for “I have one image, compress it now” — see the Raycast extension docs.
For day-to-day batch work outside automation entirely, the batch compression guide covers Zipic’s drag-and-drop flow.
Related Articles
- macOS Automation: Auto-Compress with Folder Monitoring — the right answer for always-on directory watch.
- Image Compression for Web Developers — calling the URL Scheme from Node, Python, and CI.
- Batch Compress Images on Mac — the manual flow when you want maximum control per session.
- Raycast Image Compression: Hotkey Compress with Zipic — the faster path for one-off Finder selections.
- Zipic optimizing-workflow guide — the official walkthrough of every AppIntent and URL Scheme parameter.
- Zipic AI & CLI Integration — drive Zipic from Claude Code, scripts, and CI.
Ready to ship? Download Zipic — free for 25 images per day. Every download includes a full 7-day Pro trial. Zipic Pro unlocks AppIntents, folder monitoring, and unlimited batches as a one-time purchase.
Related Reading
Raycast Image Compression: Hotkey Compress with Zipic
Set up Raycast image compression with the Zipic extension on macOS. Install, bind a global hotkey, and compress any Finder selection in one keystroke.
macOS Automation: Auto-Compress with Folder Monitoring
Set up automatic image compression on macOS with Zipic's folder monitoring. Auto-compress screenshots, downloads, and design exports as they appear.
Batch Compress Images on Mac: 5 Fast Methods That Scale
Batch compress images on Mac with folders, Finder, Raycast, monitoring, or Shortcuts. Compare setup, automation, Pro needs, and safe output options.
How to Compress Images on Mac: 5 Methods That Work
Learn how to compress images on Mac with drag-and-drop, Finder, presets, format conversion, and batch automation while protecting originals and quality.