RAW to JPEG Converter for Mac: Batch Convert Camera Files
Convert RAW photos to JPEG on Mac using built-in tools. Batch process CR2, NEF, ARW, DNG files with Preview, Photos, sips, and more.
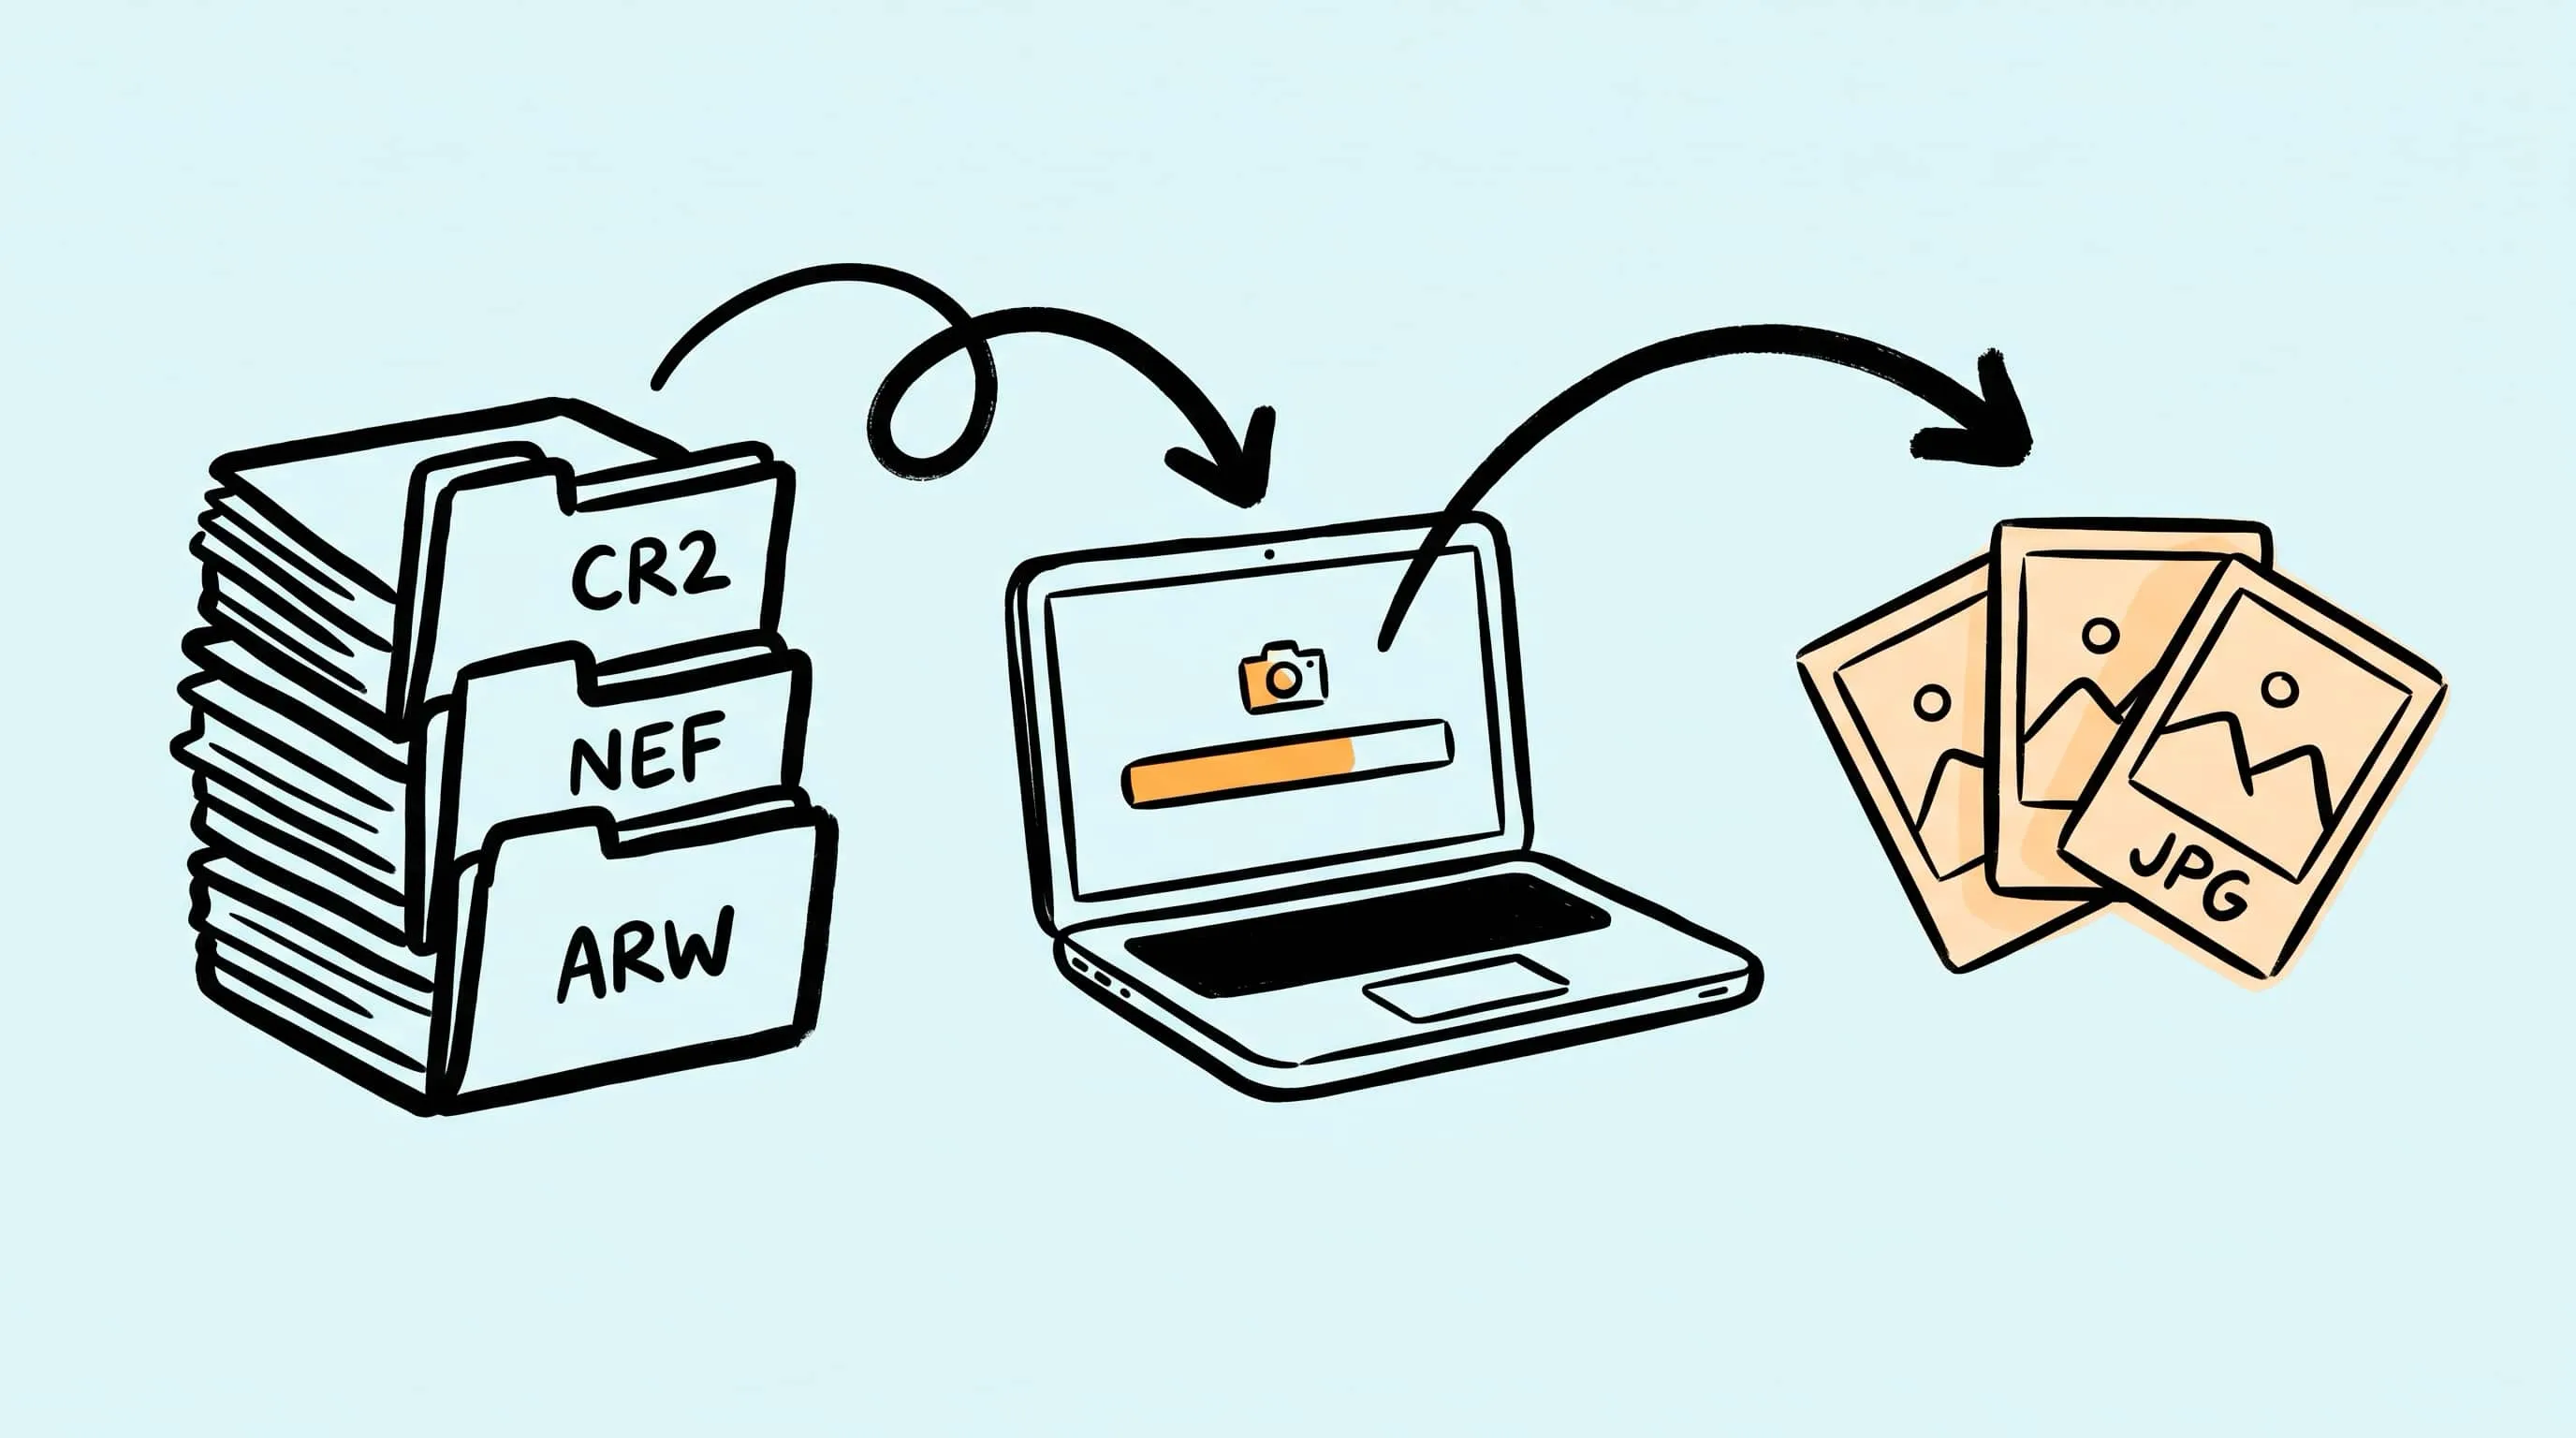
If you shoot with a dedicated camera, you already have a RAW to JPEG problem sitting on your memory card. RAW files are the digital equivalent of a film negative — packed with data, great for editing, and completely impractical for sharing, uploading, or sending to anyone who does not have the same software you do. JPEG is still the format that goes everywhere.
The good news is that macOS handles RAW conversion natively. Apple’s Core Image framework supports hundreds of camera models out of the box — Apple maintains the official compatibility list and updates it with most macOS releases. You do not need to install anything to convert most mainstream RAW files on a Mac. The challenge is doing it efficiently when you have hundreds — or thousands — of files to process.
This guide covers every practical method: from Preview for a handful of files, to sips for command-line batch jobs, to free open-source tools when you need more control over the output.
What Is RAW and Why Convert to JPEG?
RAW is not a single format. It is a category of proprietary file types that each camera manufacturer creates to store the unprocessed sensor data from a shot. Canon uses CR2 and CR3, Nikon uses NEF, Sony uses ARW, Fujifilm uses RAF, Olympus uses ORF, Panasonic uses RW2, Pentax uses PEF, and Adobe’s DNG is the only non-proprietary variant that tries to be a universal standard.
What makes RAW different from JPEG is not just the file extension. It is the data inside:
| Property | RAW | JPEG |
|---|---|---|
| Color depth | 12–14 bit (16-bit on medium format) | 8 bit |
| Dynamic range | ~12–14 stops | 8–10 stops (gamma-encoded) |
| White balance | Adjustable after capture | Baked in |
| File size (Canon R5) | ~45 MB | ~13.5 MB |
| Compression | Lossless or none | Lossy |
A single RAW file from a modern camera is typically 3–5× larger than the JPEG the same camera would produce. A Sony A7 IV RAW file runs roughly 37 MB (compressed), 44 MB (lossless compressed), or 70 MB (uncompressed); its JPEG counterpart is usually 12–18 MB at Fine quality.
You keep RAW when you want maximum editing flexibility — recovering highlights, adjusting white balance, pulling detail from shadows. You convert to JPEG when the editing is done and the file needs to go somewhere: a website, a client, an email, a print lab, or a social media platform.
RAW Formats macOS Supports Natively
macOS reads RAW files through Apple’s Core Image framework, which ships with every copy of macOS. Apple updates its camera support list with most macOS releases, and as of macOS Tahoe 26, the list covers hundreds of camera models from every major manufacturer — including recent bodies like the Canon EOS R5 Mark II, EOS R1, Sony A1 II, A9 III, A7R V, and Nikon Z9. The full list is maintained at Apple’s support page.
Here are the common RAW extensions and macOS support status:
| Extension | Manufacturer | macOS Support |
|---|---|---|
| CR2, CR3 | Canon | ✅ Built-in |
| NEF | Nikon | ✅ Built-in |
| ARW | Sony | ✅ Built-in |
| RAF | Fujifilm | ✅ Built-in |
| DNG | Adobe / Various | ✅ Built-in |
| ORF | Olympus / OM System | ✅ Built-in |
| RW2 | Panasonic | ✅ Built-in |
| PEF | Pentax | ✅ Built-in |
| SRW | Samsung | ✅ Built-in |
| RWL | Leica | ✅ Built-in |
The one format to watch is CR3 (Canon’s newer format used in R-series mirrorless cameras). System-level support began rolling out during the macOS Catalina 10.15 cycle (October 2019), with newer R-series bodies added incrementally across subsequent macOS releases. If you are running a reasonably current macOS, virtually every mainstream camera RAW format works.
DNG is worth mentioning separately because Adobe designed it as an open, non-proprietary RAW format. Some cameras (like certain Leica and Hasselblad models) shoot DNG natively, and Adobe’s free DNG Converter can turn any proprietary RAW file into DNG. If you need long-term archival and want to avoid format obsolescence, DNG is the safest bet — but for day-to-day conversion to JPEG, the proprietary format your camera produces is fine.
Convert RAW to JPEG with Preview
Preview is the simplest way to convert a RAW file to JPEG on a Mac, and it is already installed. It works well for individual files or small batches.
Steps:
- Double-click any RAW file in Finder. It opens in Preview automatically.
- Go to File → Export.
- In the format dropdown, select JPEG.
- Adjust the quality slider (higher quality = larger file).
- Choose a save location and click Save.
Preview renders the RAW file using Apple’s Core Image pipeline, which applies automatic white balance, noise reduction, and color correction. The result is usually close to what the camera’s own JPEG engine would produce.
Limitations:
- No batch export for multiple RAW files at once through the standard Export dialog.
- No control over color space, bit depth, or sharpening.
- Quality slider is the only compression parameter.
For more than a few files, Preview becomes tedious. That is where the Photos app or command-line tools come in.
Batch Convert RAW Files with the Photos App
Apple Photos can import RAW files, and when you export them, you can choose JPEG as the output format. This is the most accessible batch method for users who do not want to touch the command line.
Steps:
- Open Photos and import your RAW files (File → Import or drag them in).
- Select the photos you want to convert. Use ⌘A to select all.
- Go to File → Export → Export Photos.
- In the export dialog:
- Photo Kind: JPEG
- Quality: Maximum, High, or Medium
- Color Profile: Original or sRGB (sRGB is safest for web use)
- Choose an export location and click Export.
Photos processes the RAW files through Apple’s image pipeline and writes JPEG files to your chosen folder. The originals remain in your Photos library untouched.
When to use this method:
- You already import photos into Photos for organization.
- You need to export a moderate number of files (tens to low hundreds).
- You want Apple’s automatic image processing applied.
When not to use this:
- You have thousands of files and need speed — Photos is not the fastest exporter.
- You need to preserve the original folder structure — Photos flattens everything into its library.
- You want fine-grained control over JPEG quality or compression parameters.
Command-Line Batch Conversion with sips
sips (Scriptable Image Processing System) is macOS’s built-in command-line image tool. It supports RAW input and JPEG output, and it is the fastest built-in method for batch converting large numbers of files.
Basic single-file conversion
sips -s format jpeg photo.CR2 --out photo.jpegBatch convert all RAW files in a folder
mkdir -p jpeg-output
for f in *.{CR2,CR3,NEF,ARW,RAF,DNG,ORF,RW2,PEF}; do
  [ -f "$f" ] && sips -s format jpeg "$f" --out "jpeg-output/${f%.*}.jpeg"
done
This loop finds every RAW file with common extensions in the current directory and converts each one to JPEG in a subfolder called jpeg-output. The ${f%.*} strips the original extension so the output file gets a clean .jpeg name.
Control JPEG quality
sips -s format jpeg -s formatOptions 90 photo.ARW --out photo.jpegformatOptions accepts either a numeric percent (1–100, where 100 is maximum quality) or named values: low, normal, high, best, or default. Apple does not document the exact numeric default; in practice, omitting formatOptions behaves like high (roughly 85%).
Speed up with parallel processing
For hundreds or thousands of files, sips converts one file at a time by default. You can parallelize it with GNU parallel (install via brew install parallel):
mkdir -p jpeg-output
ls *.{CR2,CR3,NEF,ARW,RAF,DNG,ORF,RW2,PEF} 2>/dev/null | \
  parallel -j 8 sips -s format jpeg {} --out jpeg-output/{.}.jpeg
The -j 8 flag runs 8 conversions simultaneously. On an Apple Silicon Mac with fast SSD storage, this typically processes a few hundred RAW files in a few minutes — actual throughput depends heavily on file size, sensor resolution, and storage speed, so test on a small subset first.
Tips for sips batch conversion
- Test first: Run
sips -s format jpegon 2–3 files before committing to a large batch. Verify the output quality meets your expectations. - Check output size: sips uses a default JPEG quality that may be higher than you need. Compare file sizes and visual quality before processing thousands of files.
- Preserve metadata: sips retains EXIF metadata (camera settings, date, GPS) by default. No flags needed.
- Handle errors: The
2>/dev/nullin the loop suppresses errors for unmatched glob patterns. Add|| echo "Failed: $f"if you want to see which files fail.
Automator Quick Action for Right-Click Conversion
If you want one-click RAW to JPEG conversion from Finder without opening any app, you can build an Automator Quick Action (formerly called a “Service”).
Steps to create it:
- Open Automator and choose New → Quick Action.
- Set “Workflow receives current” to image files in Finder.
- Search for and add Run Shell Script.
- Set “Pass input” to as arguments.
- Paste this script:
for f in "$@"; do
  ext="${f##*.}"
  ext_lower=$(echo "$ext" | tr '[:upper:]' '[:lower:]')
  case "$ext_lower" in
    cr2|cr3|nef|arw|raf|dng|orf|rw2|pef)
      outdir=$(dirname "$f")
      outfile="${f%.*}.jpeg"
      sips -s format jpeg "$f" --out "$outfile"
      ;;
  esac
done- Save it with a name like “Convert RAW to JPEG”.
Now when you right-click any RAW file in Finder, you will see Quick Actions → Convert RAW to JPEG in the context menu. The JPEG file appears next to the original.
This approach is convenient for ad-hoc conversions but not ideal for processing hundreds of files at once — Finder’s context menu is not designed for bulk operations.
Free Third-Party Tools: Darktable and RawTherapee
When you need more control over RAW processing than Apple’s tools provide — specific color profiles, lens corrections, noise reduction tuning, or batch presets — two free, open-source tools stand out.
Darktable
Darktable is a RAW developer and photo workflow tool. Think of it as the open-source alternative to Lightroom’s Develop module. It supports 500+ camera models (Darktable 5.x adds new bodies in every release, including recent Canon R1, R5 Mark II, Fujifilm X-E5, and Leica Q3 Monochrom) and gives you full control over every stage of the RAW processing pipeline: white balance, exposure, highlights, shadows, tone curves, color zones, sharpening, noise reduction, and lens corrections.
Batch export to JPEG:
- Import your RAW files into Darktable’s lighttable view.
- Select all files (⌘A).
- Apply any development settings (or use the defaults — Darktable’s base curve is a reasonable starting point).
- In the export panel on the right:
- Select JPEG as the file format.
- Set quality (85–95 is a good range).
- Choose an output directory.
- Click export.
When to use Darktable: You want Lightroom-level control without the subscription. You shoot RAW regularly and need consistent batch processing with custom presets.
RawTherapee
RawTherapee is another open-source RAW processor, known for its detailed control over demosaicing algorithms and noise reduction. It supports the major RAW formats (Bayer, X-Trans, Foveon, Pixel Shift, dual-pixel) via its own decoders and the dcraw codebase, though the project does not publish a single supported-camera count — the recommendation is to download and try your files. It is more technical than Darktable but gives you finer-grained control over the RAW decoding process itself.
Batch convert to JPEG:
- Open the File Browser tab and navigate to your RAW folder.
- Select files, right-click, and choose Put to Queue.
- Switch to the Queue tab.
- Set the output format to JPEG, adjust quality, and set the output folder.
- Click Start to begin batch processing.
When to use RawTherapee: You care about demosaicing quality, you need advanced noise reduction, or you want to fine-tune how the RAW data is interpreted before conversion.
Darktable vs RawTherapee: Quick Comparison
| Feature | Darktable | RawTherapee |
|---|---|---|
| Workflow style | Lightroom-like | Technical / parameter-heavy |
| Camera support | 500+ models documented | Most major RAW formats (no published total) |
| Batch export | ✅ | ✅ (queue-based) |
| Learning curve | Moderate | Steeper |
| Best for | End-to-end photo workflow | Technical RAW processing |
Both tools output high-quality JPEGs and handle large batches well. Pick Darktable if you want a complete photo management workflow. Pick RawTherapee if you want maximum control over the RAW decoding itself.
Professional Tools: Lightroom and Capture One
If you already use a professional RAW editor, you already have a RAW to JPEG converter built in.
Adobe Lightroom / Lightroom Classic
Lightroom’s export function is the most common way photographers convert RAW to JPEG in bulk. Select your photos, choose File → Export, pick JPEG as the format, set quality and color space, and export. Lightroom Classic can process hundreds of files in minutes and applies any edits you have made.
The downside is the subscription. Following Adobe’s January 2025 pricing changes, the legacy 20 GB Photography Plan is no longer offered to new subscribers — existing monthly subscribers pay $14.99/month, and new subscribers start with the 1 TB plan at $21.99/month. A Lightroom-only 1 TB plan is also available at around $11.99/month annually billed. If you are already paying for any of these, the RAW conversion is essentially free.
Capture One
Capture One is the other major professional RAW editor, popular with studio and commercial photographers. Its Export Variants function converts RAW to JPEG with full control over quality, resolution, ICC profiles, and output sharpening. Capture One’s color science is often praised as superior to Lightroom’s for certain camera brands (Fujifilm in particular).
Capture One is available as a subscription or a perpetual license, starting at around $17/month (or $179/year billed annually) or $299 outright. The perpetual license still exists but does not receive future major version upgrades.
When professional tools make sense
- You already use Lightroom or Capture One for editing — use their export, do not add another tool.
- You need batch processing with consistent edit presets applied.
- You want ICC profile control or output sharpening for print.
Compress Your Converted JPEGs
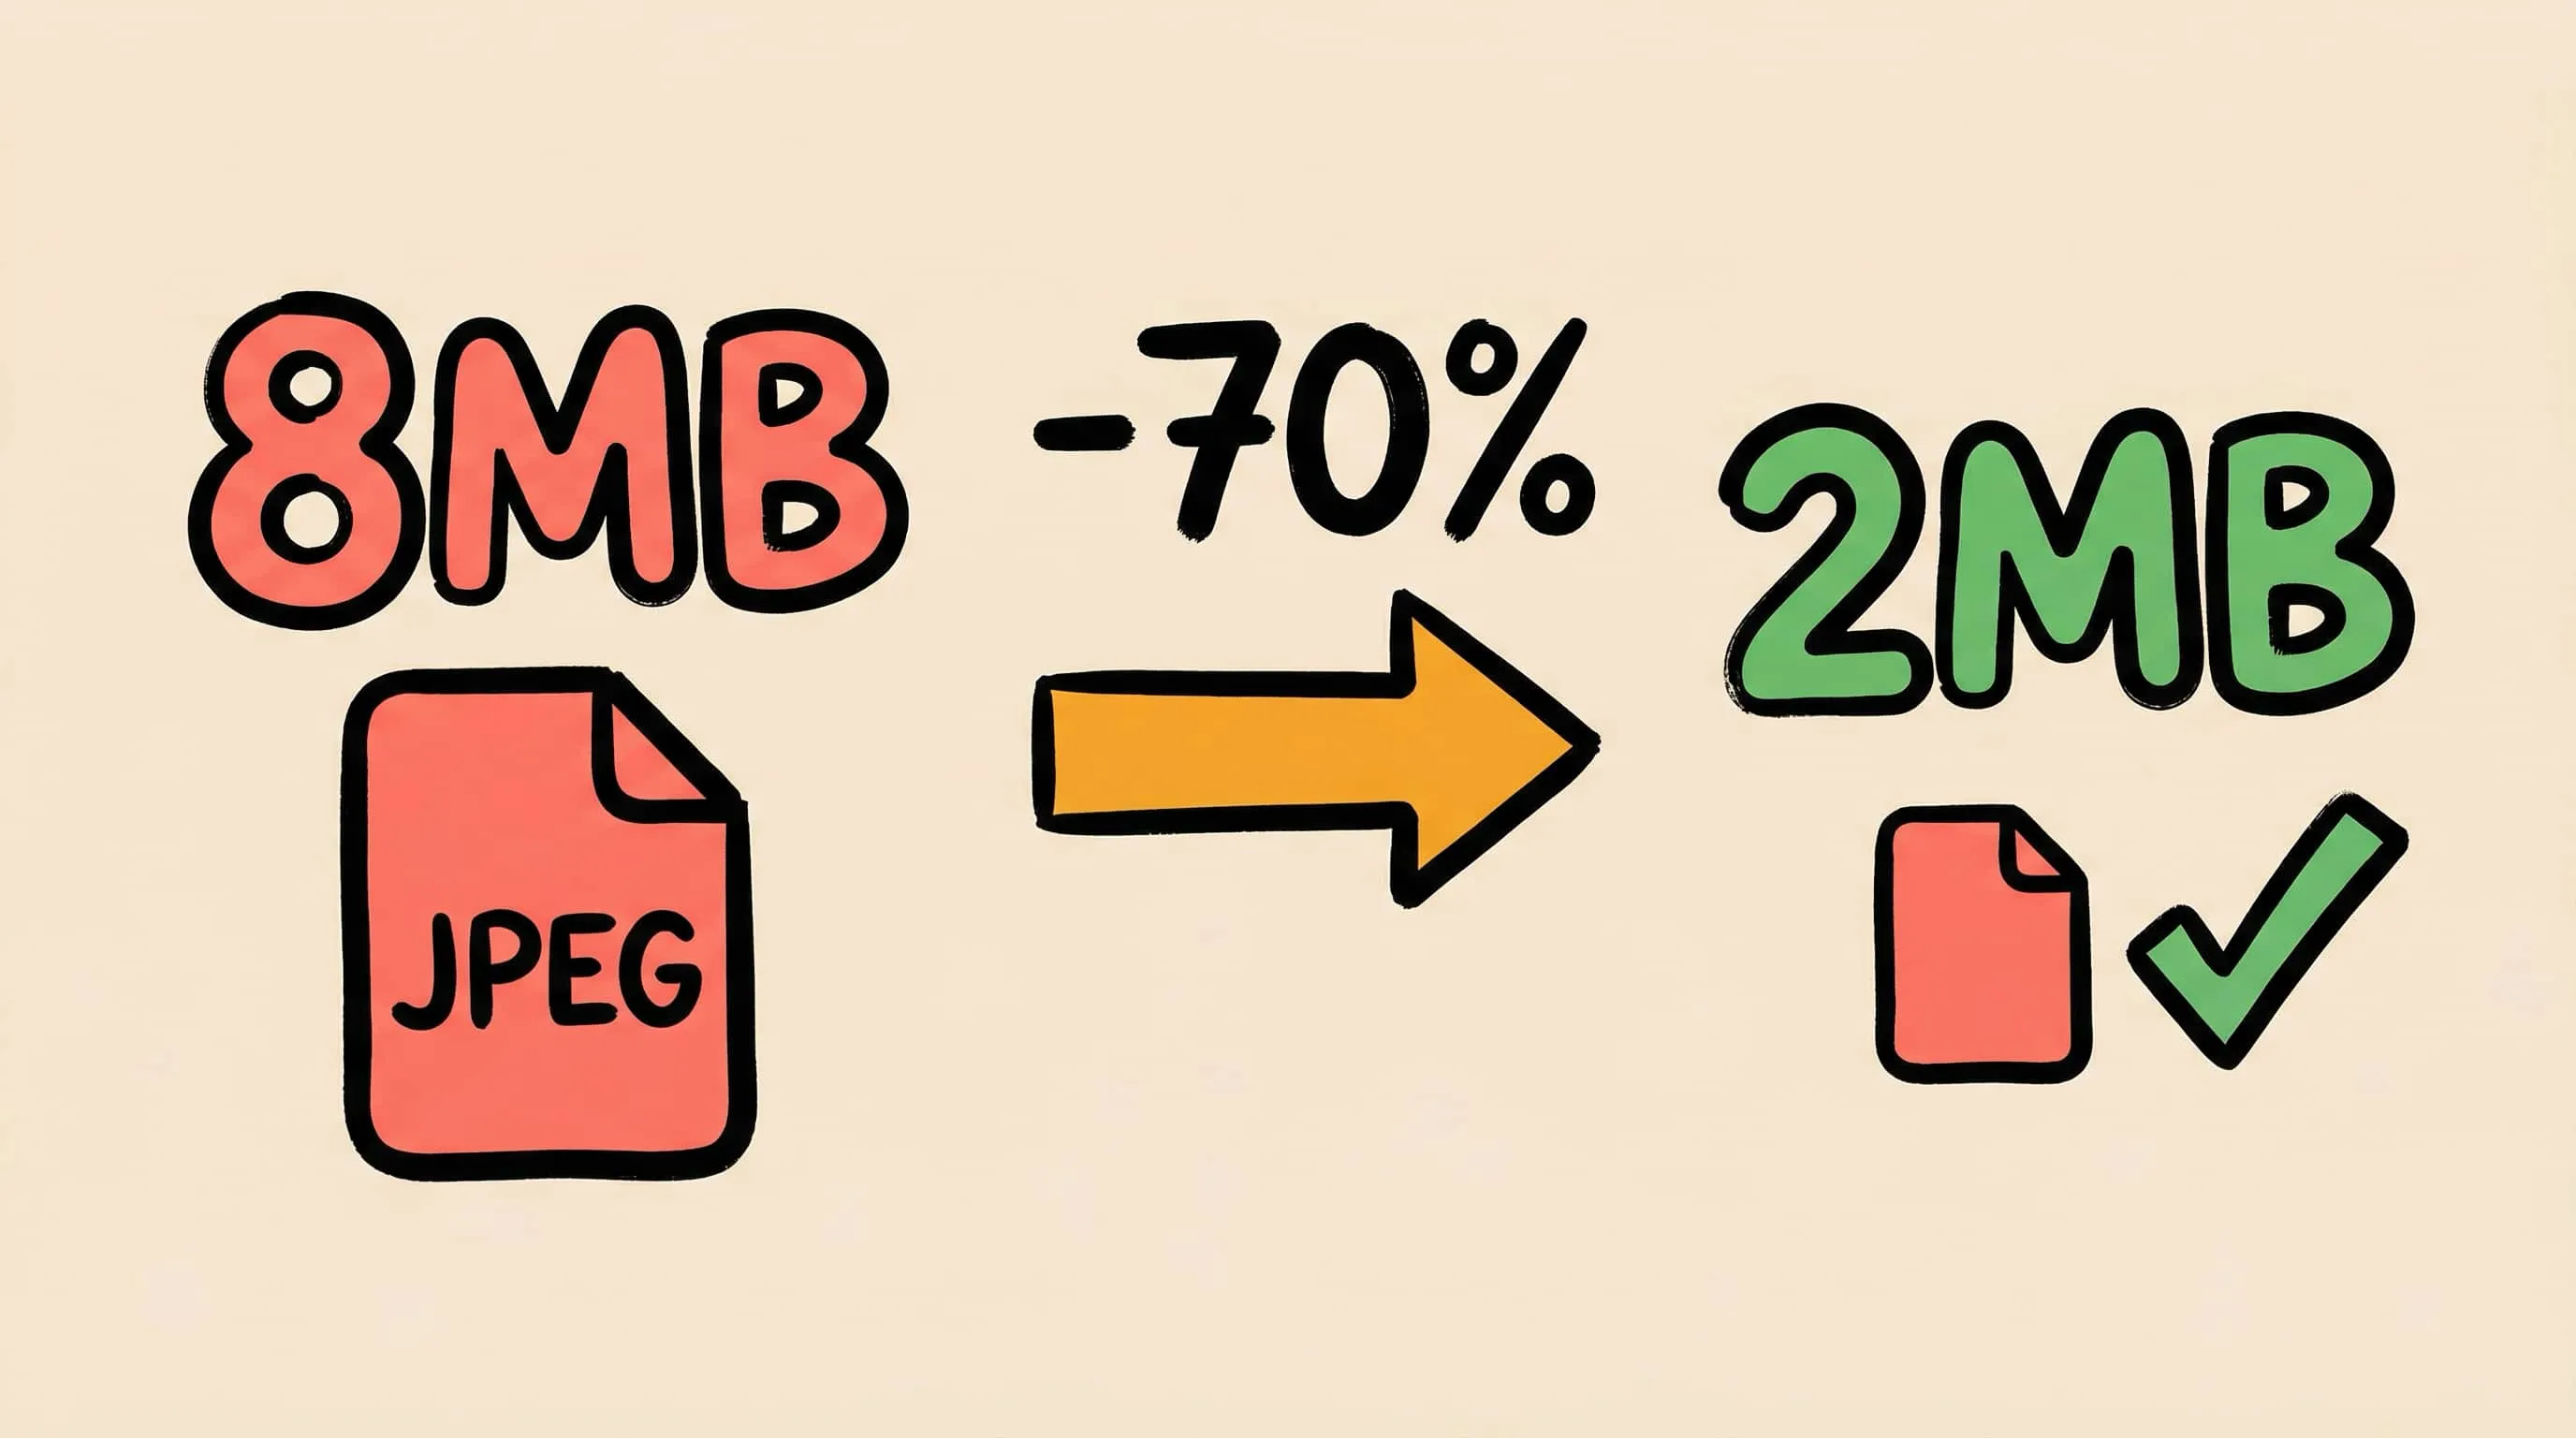
Here is something many people miss: a JPEG exported from a RAW file is often larger than it needs to be. Camera JPEGs and Lightroom exports tend to prioritize quality aggressively, producing files in the 8–20 MB range even after conversion. For web use, email, or client delivery, those files can usually be compressed by 40–70% without any visible quality loss.
This is where a dedicated compression tool earns its place in the workflow. After converting your RAW files to JPEG with any of the methods above, you can run the output through a compression pass:
- For web uploads: Target under 500 KB per image at the display size you need.
- For email delivery: Target under 1 MB to avoid attachment limits and slow sends.
- For client galleries: Balance quality and load time — usually 300–800 KB per image.
If you want a Mac app that handles compression (and format conversion) in one step, Zipic processes JPEG, PNG, WebP, HEIC, AVIF, and more. Set a compression level, drag in your converted JPEGs, and the app handles the rest.
Behind that step, every JPEG Zipic writes out goes through zipic-jpeg, our customised JPEG encoder build based on MozJPEG — the Mozilla project that pushed JPEG compression further than the reference encoder did. That matters for RAW shooters specifically because the JPEGs your camera or Lightroom exports were already compressed once by a different encoder; re-encoding them through zipic-jpeg lets the whole batch behave consistently regardless of source. To understand why JPEG encoder choice still matters in 2026, see Progressive JPEG vs Baseline: Why Some Tools Make Smaller Files.
For a walkthrough, see How to Compress Images on Mac or Batch Compress Images on Mac. For a deeper dive into compression strategy for photography, read Image Optimization for Photographers.
Download Zipic — free for basic use, Pro available for batch workflows and advanced presets.
RAW vs JPEG: When to Keep RAW Files
Converting to JPEG does not mean deleting the RAW originals. At least, it should not.
Keep RAW files when:
- The photos are important (client work, portfolio, once-in-a-lifetime events).
- You may need to re-edit with better software or techniques later.
- You want to preserve maximum dynamic range for future recovery.
- You are archiving work professionally.
You can consider deleting RAW when:
- The JPEG output is the final deliverable and you will never re-edit.
- Storage is genuinely constrained and the photos are casual snapshots.
- You have already exported to DNG as a long-term archival format.
The storage math is straightforward: a 1 TB drive holds roughly 20,000 RAW files from a 50 MP camera, or roughly 80,000 JPEGs from the same camera. Storage is cheap. RAW originals are irreplaceable.
For more on storage and format strategy, see How to Convert Image Formats on Mac and HEIC to JPEG Converter for Mac.
Related Articles
- TIFF Compression: How to Reduce Large TIFF Files on Mac
- How to Convert Images Between Formats on Mac (Batch Guide)
- HEIC to JPEG Converter for Mac: The Easy Way
- Image Optimization for Photographers: Compress Without Losing Detail
- Batch Compress Images on Mac: Complete Tutorial
- How to Reduce JPEG File Size Without Losing Quality
Quick Takeaways:
- macOS Tahoe 26 natively supports hundreds of camera RAW formats — no extra software needed for basic conversion.
- Preview works for a few files; Photos works for moderate batches;
sipsis the fastest built-in method for large batches. - Automator Quick Actions give you right-click conversion in Finder.
- Darktable and RawTherapee are free, open-source alternatives with professional-grade control.
- After converting, compress the JPEGs — camera exports are usually larger than they need to be.
Related Reading
HEIC to JPEG Converter for Mac: Batch Convert the Easy Way
Need a HEIC to JPEG converter on Mac? Learn the easy way to batch convert HEIC photos to JPEG with Zipic while keeping quality and file size under control.
How to Reduce JPEG File Size Without Losing Quality
Learn 5 proven methods to reduce JPEG file size on Mac without visible quality loss. Adjust compression levels, resize, compare previews, and batch process with Zipic.
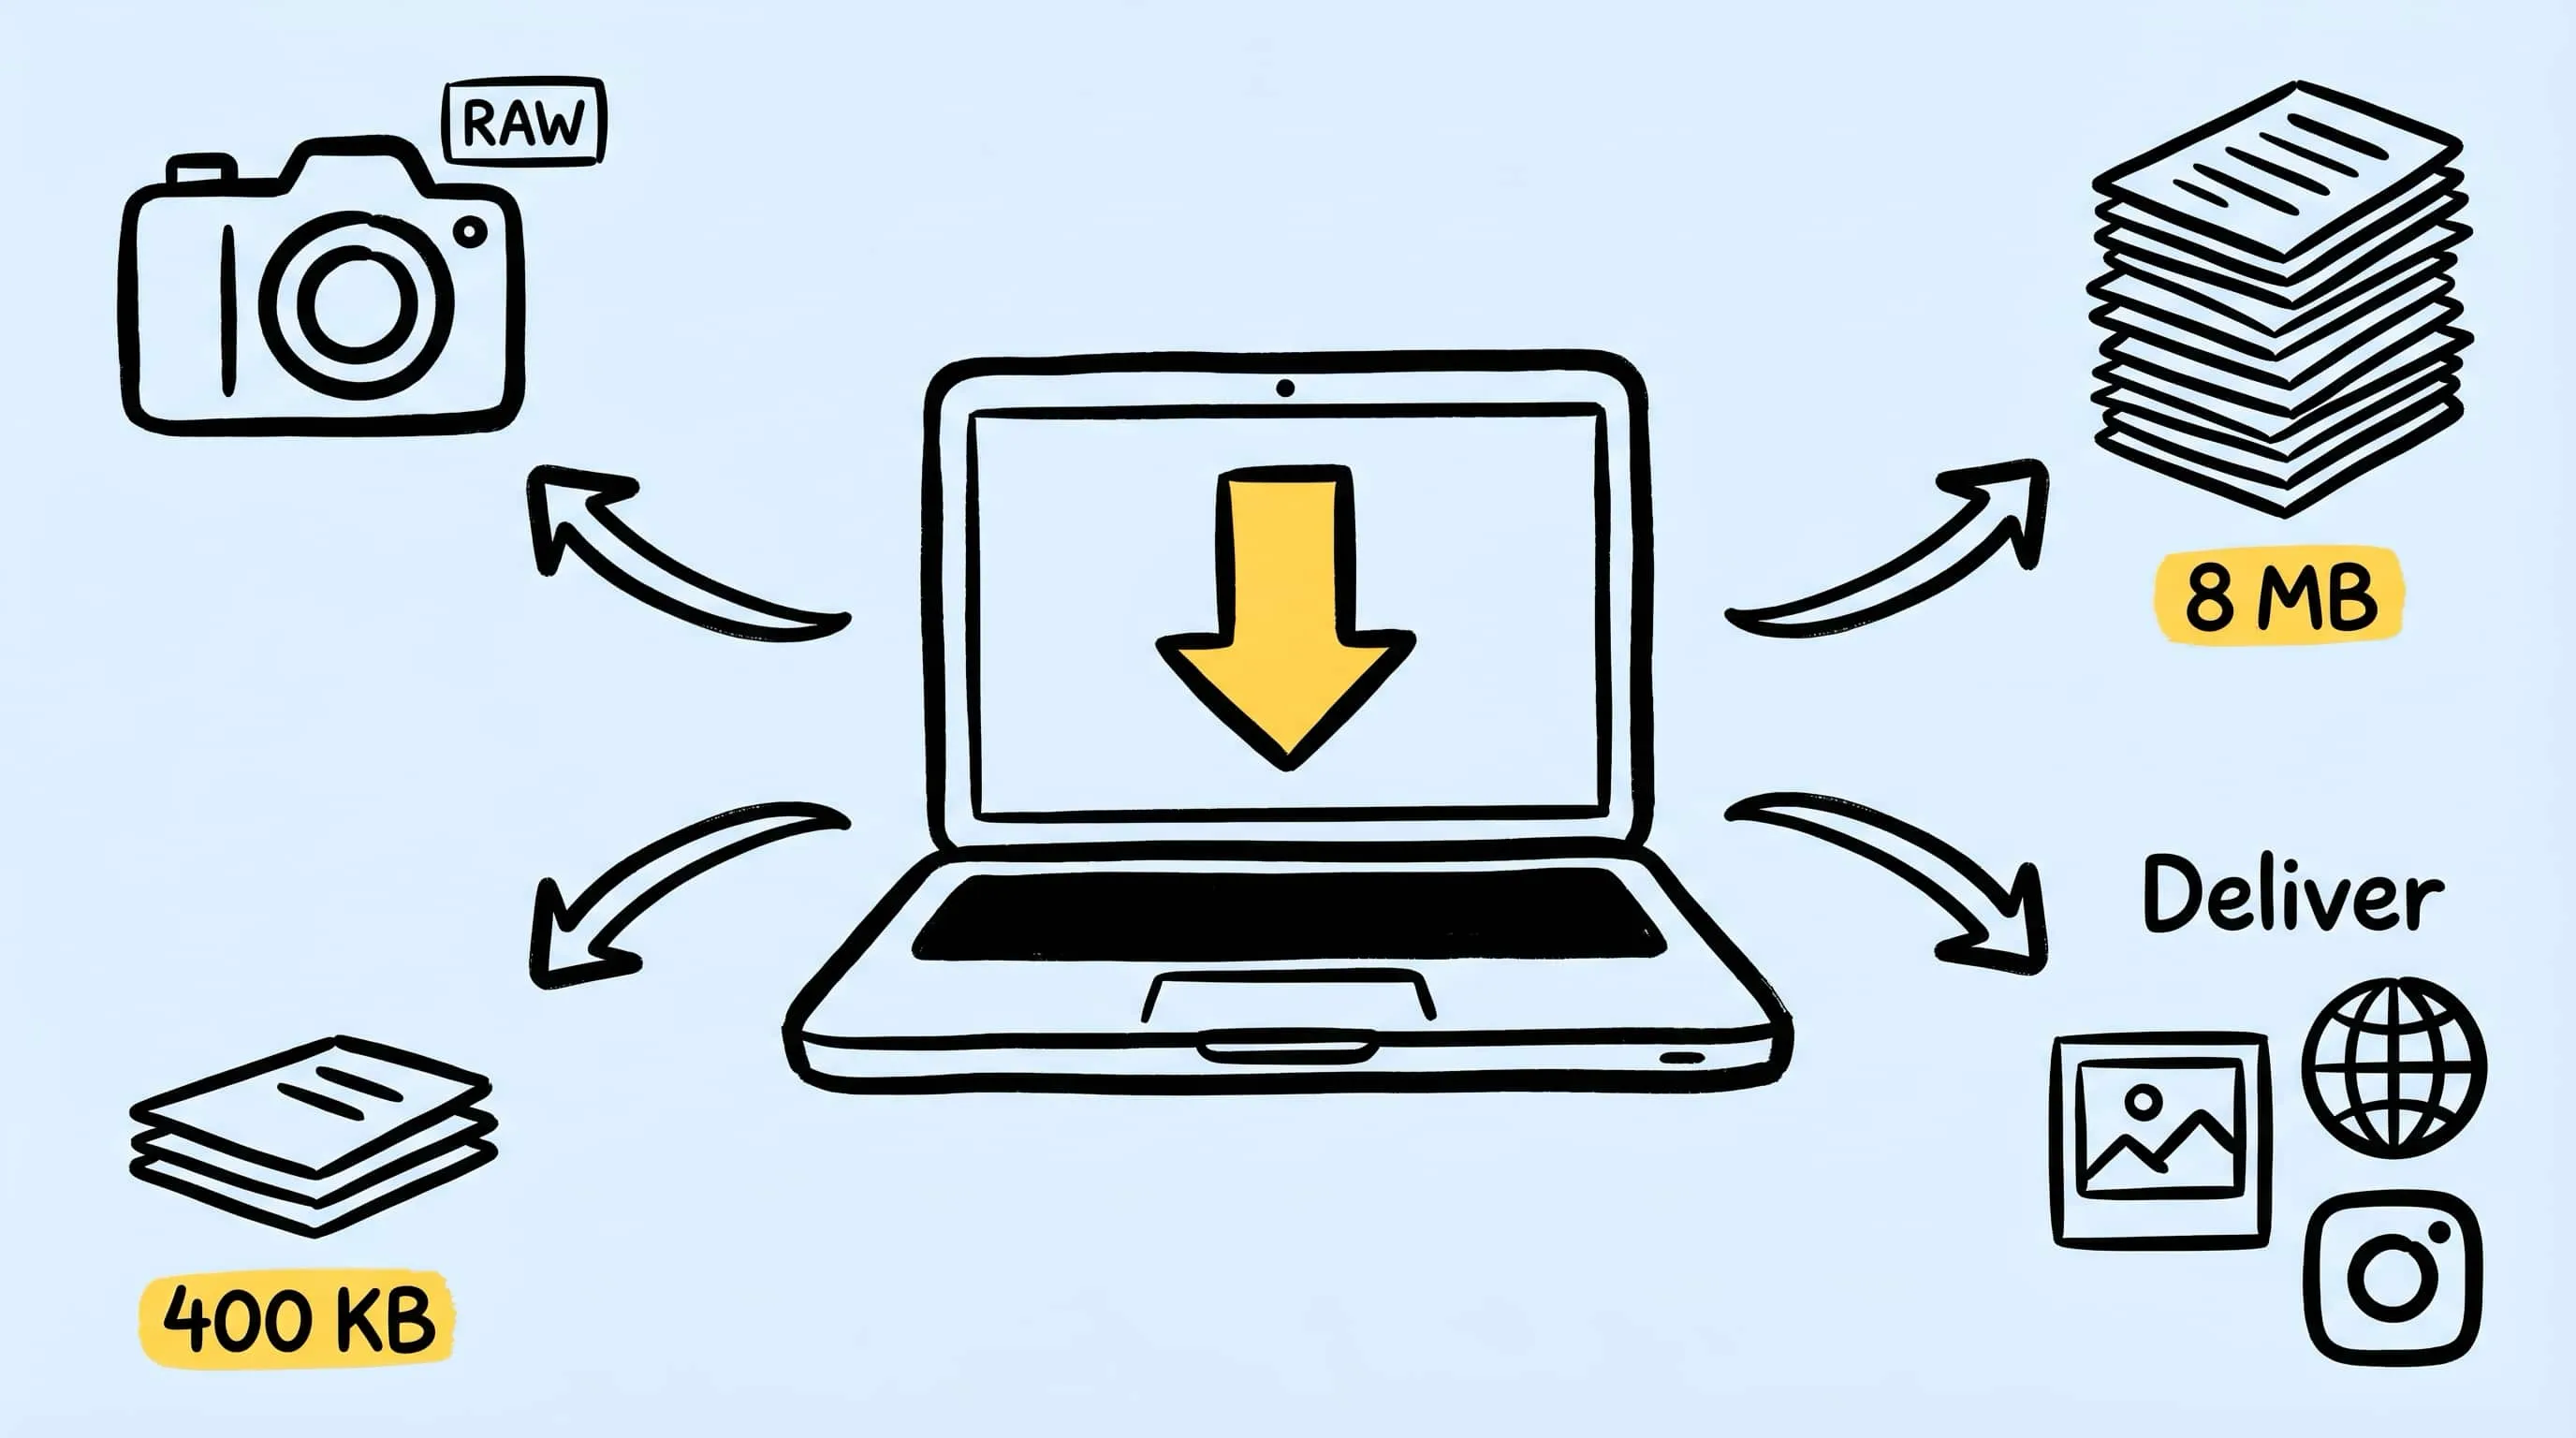
Image Optimization for Photographers: Compress Without Losing Detail
A practical guide to image optimization for photographers: compress photos on Mac for client galleries, portfolios, and the web without trashing detail.
JPEG vs PNG vs WebP: Which Image Format Should You Use?
Compare JPEG vs PNG vs WebP for file size, image quality, transparency, animation, and compatibility, then choose the best format for every use case.