Progressive JPEG vs Baseline: Why Some Tools Make Smaller Files
Same photo, same quality, two tools — JPEG files 30 % apart. The encoder is why. Zipic's custom JPEG build gives you the smaller one, no settings to tweak.
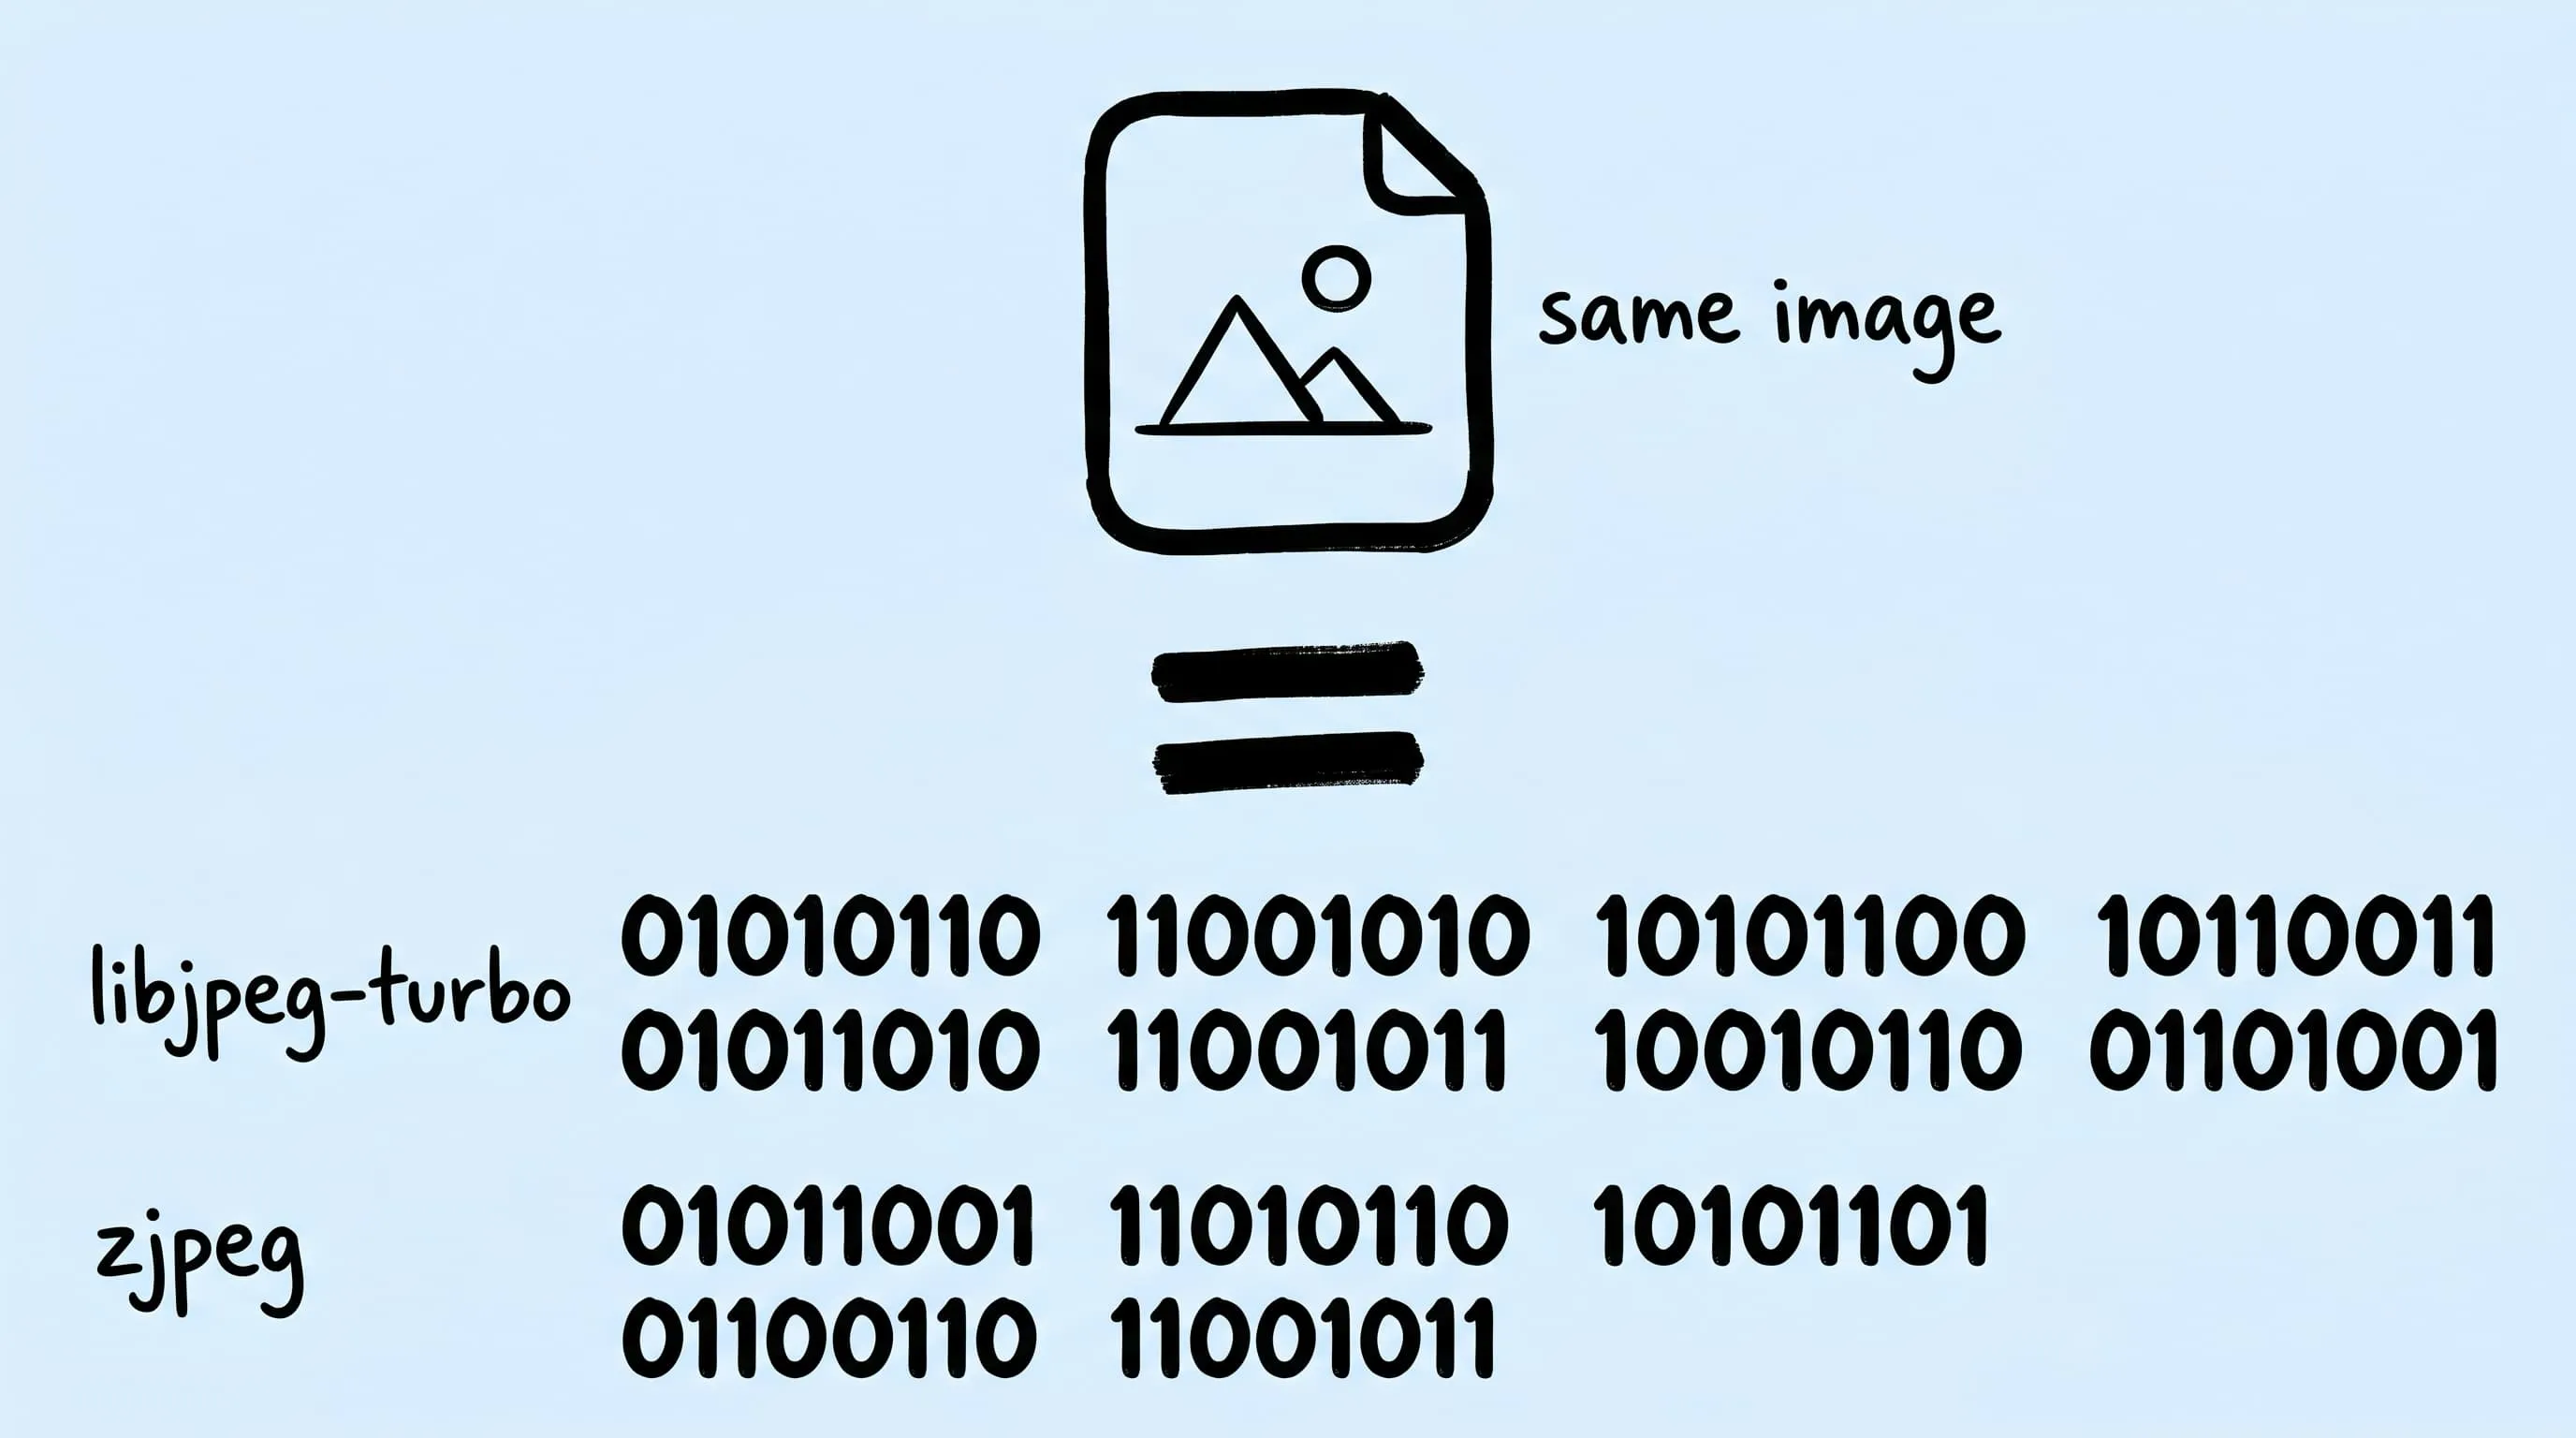
Export the same photo twice. Two JPEGs, side by side, indistinguishable on screen. One file is meaningfully smaller. The gap isn’t the quality slider — it’s the encoder behind the slider.
Open a photo in macOS Preview and hit Export, and you get a JPEG written by libjpeg, the 30-year-old workhorse every browser still uses. Run the same picture through Zipic, ImageOptim, or any modern JPEG tool, and the file comes out visibly smaller with no visible loss. Same pixels, different bytes.
This article explains what’s going on inside the encoder, what a progressive JPEG does that a baseline one doesn’t, and why Zipic ships its own JPEG encoder build called zipic-jpeg — a customised version of MozJPEG, the Mozilla project that pushed JPEG compression further than the reference encoder did. All the numbers below were measured on the same five photos.
What Progressive JPEG Actually Means
You’ve probably seen the difference without knowing it had a name.
When you load a large image on a slow connection, you sometimes see it paint downward, one strip at a time — that’s a baseline JPEG. The decoder reads from top to bottom and shows the picture in the order the bytes arrive.
A progressive JPEG behaves differently. As soon as the first chunk of bytes arrives, the browser shows you the whole picture as a low-detail preview, then sharpens it pass by pass as more bytes load. Same final image, same file size — only the loading experience changes. You see a recognisable picture sooner.
Most modern JPEGs on the web are progressive for that reason. There’s also a quiet bonus: encoders that build progressive output can pack the data slightly more tightly than baseline, so progressive JPEGs are usually a few percent smaller at the same quality, not larger. Our measurements below back that up.
For a refresher on when JPEG is the right format at all, see our lossy vs lossless compression guide.
Why Some JPEG Tools Make Smaller Files
Two tools at the same quality setting can hand you very different file sizes because the encoder gets to make a long list of small decisions while building the file — which patterns to optimise, how aggressively to round numbers, how to lay the data out. The default JPEG encoder shipped with most tools (libjpeg-turbo) plays it safe. MozJPEG, Mozilla’s modern JPEG encoder, doesn’t.
MozJPEG turns on a smarter rounding strategy that hunts for the byte-cheapest way to represent the same picture at the same visual quality. It also rebuilds its compression tables for every image instead of using a one-size-fits-all default. The result, on real photos, is JPEGs that are 20–30 % smaller than what the default encoder produces — visually identical, just packed tighter.
The trade-off is speed. MozJPEG runs roughly 2–3× slower than the default encoder because it does more work for each image. For a build-once-ship-everywhere asset, you don’t care. For a camera firing off bursts in real time, it would be too slow.
This is the encoder Zipic uses under the hood for every JPEG you compress.
What zipic-jpeg Adds on Top
zipic-jpeg (we call the command-line build zjpeg) is a customised build of MozJPEG that fixes the awkward parts of using it as a standalone tool. Three things matter to you:
- It reads anything. The vanilla MozJPEG command-line tool only accepts a handful of niche input formats.
zipic-jpegdecodes through macOS’s native image pipeline, which means it eats HEIC straight from your iPhone, PNG screenshots, scanned TIFFs, and RAW files (.dng, .cr3, .arw) without a separate conversion step. - It uses sensible defaults. No knobs to turn, no flags to memorise. The settings are tuned to match the profile that the open-source image-compression community has converged on for modern Web JPEGs.
- It’s the same engine on every Mac. A JPEG you compress on an Apple Silicon laptop is byte-for-byte the same as one compressed on an Intel Mac, an external CI runner, or any other place Zipic runs.
The bytes that come out are identical to what the MozJPEG command-line tool would produce on the same input. We didn’t try to invent a better JPEG — we packaged the best one so you don’t need a terminal to use it.
For background on how the quality setting actually controls file size, see how to reduce JPEG file size on Mac.
Real Numbers: zipic-jpeg vs the Default Encoder
We took five source photos at 1920 px on the long edge — an abstract gradient, a wide landscape, a textured nature shot, a portrait, and a UI screenshot — and compressed each one with both encoders at the same quality setting.
File size, progressive mode:
| Image | zipic-jpeg | libjpeg-turbo | Savings |
|---|---|---|---|
| Abstract gradient | 36.8 KB | 49.5 KB | −25.7 % |
| Landscape | 102.3 KB | 132.7 KB | −22.9 % |
| Nature texture | 45.9 KB | 62.5 KB | −26.6 % |
| Portrait | 47.2 KB | 59.9 KB | −21.3 % |
| UI screenshot | 88.3 KB | 111.0 KB | −20.5 % |
| Total | 320.4 KB | 415.7 KB | −22.9 % |
File size, baseline mode (progressive disabled on both):
| Image | zipic-jpeg | libjpeg-turbo | Savings |
|---|---|---|---|
| Abstract gradient | 38.6 KB | 62.8 KB | −38.5 % |
| Landscape | 105.0 KB | 144.8 KB | −27.5 % |
| Nature texture | 53.4 KB | 81.8 KB | −34.7 % |
| Portrait | 50.4 KB | 70.6 KB | −28.6 % |
| UI screenshot | 97.2 KB | 132.6 KB | −26.7 % |
| Total | 344.7 KB | 492.5 KB | −30.0 % |
Structural similarity to the source (closer to 1.000 is closer to the original):
| Image | zipic-jpeg | libjpeg-turbo |
|---|---|---|
| Abstract gradient | 0.9922 | 0.9924 |
| Landscape | 0.9814 | 0.9828 |
| Nature texture | 0.9935 | 0.9939 |
| Portrait | 0.9928 | 0.9924 |
| UI screenshot | 0.9935 | 0.9927 |
The default encoder is slightly ahead on three of the five photos — by a margin that lives in the third decimal place and is invisible to the eye. It pays for that with 20–30 % more file size. On the portrait and the screenshot, zipic-jpeg actually scores higher and outputs the smaller file.
In short: same picture, smaller file, same visual quality.
Using It in Zipic
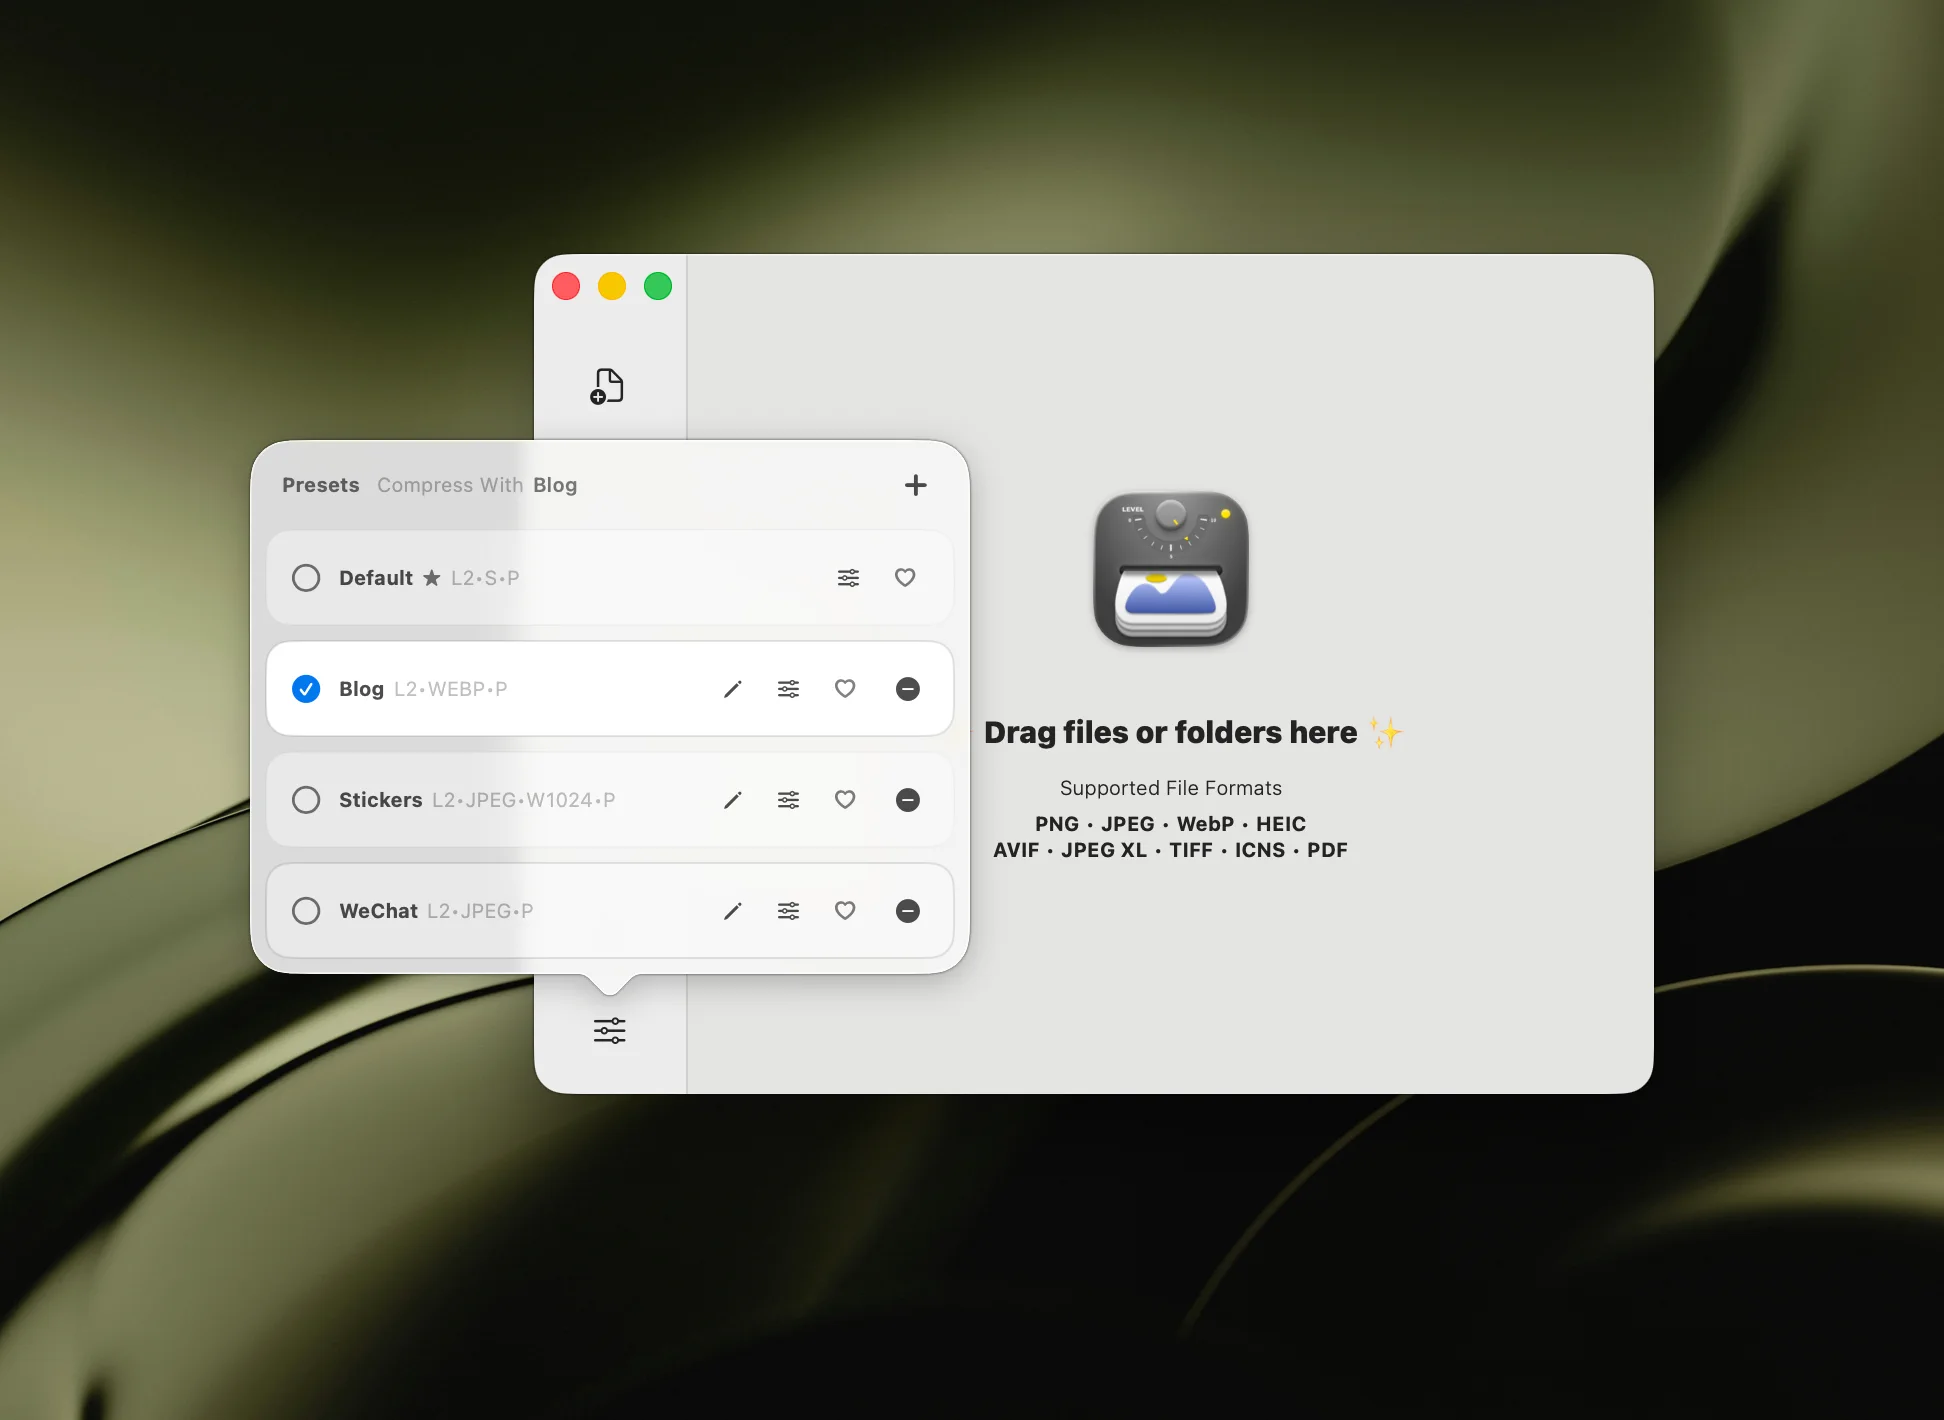
There’s nothing to choose. When you drag a JPEG into Zipic, zipic-jpeg is what runs.

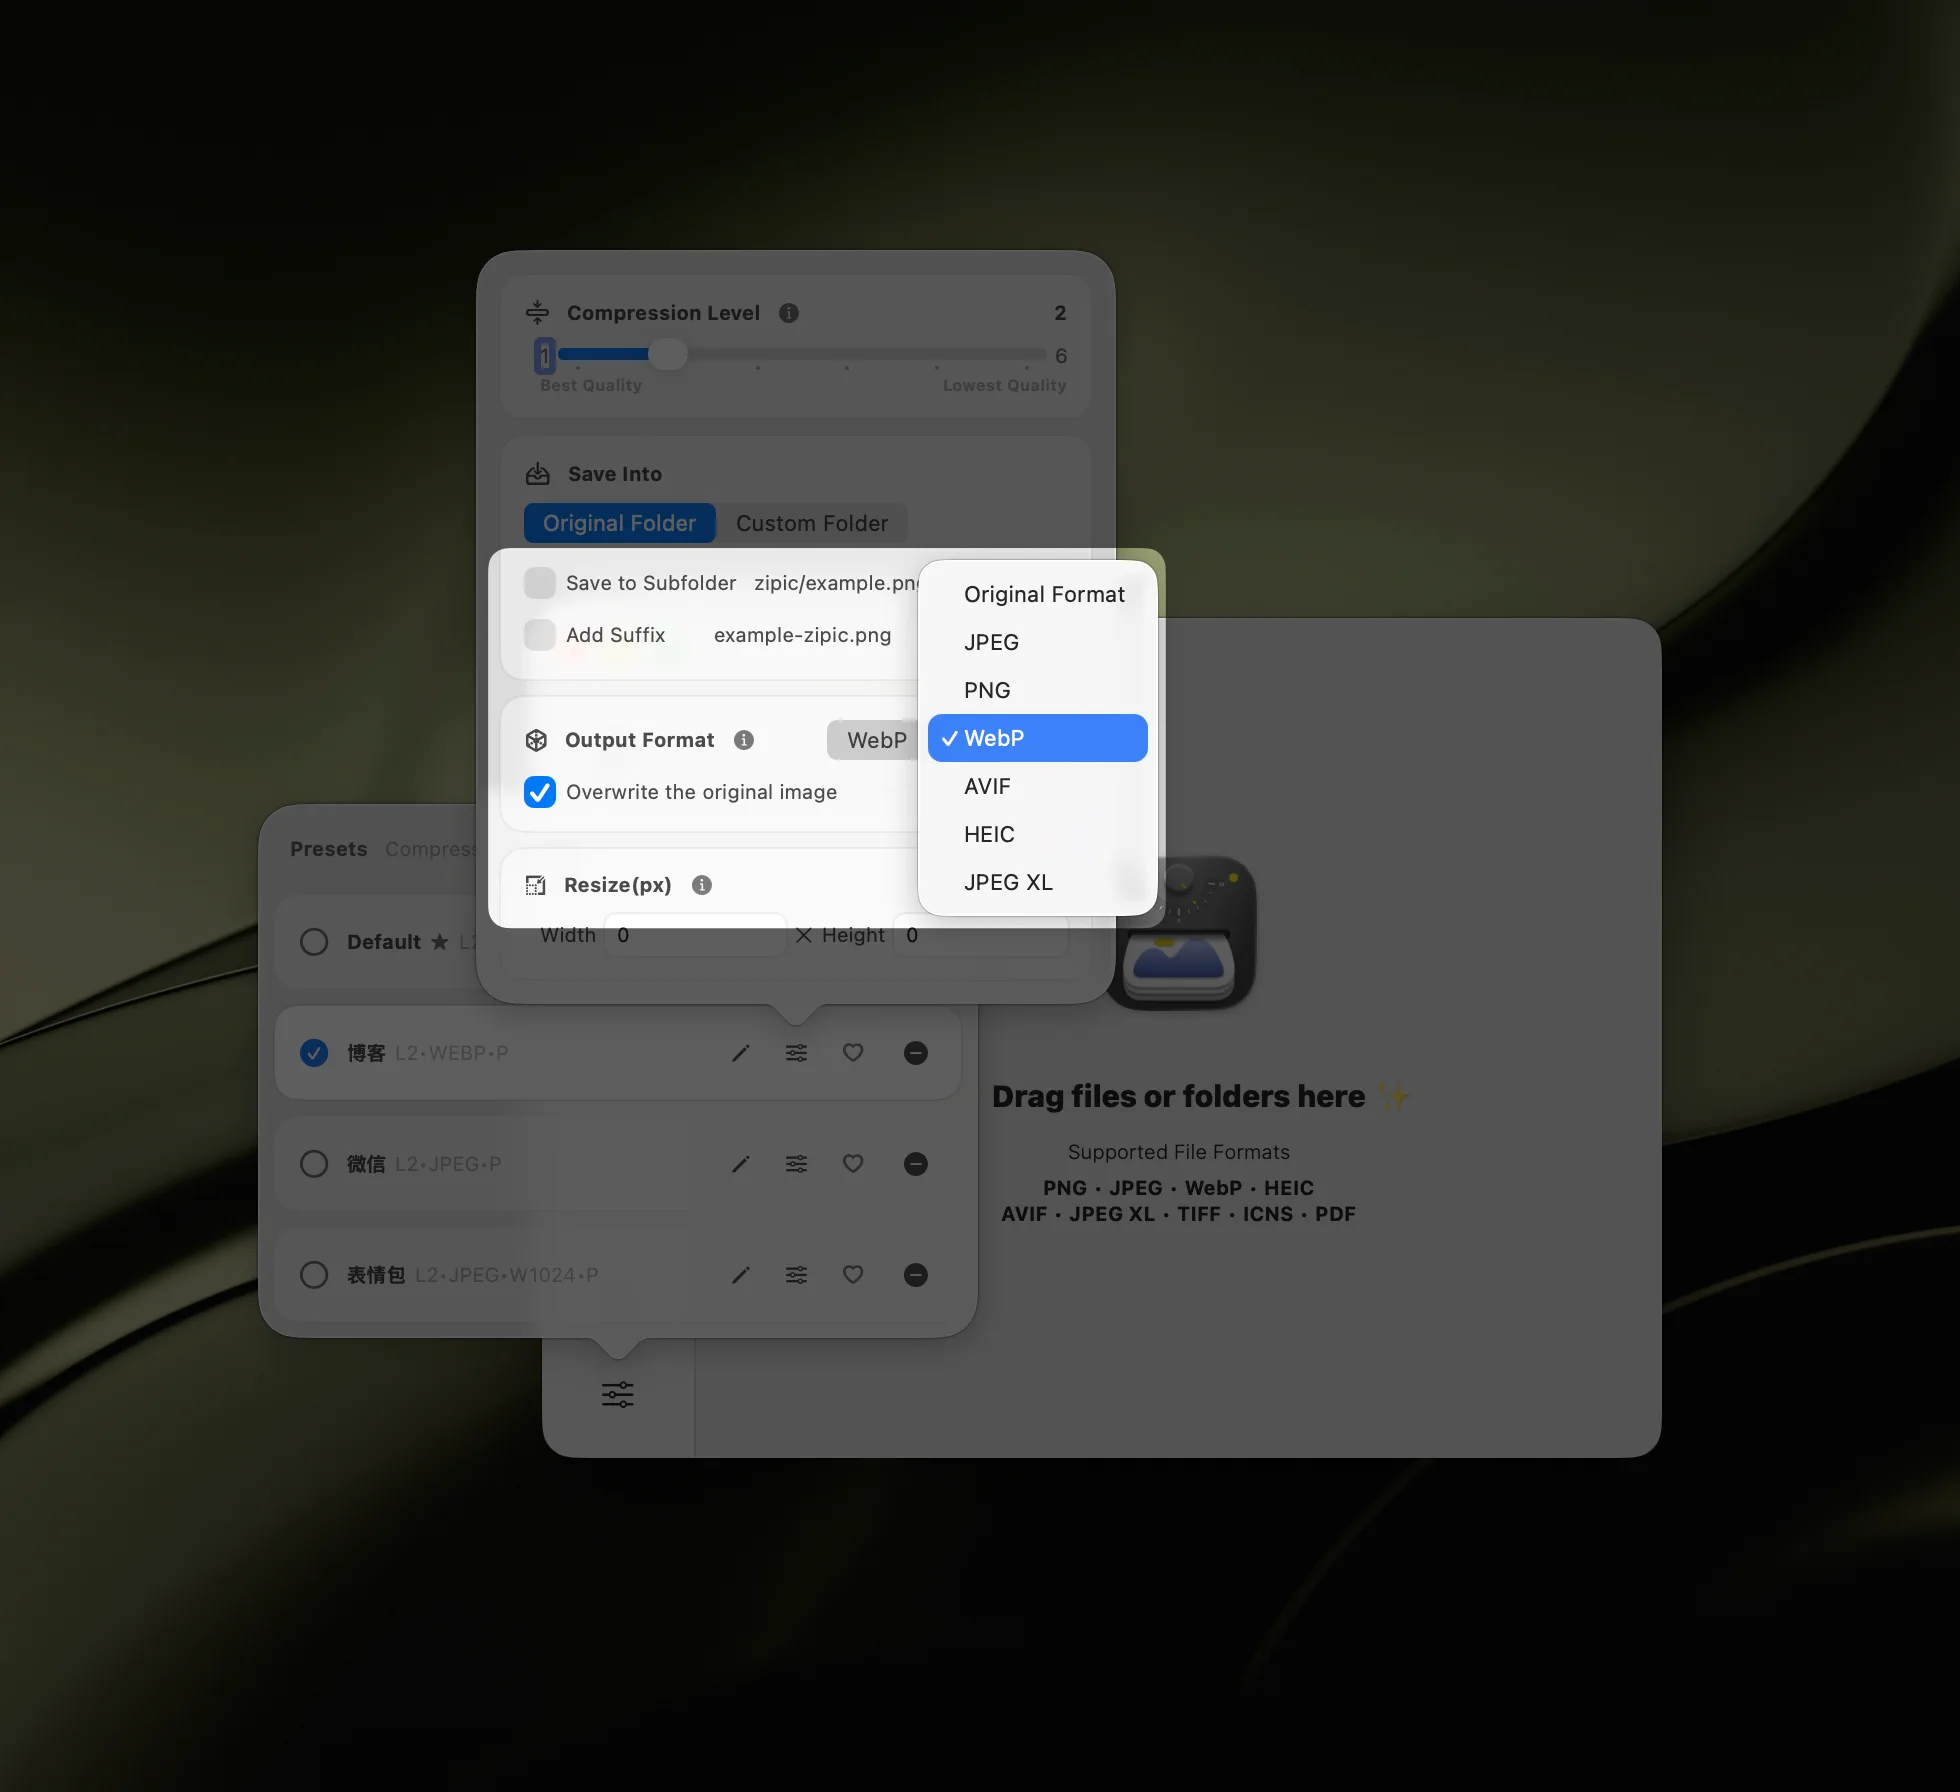
You pick a preset — a saved combination of target format, compression level, optional resize, and metadata policy — and Zipic applies it to every file you drop into the window or onto the menu-bar Notch. The default progressive output is on; you don’t need to toggle anything.
Format conversion uses the same pipeline. Drop a HEIC, RAW, or PNG with a JPEG preset selected, and zipic-jpeg decodes the source through macOS’s native image pipeline and writes out a JPEG in one step.
For typical conversion workflows — RAW → JPEG for sharing, HEIC → JPEG for sites that still reject HEIC — see our RAW to JPEG guide and the broader image format chooser.
Try It
Drop a folder of your own JPEGs into Zipic and watch them lose a quarter of their file size with no visible change. The first compression takes about as long as one click.
Every download includes a full 7-day Pro trial. If you want advanced presets, preview comparison, and Folder Monitoring beyond the trial, see Zipic Pro pricing.
The full preset reference, including the compression level scale, lives in the Image Compression Basic guide.
Related Articles
- How to reduce JPEG file size on Mac — the practical companion to this engine deep-dive
- Lossy vs lossless compression — when JPEG is the right tool at all
- Optimize images for the web — where progressive JPEG fits in a full-page budget
- RAW to JPEG converter for Mac — the upstream of every web JPEG
- Choose the right image format — JPEG vs WebP vs AVIF when you start from scratch
Related Reading
Batch Compress Images on Mac: 5 Fast Methods That Scale
Batch compress images on Mac with folders, Finder, Raycast, monitoring, or Shortcuts. Compare setup, automation, Pro needs, and safe output options.
How to Compress Images on Mac: 5 Methods That Work
Learn how to compress images on Mac with drag-and-drop, Finder, presets, format conversion, and batch automation while protecting originals and quality.
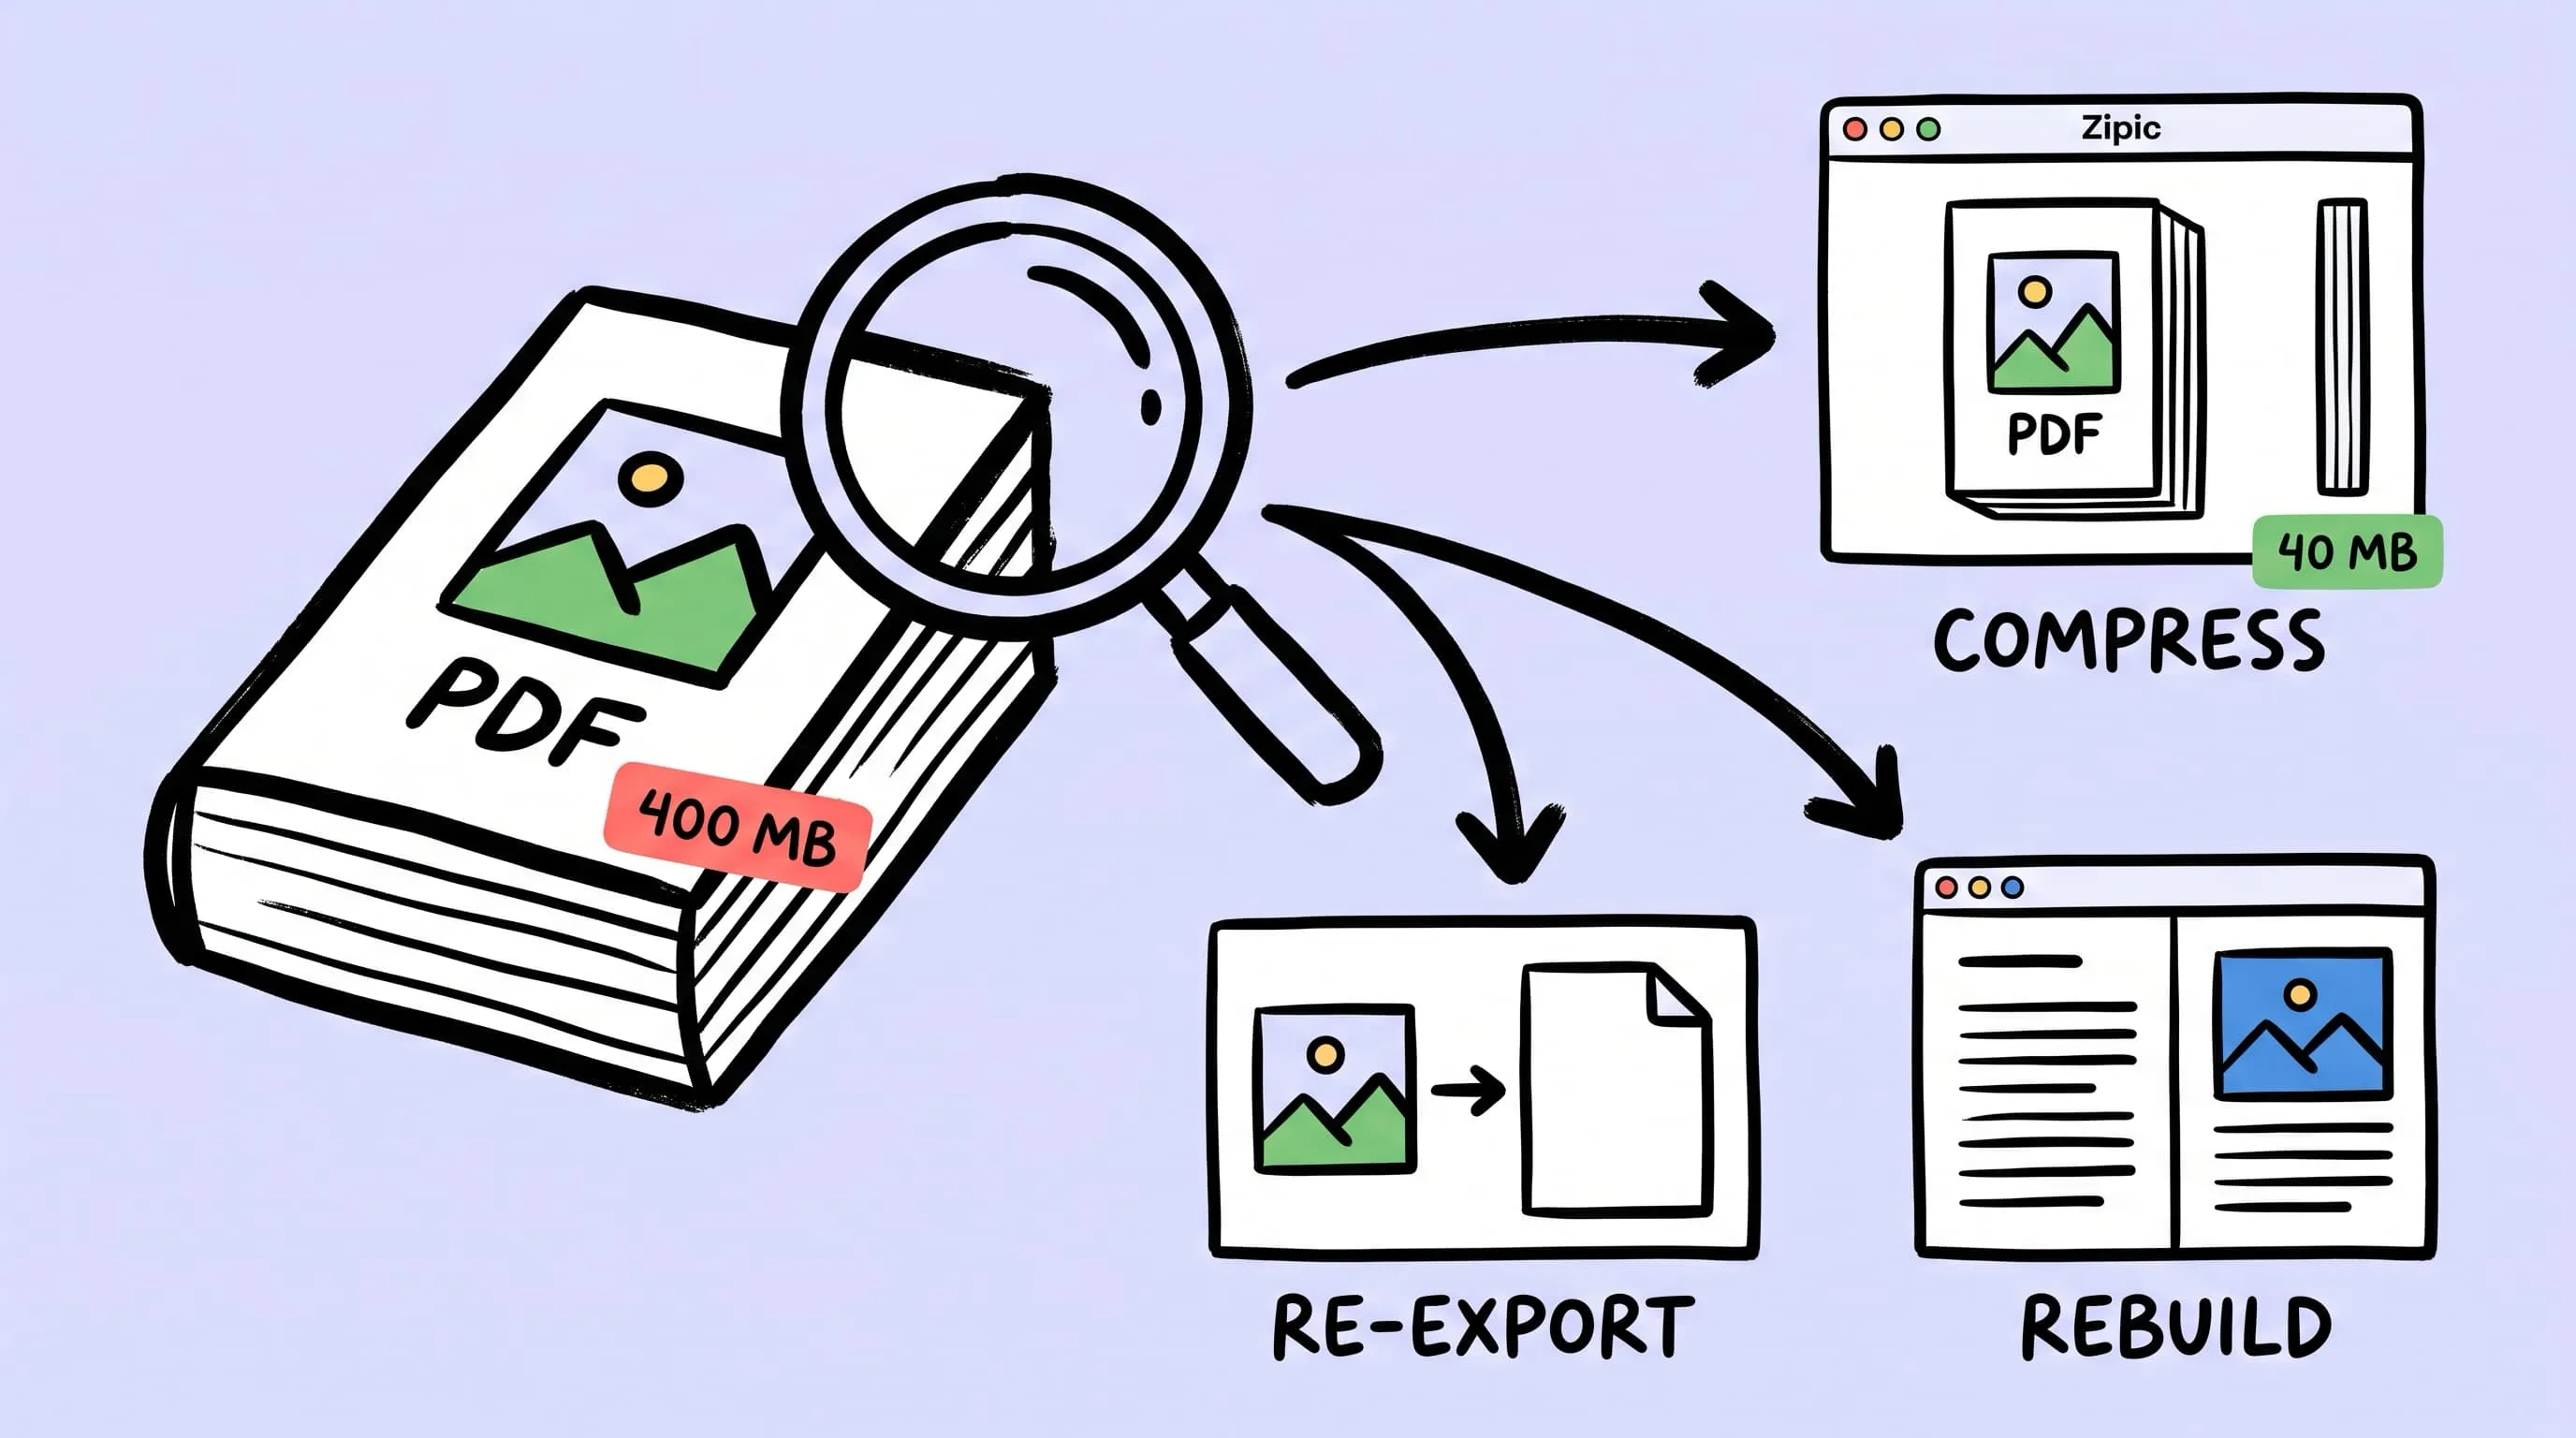
Compress a PDF Without Losing Quality: Diagnose It First
Learn how to compress a PDF without losing quality by diagnosing oversized images, export settings, and layout problems before choosing a compression level.
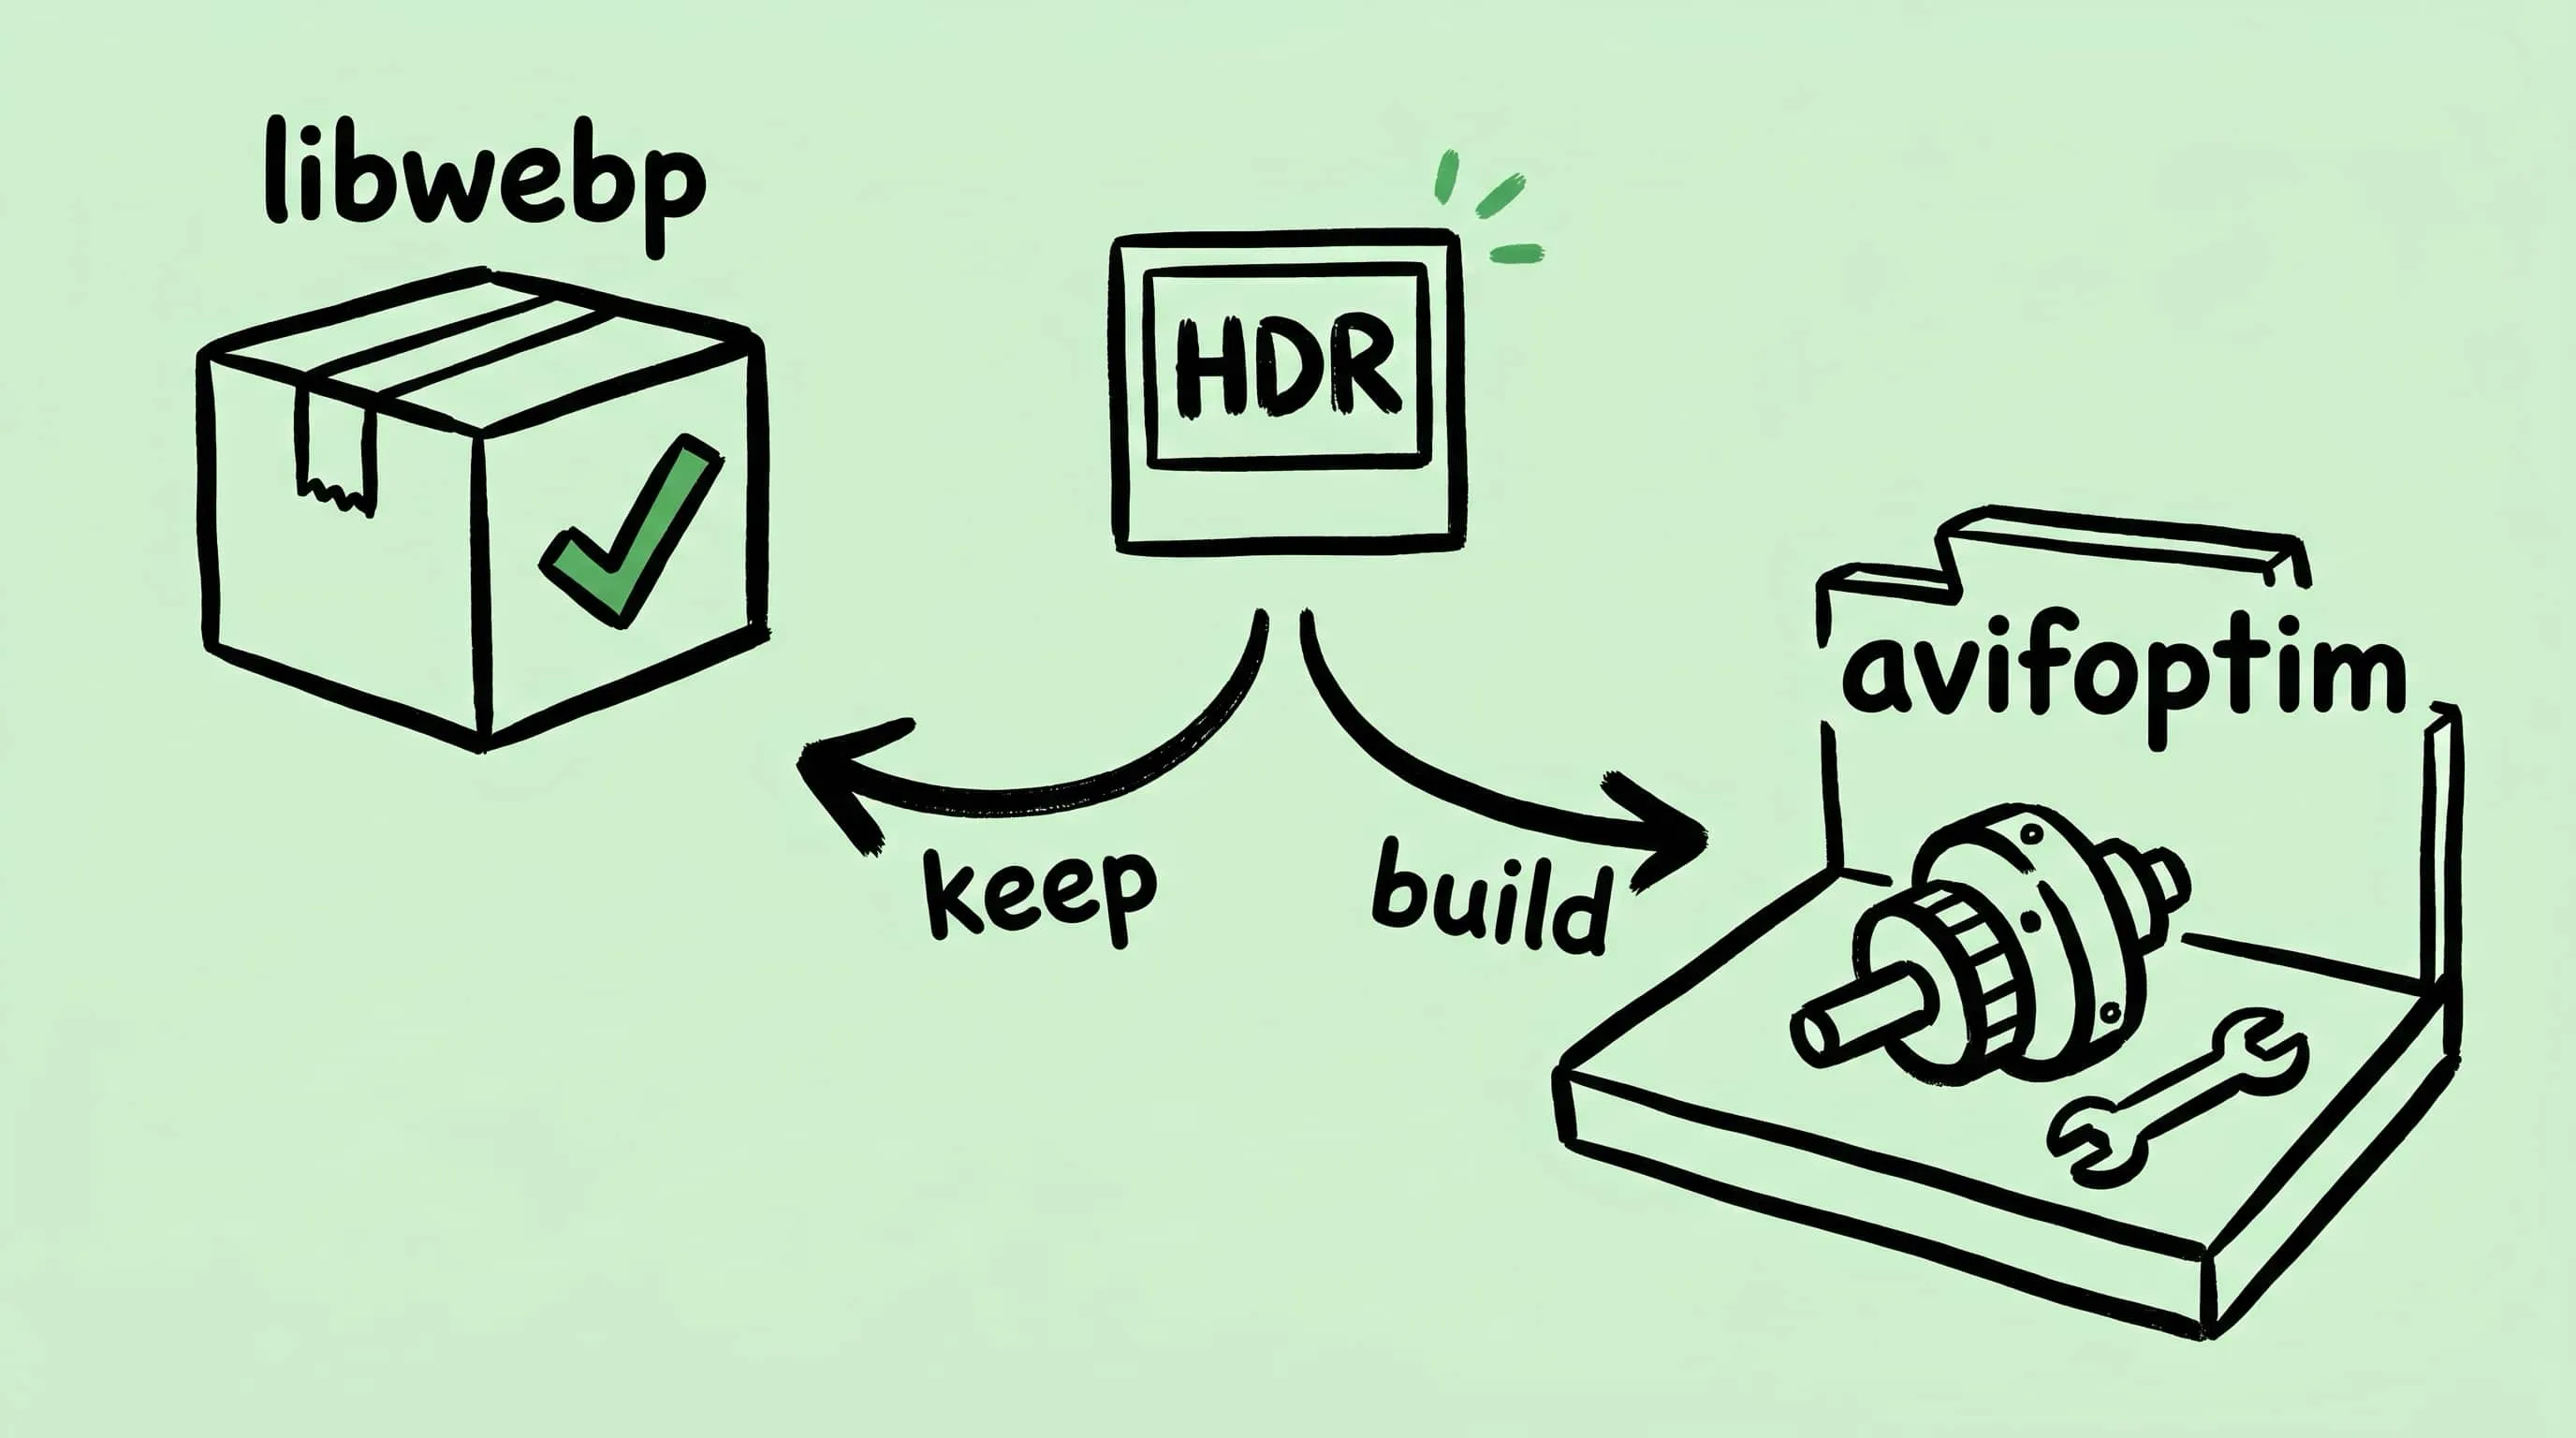
Why Zipic Kept libwebp for WebP but Built Its Own AVIF Encoder
Zipic keeps Google's libwebp for WebP but built avifoptim after libavif failed to preserve iPhone HDR photos. The engineering trade-off explained.